


0 of 0


About this mod
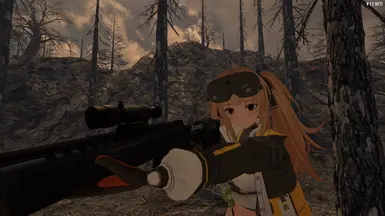
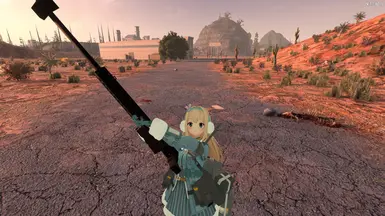
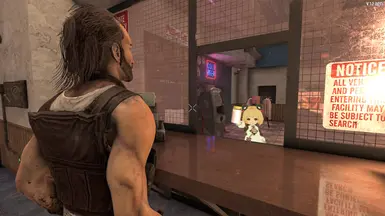
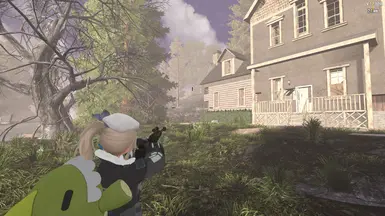
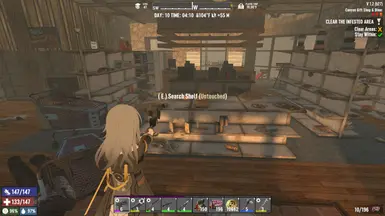
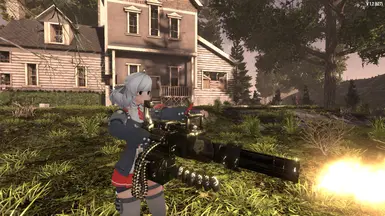
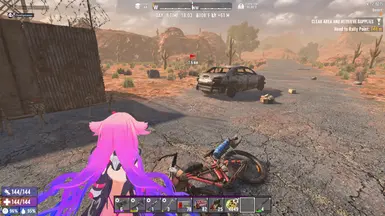
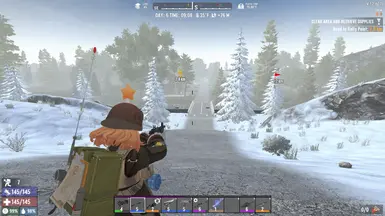
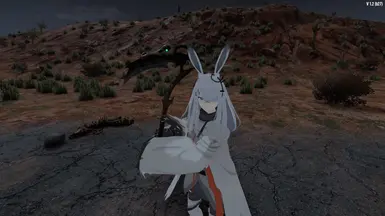
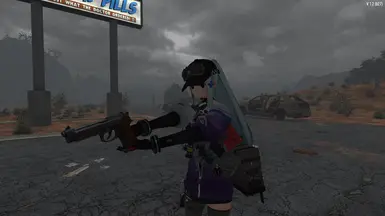
VRoid avatars of characters from various gacha games, compatible with version 1.2 of the game and the latest release of the VRoid mod (as of December 24 2024).
- Requirements
- Permissions and credits
- Donations
Extract and place the .unity3d files into \Steam\steamapps\common\7 Days To Die\Mods\VRoidMod\Avatars
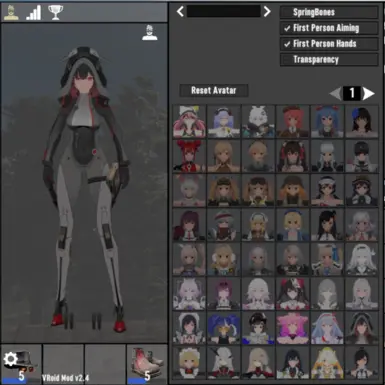
To change models in game, go to your character equipment screen, just above and to the right of your character avatar there will be a button for switching character models
Characters are from the following games:
-Ananta
-Arknights
-Girls' Frontline
-Honkai: Star Rail
-Tower of Fantasy
-Zenless Zone Zero
Credits:
JustAlterr for the awesome mod
Arknights models are converted from .vrm files made by みずのと屋(https://rurunerune.booth.pm/)
All the other models are converted from .pmx files released officially by the respective game developers
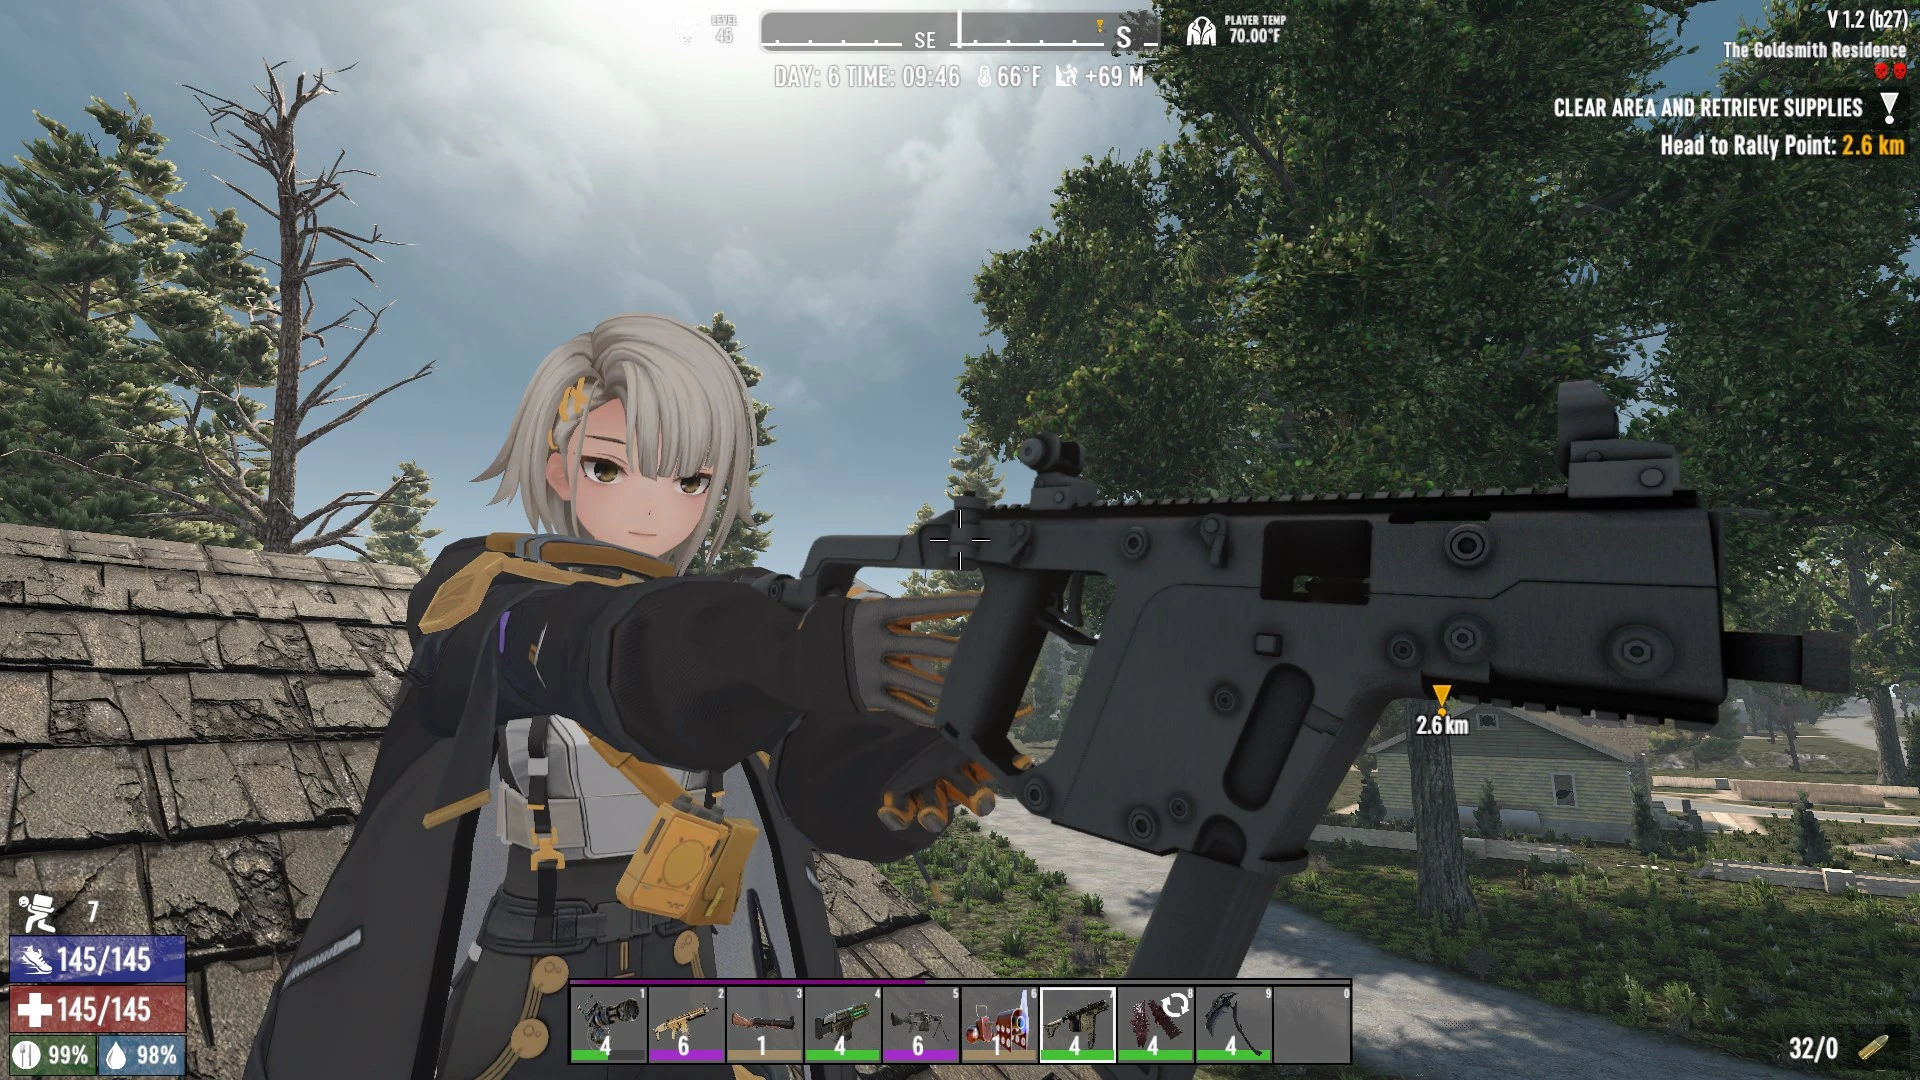
Guns used in the screenshots are from Firearms Expansion 5 for 1.0 by quentfr21(https://www.nexusmods.com/7daystodie/mods/5402)
Katana is from Script’s Melee Arsenal – Legendary Weapons by theScriptHD(https://7daystodiemods.com/scripts-melee-arsenal-legendary-weapons/)
Vehicles are from Bdub's Vehicles (1.2) by bdubyah(https://www.nexusmods.com/7daystodie/mods/342)
Special thanks to a user named Zender on another 7D2D forum and Typeunknow for sharing shader settings for the models
Known bug for VRoid Mod 0.0.3:
-equipping a helmet light mod for your headwear while using a VRoid character model will make the game glitchy and will prevent you from entering vehicles or interacting with certain containers so make sure not to equip one
-dying while using a VRoid character model with VRoid Mod's "First Person Hands/Aiming" options turned on will cause the player to get stuck on the respawn screen so maybe it is best to turn those off for now
If you want to convert your own .vrm models into models usable in the game:
1. install Unity Hub
2. install Unity version 2022.3.29f1 with Unity Hub
3. in Unity Hub, create a new 3D(Built-In Render Pipeline) project and open it
4. in the VRoid Mod folder there is a file named VROID CONVERTER.unitypackage, drag it into your Unity project's Assets folder
5. download a shader named liltoon from https://github.com/lilxyzw/lilToon/releases, extract and drag the whole jp.lilxyzw.liltoon-1.8.5 folder into your Assets folder as well
6. in your Unity Project, double click and open the VRoidConverter.unity scene file located in Assets/Scenes/
Then for each .vrm:
1. create a new folder in your Assets folder and give the folder the same name as the character of the .vrm, then drag your .vrm into the folder, Unity will automatically generate a bunch of folders and files there. Find and open a folder with .Materials in its name, select all the .assets inside, change their shader to liltoon then change the render queue to 3000(make sure to press enter when you type the number and not just click away after typing) and change main color to lower the brightness of the model in game otherwise they would be too bright(I use the value 9B9B9B), see image for more details:
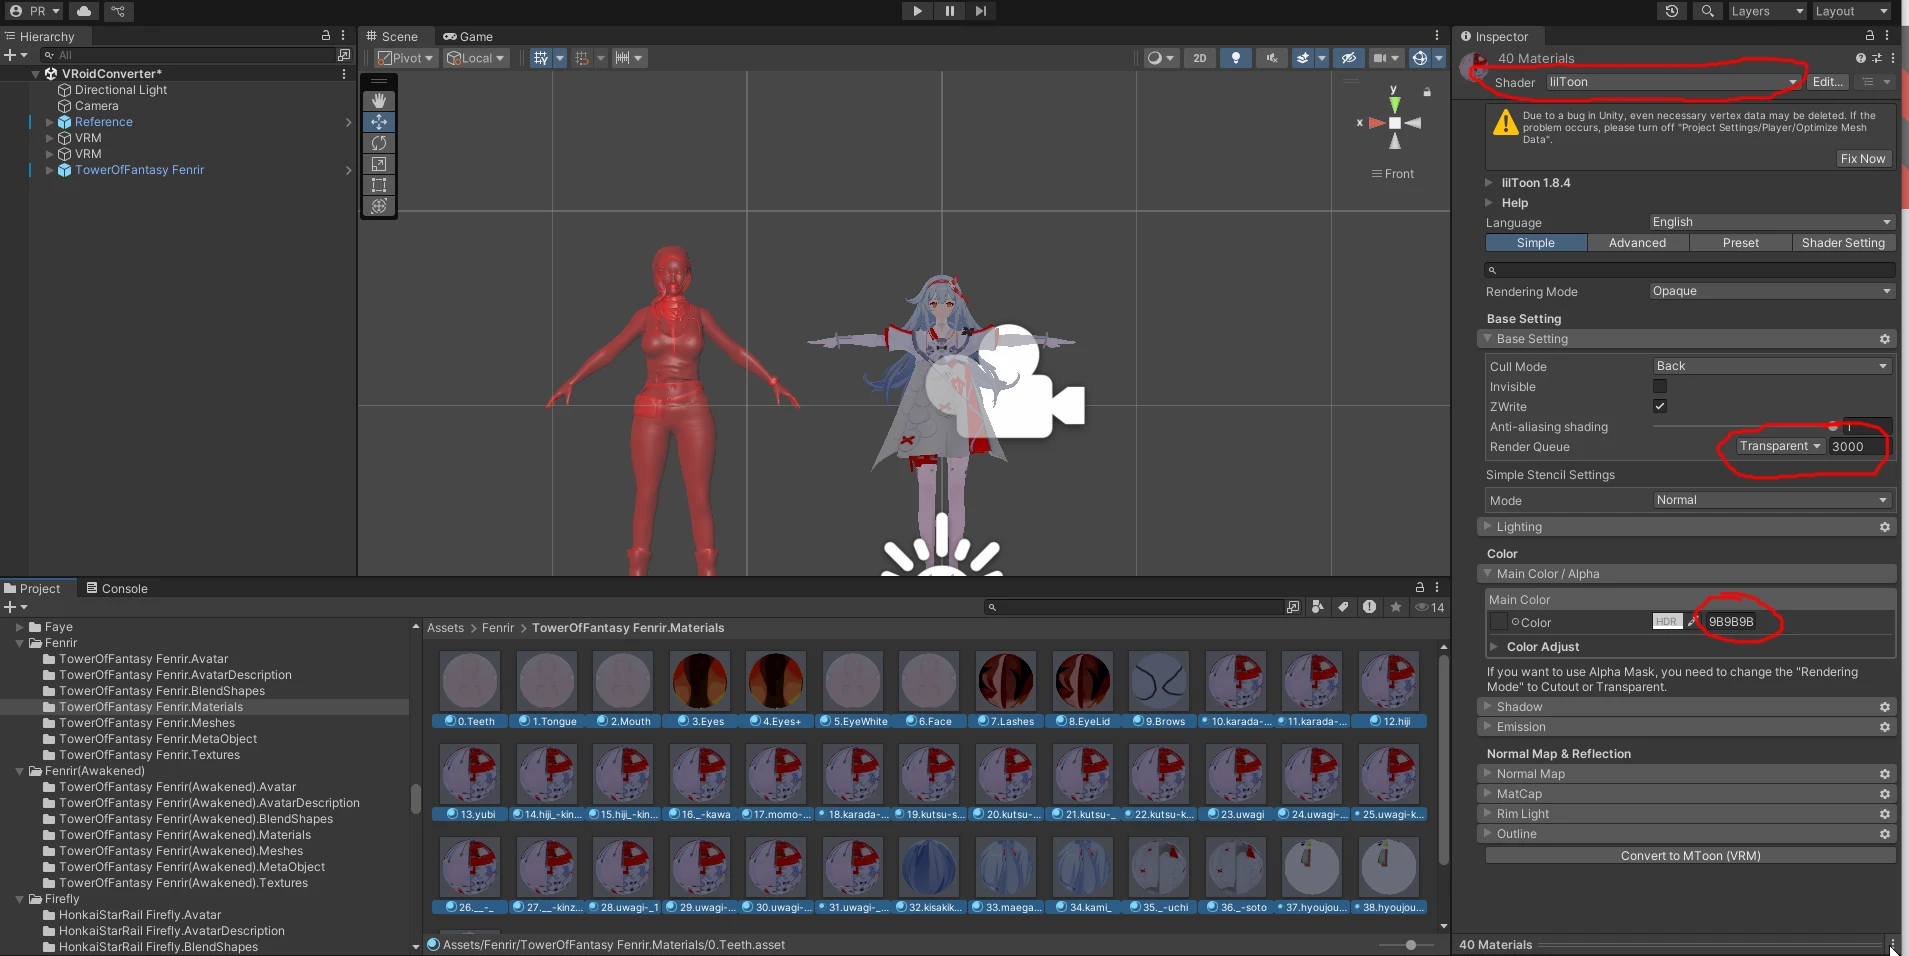
(Sometimes changing the shader to liltoon would incorrectly cause the eye highlight or eye shadow to be a solid colour, if that happens, find the eye highlight and eye shadow .assets and change their shader to VRM10->MToon10 and change the Alpha Mode to Transparent)
2. follow JustAlterr's tutorial from 19 seconds onwards(https://youtu.be/RnIc21YAcEM?si=qAKeBmaNlLnmrSsC&t=19) to perform the rest of the steps
A detailed video tutorial of the conversion process can be found here(but it's in Japanese and doesn't include changing shaders):
https://www.youtube.com/watch?v=8JxwTUr6zbI
If your model files are in .pmx format, here's a tutorial for converting into .vrm first(video is in Chinese):
https://www.bilibili.com/video/BV1DN4y1d79p