


0 of 0


About this mod
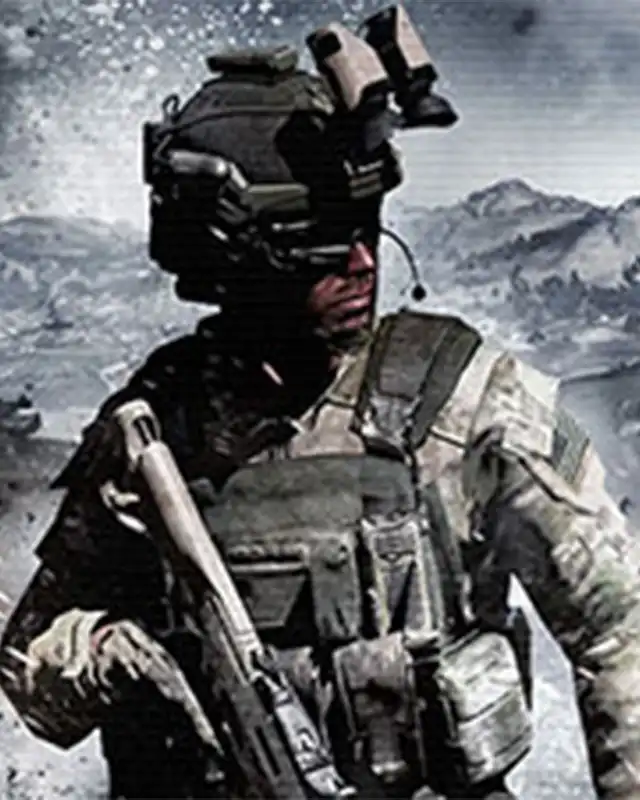
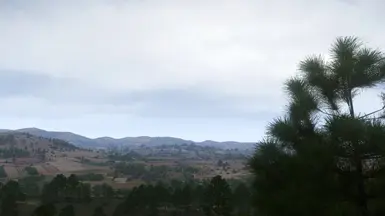
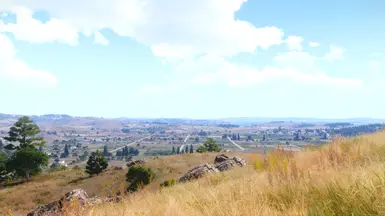
A visual enhancement for Arma 3 using ReShade and in-engine post processing. I aim to provide high quality realistic graphics by making corrections to color, brightness, ambient occlusion, lighting, and other post processing.
- Requirements
- Permissions and credits
- Changelogs

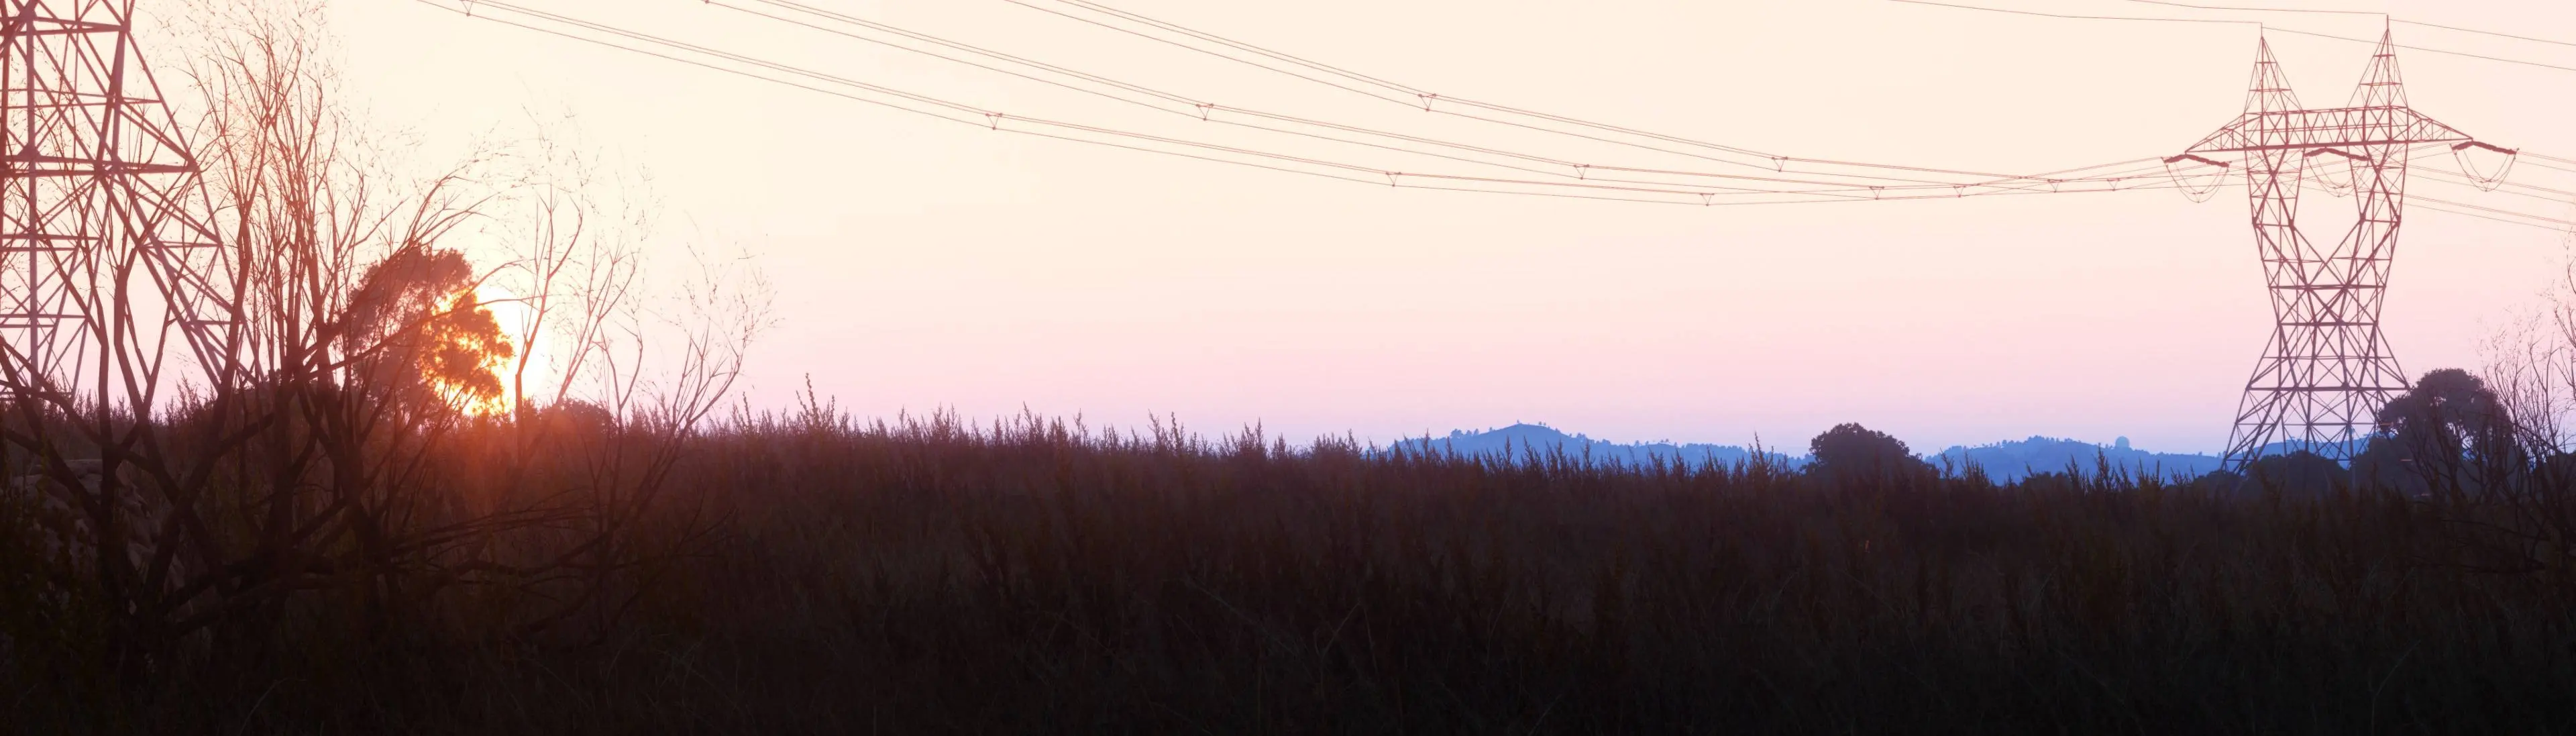
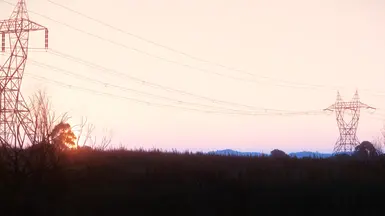
- Proper color correction by adding an accurate amount of saturation and brightness to the scene, as well as reducing green and magenta tinting to achieve a color temperature close to 6500k for a more even and natural color balance
- Removed blue haze
- Improved shading using multiple ambient occlusion techniques
- Point cloud global illumination adds more realistic lighting to the scene
- Accurate amount of in-engine post processing bloom
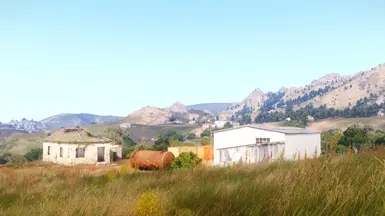
- Accurate amount of in-engine post processing depth of field adds distant blur based on depth to simulate how things far away become less sharp and focused to add more realism to the scene. Not at all the same as traditional depth of field effects. This effect is more of a realistic but very subtle distant blurring
- Large scale perceptual obscurance and irradiance improves the lighting in bright and dark areas
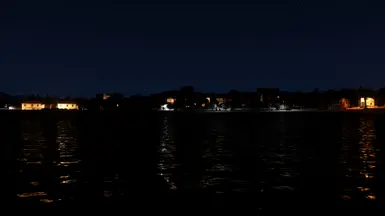
- Debanding reduces color banding and helps the sky and clouds appear more natural especially during night time
- Denoising reduces noise and artifacts such as discoloration in the image to provide a more crisp and cleaner appearance
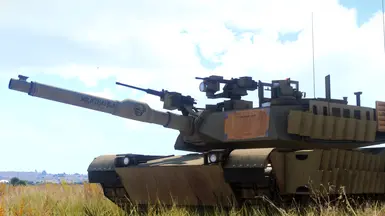
- Bump mapping makes rendered surfaces look more realistic by simulating bumps, wrinkles, and small displacements to give textures on 3D model's more realistic detail by manipulating the way light interacts with the surface
- Colors are more vibrant and realistic using multiple different color shaders
- Optical flow vectors help calculate objects in motion more accurately which helps certain shaders (RadiantGI, MXAO, GloomAO, vort_Motion) appear cleaner and more accurate

I have provided 8 different quality presets to choose from both with and without ambient occlusion to offer more flexibility and optimization especially to those with older systems. Each preset has a gradual change in quality and performance.
Performance will vary depending on hardware, in game graphics settings, resolution, and which quality preset is selected. So try out different quality presets and adjust graphics settings accordingly to see what works best for you. Enabling performance mode located at the bottom right corner of the reshade window can also slightly help with performance.
Note that if you do not want to use a certain shader you can disable it by clicking on the checkmark next to the name of the shader. Active shaders will be highlighted with a checkmark next to their name. Shaders that aren't active will be grayed out and have no checkmark.

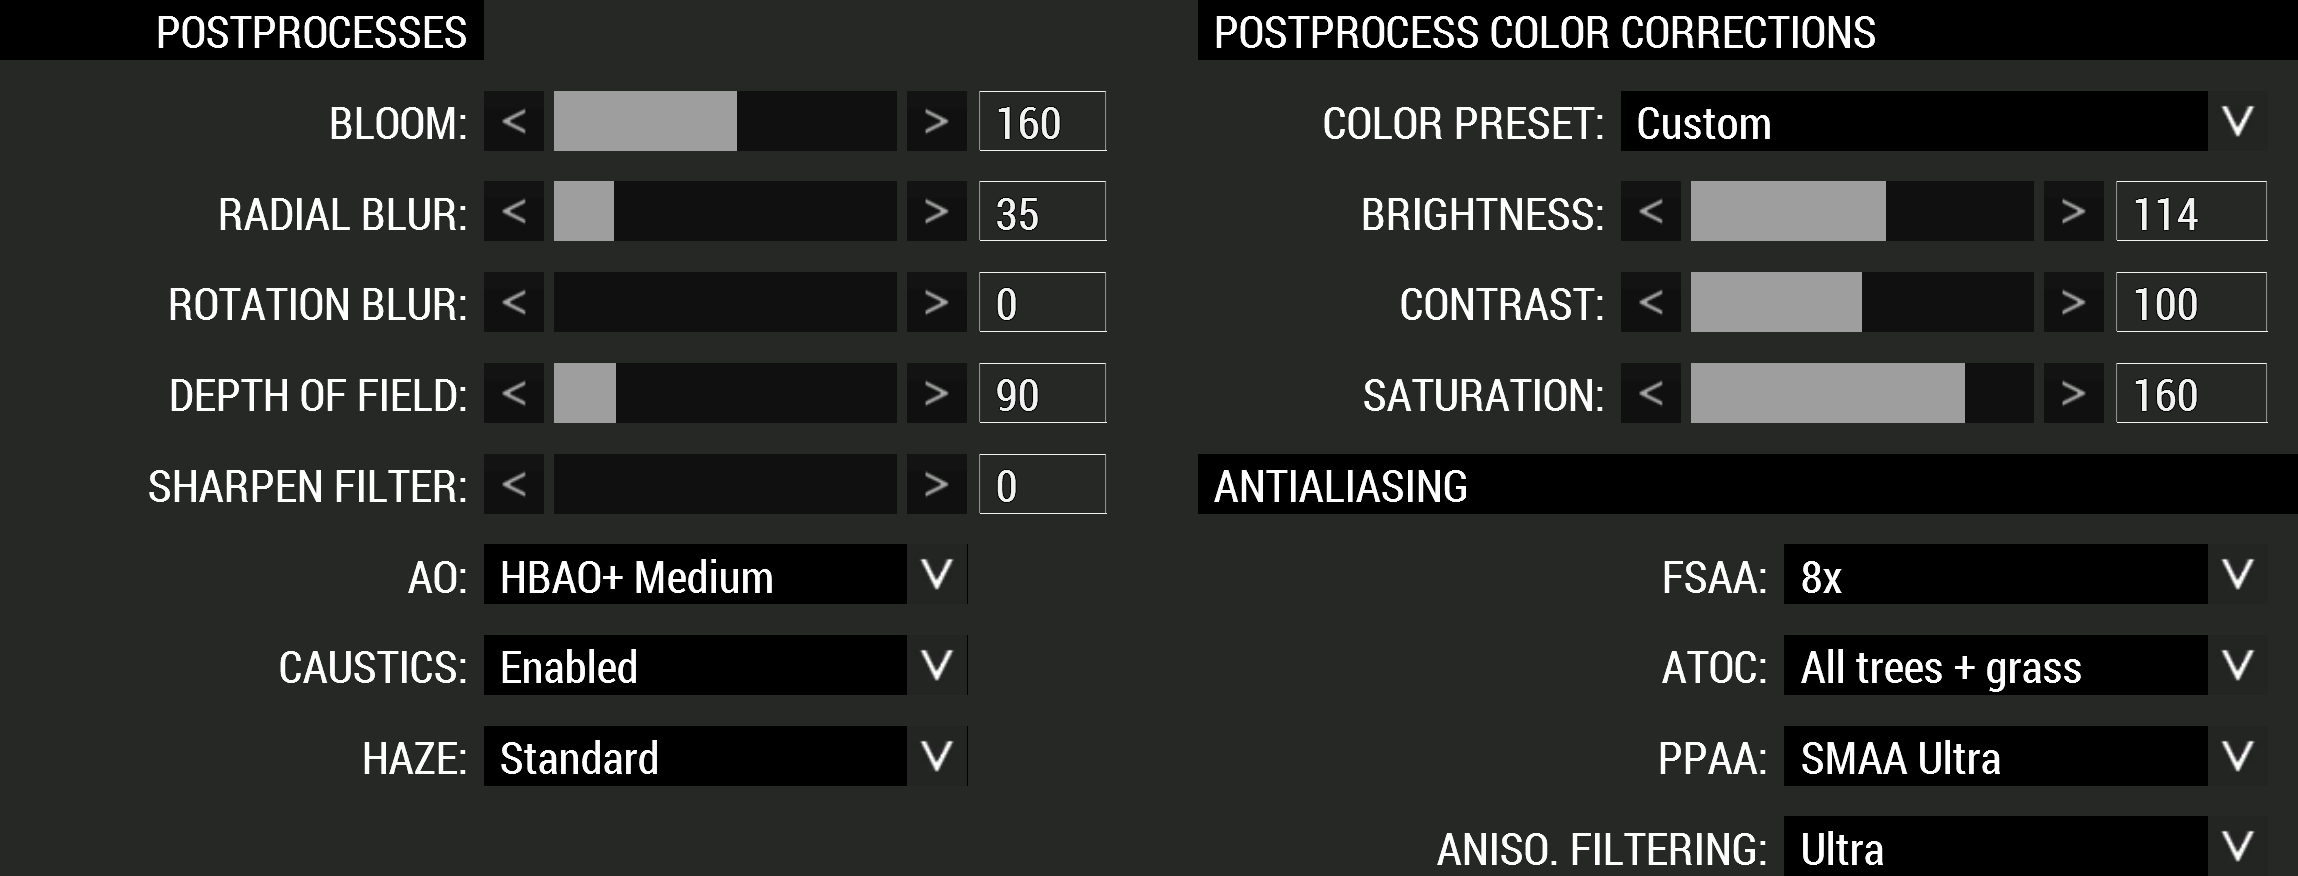
Set your brightness, saturation, bloom, and depth of field to what is displayed above for accurate color corrections and post processes to match what is shown in the screenshots. These settings were used when capturing the sceenshots.

- Download ReShade
- Open ReShade
- Select the target game's .exe (arma3_x64.exe) and click on next
- Select the rendering API Microsoft DirectX 10/11/12 and click on next
- At the top right click on uncheck all and then check all and then click next
- Click on finish
- Download the latest version of the Arma 3 ReShade Presets v4.0
- Once downloaded open the Arma 3 ReShade Presets v4.0.zip file and drag the Arma 3 ReShade Presets folder into the Arma 3 installation directory located at C:\Program Files (x86)\Steam\steamapps\common\Arma 3
- Load Arma 3 and hit the home key on your keyboard to open the ReShade menu
- Follow the on screen tutorial by clicking on continue. Once you're finished with the tutorial click on finish
- At the top of the ReShade menu click on the bar that says ReShadePreset
- Scroll down and double click on the folder named Arma 3 ReShade Presets
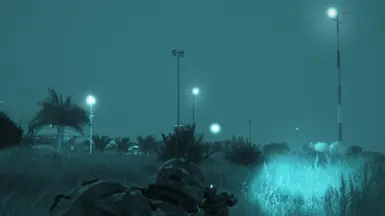
- From here you will have the option to open the Arma 3 or ACE Night Vision folders
- Double click one of the folders and choose if you would like ambient occlusion enabled or disabled
- Select one of the quality presets (I.e #5 Medium)
- To go back to a previous folder double click on the two dots . .
- For seamless switching between presets go into the settings tab at the top of the ReShade menu and set 'Previous preset key' to 'Left Arrow' and 'Next preset key' to 'Right Arrow' on your keyboard
- You have successfully installed ReShade into Arma 3 and your presets are now loaded
- Done

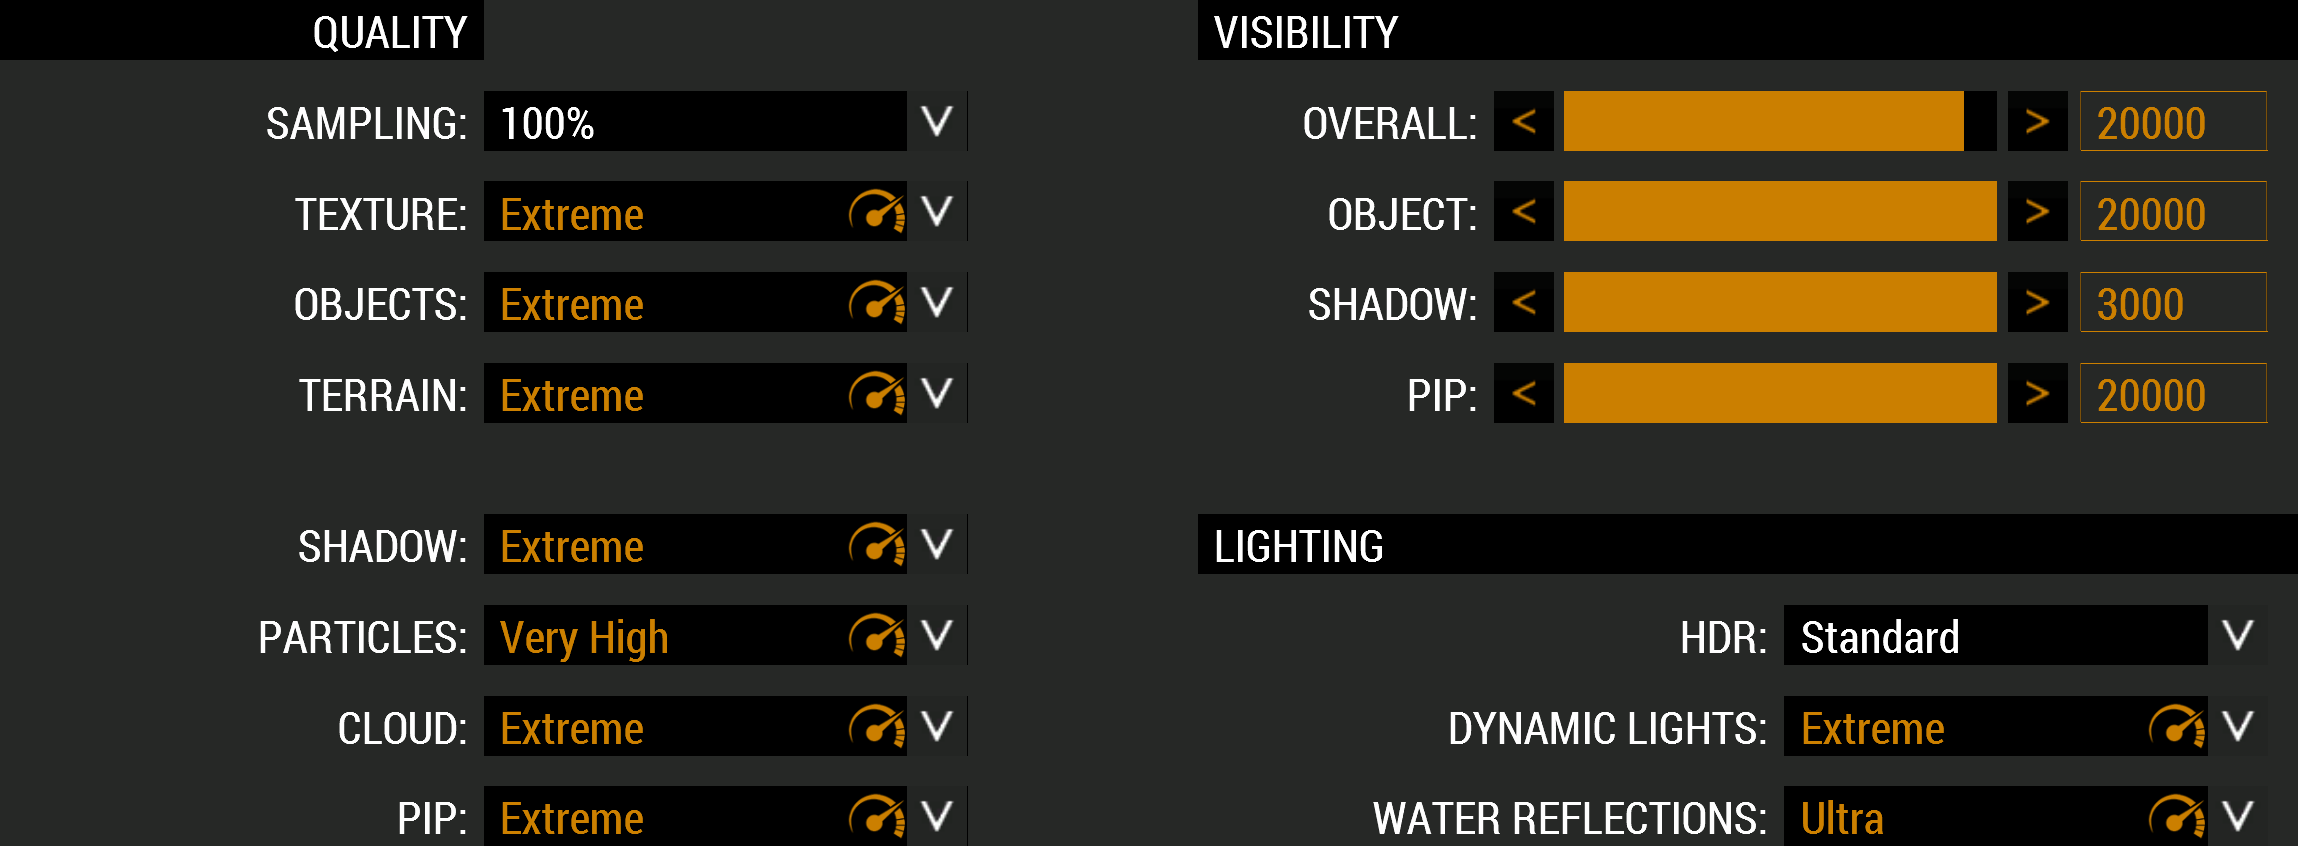
- Having a high object view distance can have a big impact on performance so it’s generally recommended to keep it as low as possible depending on your current mission and to set it to about 1/3 to 1/2 of the overall view distance
- Having ReShade effects enabled will increase render latency especially when using depth shaders
- RadiantGI, MXAO, and GloomAO have problems flickering in first person and while aiming down the sights, so you may want to disable them if you play in first person as it can be distracting while playing
- ACE Night Vision preset is intended to be used with the ACE mod's night vision
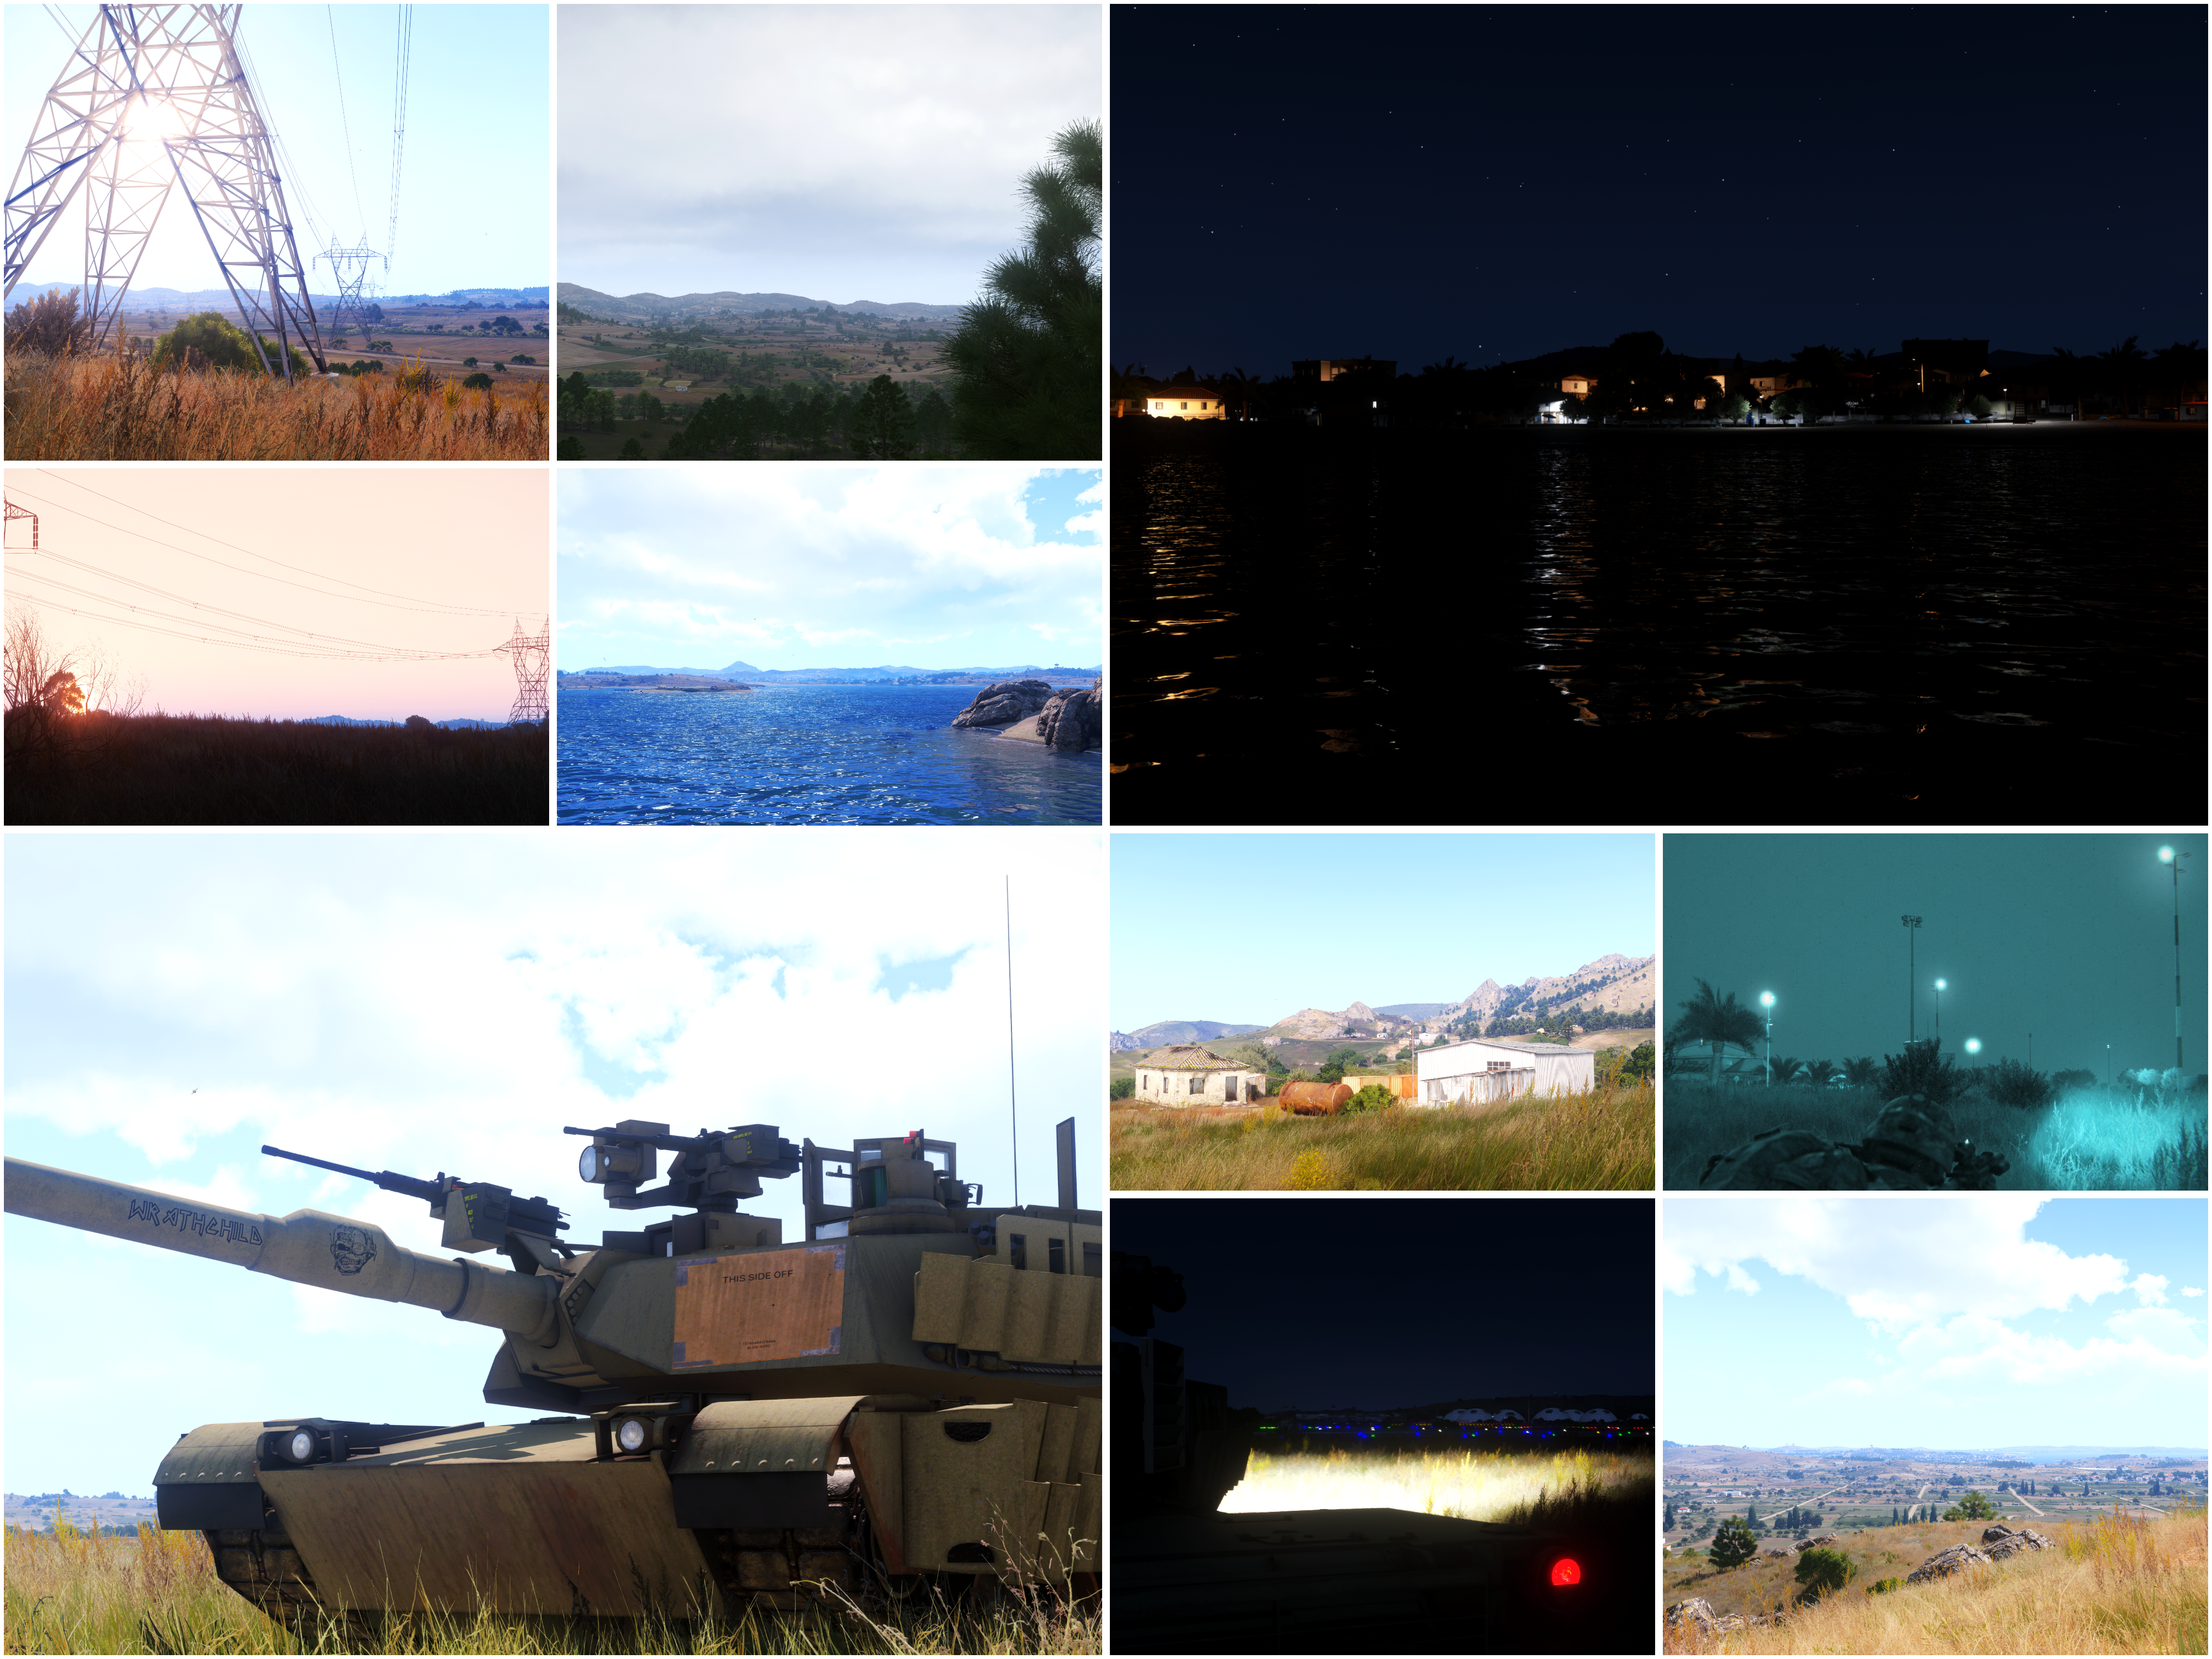
- All screenshots were captured in game using ReShade with no additional post effects applied
- No additional graphic mods were used when capturing the screenshots. What you see in the screenshots is completely vanilla lighting
- No shaders that require a subscription fee were used in any of my presets. You can make your game look exactly like the screenshots for free
- Higher quality presets are very demanding and will tank your fps. That's just how ReShade is. I've tried to do my best by providing different quality presets to offer greater flexibility and optimization for all users. In game post processing brightness, saturation, bloom, and depth of field however should have little to no performance impact
- It's worth pointing out that this lighting is vanilla lighting and isn't using Livonia lighting or any other kind of modded lighting that some terrains have. The vanilla Altis lighting is simply the most realistic lighting configuration Bohemia Interactive has made
- You can improve the game's anisotropic filtering by using Nvidia or AMD anisotropic filtering found in the Nvidia Control Panel or AMD Radeon Settings. All screenshots were taken with nvidia anisotropic filtering set to 16x and texture filtering quality set to high quality. This overrides the game's anisotropic filtering settings and can improve texture quality by reducing blurriness and reduce artifacts off in the distance. Doing this should not result in any noticeable loss in performance on newer GPUs and can greatly improve the look of the game. Be sure to turn off the in game anisotropic filtering to avoid any potential issues
- While ReShade does make the game look better, it's not going to magically transform the entire look of a game. It's not going to fix the terrible interior lighting of buildings and vehicles or the outdated textures and models. Showcasing before and after screenshots with bad angles and low fidelity rendering isn't the point of what ReShade is about. ReShade is simply a tool that enhances how a game already looks. It's important to understand that. Making Arma 3 actually look better requires a more powerful engine with higher quality shaders and modern rendering. Most of what you see in the screenshots is how good vanilla Arma 3 really does look. No matter how good of a ReShade preset you can make, if the game itself doesn't look good it won't make the game look that much better. Bohemia Interactive did a phenomenal job with Arma 3's graphics and deserves a lot of credit for that. I just put everything together to create a complete look for the game
- Some effects can appear blurry or distorted at lower resolutions. The reason for this is because post processing effects often rely on calculations between neighboring pixels. With fewer pixels, these calculations become less precise, leading to artifacts
- Maps that don't use the Altis lighting configuration won't look the same as the screenshots for the simple reason that some maps use a different lighting configuration such as Livonia. So the screenshots won't look the same on a map such as Livonia for this reason. You will still have the same kind of quality but the colors, contrast, clouds, and shadows won't look the same

QR Code