


0 of 0


About this mod
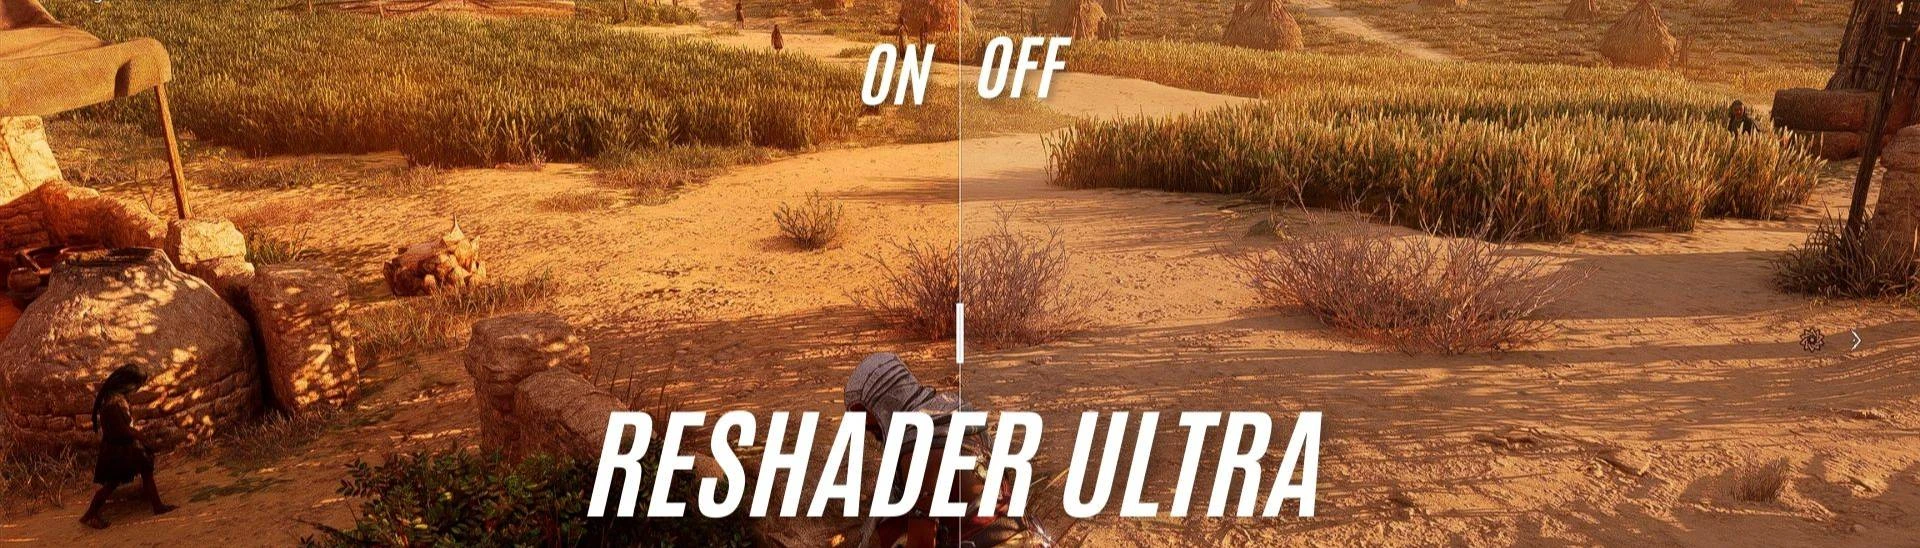
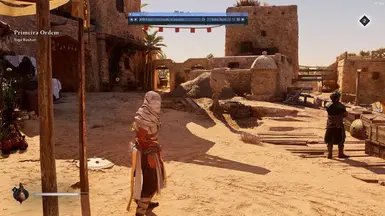
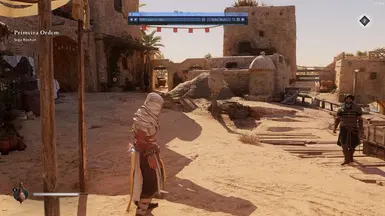
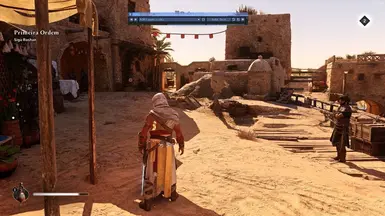
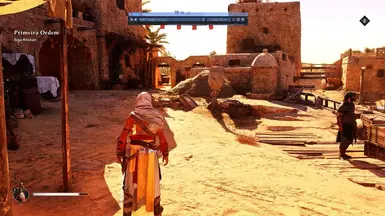
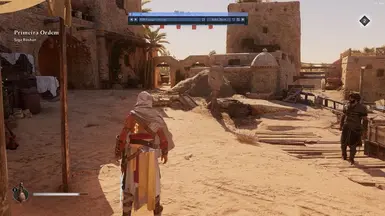
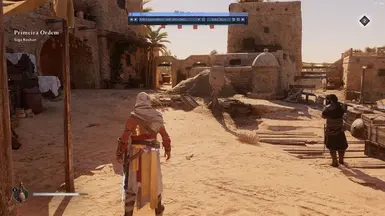
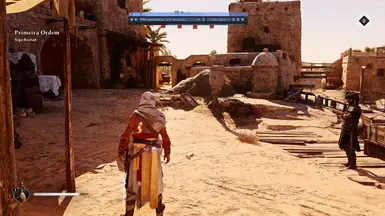
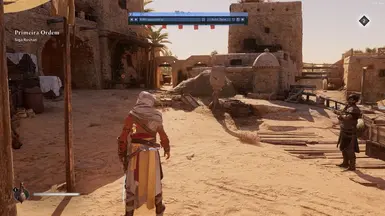
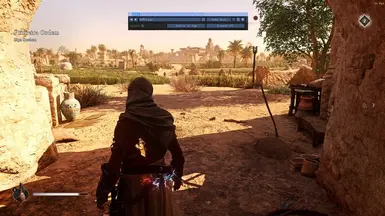
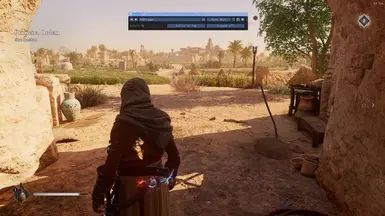
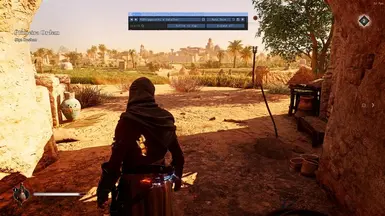
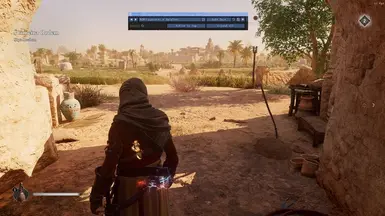
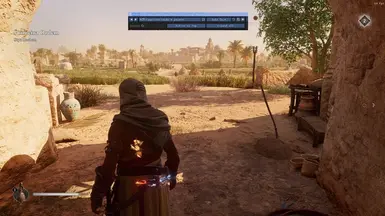
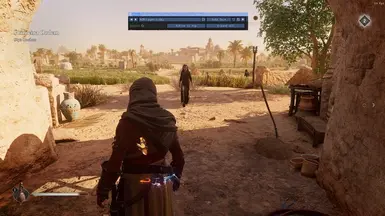
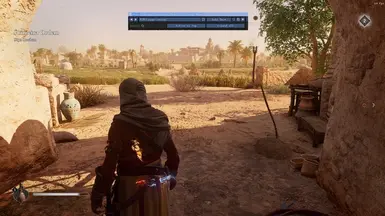
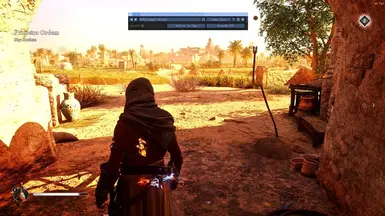
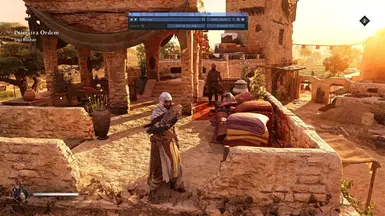
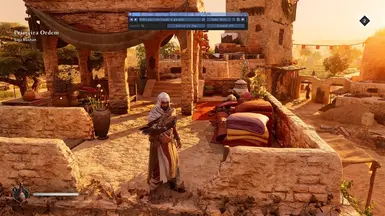
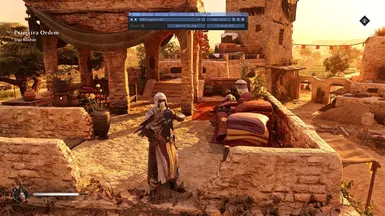
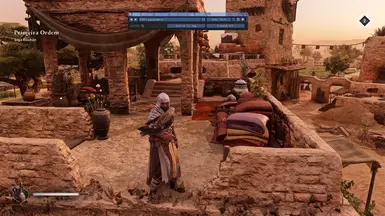
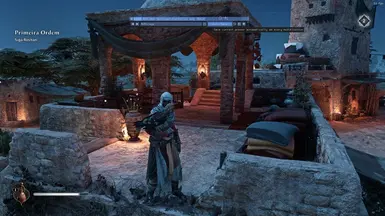
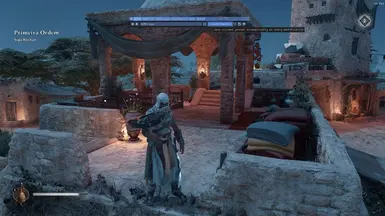
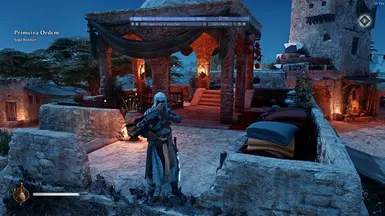
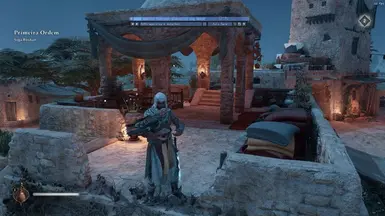
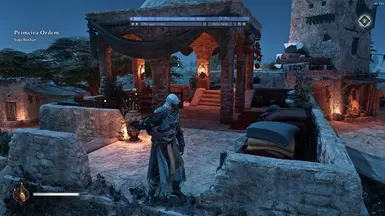
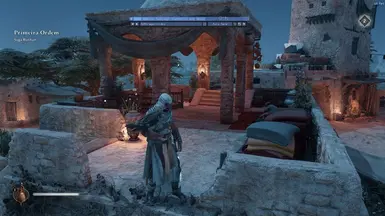
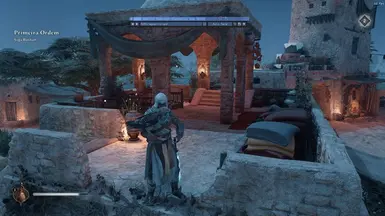
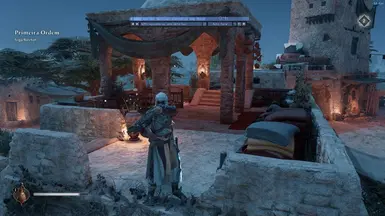
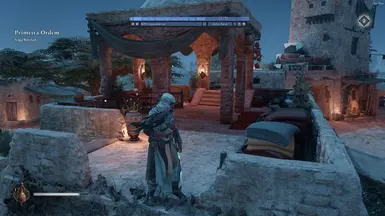
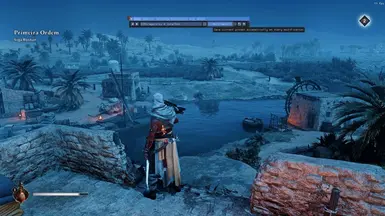
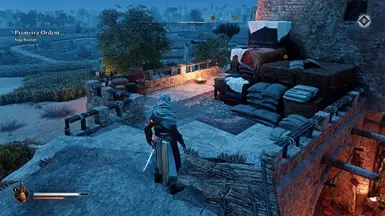
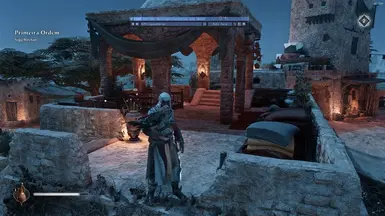
some versions I made as a reshader for the game using the immerser package, and other versions working with contrasts and colors
- Permissions and credits
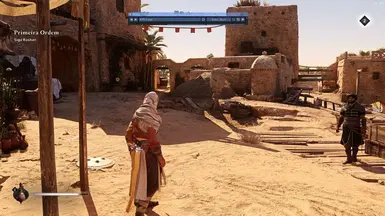
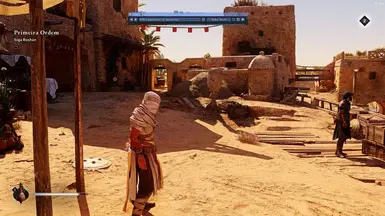
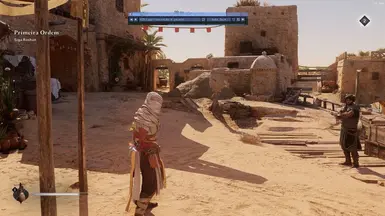
see some introductory photos, videos and also some comparisons
In the future I will improve this but feel free to leave it to your liking
Step-by-Step Guide to Using the FilesStep One: Download Necessary Files
Step Five: Edit Global Preprocessor Definitions
Note:
vanilla vs mod https://imgsli.com/MzE5MTc1/2/3
Assassin's Creed Mirage enabling FG for all gpus https://www.nexusmods.com/assassinscreedmirage/mods/128
Best Mods for the Game:Credits:Credits:
4lex4nder for the biggest reshade mode ever 'REST addon'
Pascal Gilcher for free (GTAO + Bitmask)MXAO
papadanku for the autoexposure for hdr rest buffers wasnt needed in the end but he has alot of other cool effects.
If you liked it, support us, it really cheers us up!
In the future I will improve this but feel free to leave it to your liking
Step-by-Step Guide to Using the FilesStep One: Download Necessary Files
- Download Reshader:
- Download the correct version of Reshader.
- https://reshade.me/
- Download the Nexus File for :
- Find and download the necessary file on Nexus Mods.
- Find and download the necessary file on Nexus Mods.
- Place the File in the Game's Root Directory:
- Place the
for example ACMirage lighting
file in the game's root directory where the.exefile is located.
- Place the
- Open the Reshader Program:
- Open Reshader and find the game.
- Select the DX11 or DX12 version.
- Locate and select the
for example ACMirage lighting and package.in
file using Reshader. This should automatically download all necessary configurations.
- Start the Game:
- Start your game and go to the open-world section.
- Start your game and go to the open-world section.
- Home Key:
- Press the
Homekey to open the Reshader menu.
- Press the
- Settings:
- Go to
Settings. - In
OVERLAY KEY, set the key toDel(you can choose any key you prefer). This will allow you to toggle the overlay on and off. - In
EFFECT TOGGLE KEY, set the key toPage Down(you can choose any key you prefer). This will toggle the effects on and off.
- Go to
- ✓ MMERSE: Launchpad (enable and move to the top!) [MartysMods_LAUNCHPAD. fx]
- ✓ IMMERSE: MXAO [MartysMods_MXAO.fx]
- ✓ IMMERSE: Sharpen [MartysMods_SHARPEN. fx]
- ✓ Clarity [Clarity.fx]
- ✓ Lightroom [qUINT_lightroom. fx]
- ✓ Levels [Levels.fx]
Step Five: Edit Global Preprocessor Definitions
- Settings:
- In
Edit global preprocessor definitions, set the configurations as follows:- all versions
RESHADE_DEPTH_LINEARIZATION_FAR_PLANE = 1000.0RESHADE_DEPTH_INPUT_IS_UPSIDE_DOWN = 0RESHADE_DEPTH_INPUT_IS_REVERSED = 0(Test this option with 0 or 1 and see how it goes)RESHADE_DEPTH_INPUT_IS_LOGARITHMIC = 0
- all versions
- In
- IMMERSE: Launchpad (MartysMods_LAUNCHPAD.fx):Enable and move to the top: Enable this effect and move it to the top of the list for best results. Improve the quality of normals and motion vectors.
- IMMERSE: Sharpen (MartysMods_SHARPEN.fx):Enable: Check the box to enable this effect. It enhances image sharpness.
- IMMERSE: MXAO (MartysMods_MXAO.fx):Enable: This effect enhances shadows around objects, providing greater visual depth. This robust ambient
- occlusion shader is based on GTAO and Irradiance Bitfields.
- Clarity (Clarity.fx):Enhances overall image clarity and detail.
- DPX (DPX.fx):Enhances color grading and tonal response.
- Vibrance (Vibrance.fx):Increases the intensity of colors without oversaturating them.
- Vignette (Vignette.fx):Adds a subtle darkening effect around the edges of the screen for a more focused image.
- The IMMERSE options may cause a drop in FPS if not configured correctly. If your PC is very weak, I recommend using only IMMERSE: MXAO.
Note:
vanilla vs mod https://imgsli.com/MzE5MTc1/2/3
Assassin's Creed Mirage enabling FG for all gpus https://www.nexusmods.com/assassinscreedmirage/mods/128
Best Mods for the Game:Credits:Credits:
4lex4nder for the biggest reshade mode ever 'REST addon'
Pascal Gilcher for free (GTAO + Bitmask)MXAO
papadanku for the autoexposure for hdr rest buffers wasnt needed in the end but he has alot of other cool effects.
- And other effect and filter creators using this mod.