


0 of 0


About this mod
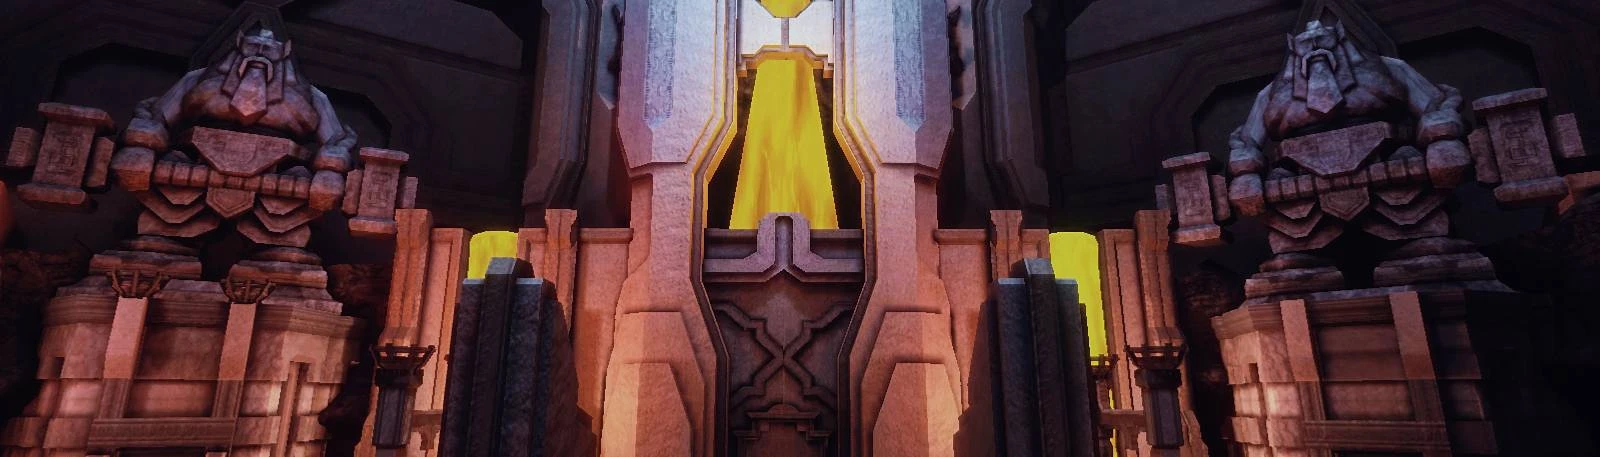
Transform your gaming experience with the CPV - Reshade Preset! This mod eliminates the unpleasant yellow tint, improves light conditions and ads a touch of sharpening to make your game look more cinematic. It includes three variants taiilored for different PC specifications, enjoy optimized visuals on a high end, mid-range, or low-end system.
- Requirements
- Permissions and credits
- Changelogs
CINEMATIC PIXEL VORTEX
Introduction:
The CPV - ReShade Preset is designed to improve your gaming experience by removing the unesthetic yellow tint, adding subtle sharpening to optimize the blurry image and also eliminating the undesireable color banding in the sky. The CPV-Preset also adds letterbox bars ( which can be turned on/off ) to create a more cinematic and immersive gaming experience.
Features:
Tint Removal: Gets rid of the yellow tint, resulting in more natural and balanced colors.
Sharpening: Enhances texture details and overall image clarity without causing oversharpening artifacts.
MultiLUT.fx Shader Integration: This feature allows you to apply a variety of LUTs (Look-Up Tables) in real time,
providing a wide range of color grading options.
Cinematic Experience: adjusts lighting and color settings, also includes letterboxing to provide a movie-like visual feel.
Performance Variants: Three different versions tailored for high-end, mid range, and low-end PCs to ensure optimal performance on
various hardware setups.
Afternoon Sun Texture: a custom sun texture improving the look and atmosphere. (See Recommended mods section below for another Afternoon Sun Texture)
(Unfortunately the HUD elements in game are partially covered yet visible while using the letterbox bars, you need to hide/reveal the HUD elements by pressing key "V" and activate/deactivate letterboxing by pressing key "B". If that´s inconvenient, just don´t use it.)
List of shaders used in CPV:
High-End Preset:
- AdaptiveTonemapper
- AmbientLight
- Border
- Clarity
- ColorMatrix
- ColourFulness
- Curves
- Deband
- LumaSharpen
- Depth_Cues
- DisplayDepth
- DPX
- FakeHDR
- FilmicPass
- GloomAO
- HSLShift
- LevelsPlus
- LiftGammaGain
- LumaSharpen
- MultiLUT_Kuzu
- PD80_Bloom
- PD80_Filmic_Adaptation
- PD80_Shadows_Midtones_Highlights
- PD80_Contrast_Brightness_Saturation
- PPFX_SSDO
- PD80_Film_Grain1
- SurfaceBlur
- Vibrance
Mid-Range Preset:
- Border
- Clarity
- ColorMatrix
- Deband
- DisplayDepth
- DPX
- FakeHDR
- LevelsPlus
- LiftGammaGain
- LumaSharpen
- MultiLUT_Kuzu
- PD80_Filmic_Adaptation
- PD80_Shadows_Midtones_Highlights
- PD80_Contrast_Brightness_Saturation
- PPFX_Bloom
- Vibrance
Low-End Preset:
- Border
- ColorMatrix
- Deband
- FakeHDR
- LevelsPlus
- LiftGammaGain
- LumaSharpen
- MultiLUT_Kuzu
- PD80_Contrast_Brightness_Saturation
- Vibrance
Installation:
1. Download and Install ReShade:
- Visit ReShade´s official website and download the latest version.
- Run the installer and select your game´s executable
- Choose the appropriate rendering API, Direct3D 9 (D3D9) for Dragon Age Origins
2. Add Preset Files:
- Download the desired CPV - Preset File
- Extract the Files into a separate folder
- Copy/Paste the override folder to C:user/documents/BioWare/Dragon Age/packages/core
- Copy/Paste the reshade-shaders folder into the existing bin_ship folder inside the game directory
- Copy/Paste the ReShade.ini and ReShadePreset.ini into the existing bin_ship folder inside the game directory
3. Read the quick guide on Depth Buffer at Marty´s Mods.
(Turn on DisplayDepth in the ReShade menu - should be on top of the shader´s list - to adjust settings if needed)
Compatibility:
- Games: CPV was designed to work with Dragon Age Origins in mind. Based on NerfDefender gameplay test, CPV seems to also work perfectly fine in Dragon Age 2. No other games has been tested yet.
- Systems: Compatible with Windows OS. Ensure your graphics drivers are up to date for the best performance.
- Mods: Generally compatible with most mods, but certain mods altering lighting or color settings might conflict. Test and adjust settings as necessary.
Recommended mods to use alongside CPV:
Afternoon Sun (alternative sun texture to the one included in CPV)
TSM Vignette be gone (removes the dark corners vignette)
Troubleshooting:
CPV - ReShade Presets has been created and tested on: CPU: Ryzen 7 2700x, GPU: AMD Radeon rx550 2GB, 16GB Ram, Windows 10
Following FPS has been ascertained based on Preset and a Resolution of 1600x900 :
(Values will differ based on PC specifications)
- CPV High-End Preset: ~ 25 FPS
- CPV Mid-Range Preset: ~ 50 FPS
- CPV Low-End Preset: ~ 70 FPS
- Performance Issues: If you experience too heavy FPS drops, try switching to a lower preset variant or disabling some effects in the ReShade menu.
- Visual Artifacts: Ensure no other graphical mods conflict with the preset. Adjust settings in the ReShade menu if necessary.
- ReShade Not Working: Double-check the installation steps and ensure all files are placed correctly. Make sure you´ve selected the correct rendering API during ReShade installation.
Uninstallation:
Remove Files: Delete the ReShade files (ReShade.ini, ReShadePreset.ini, d3d9.dll and the reshade-shaders folder) also delete the (Afternoon Sun folder) in C:user/documents/BioWare/Dragon Age/packages/core/override
Leave your feedback and or review on the mod page, thx.