About this image
Notice
This user's image description contains 12 images. Some authors like to showcase more of their work in their image descriptions or use the image description to provide a storyboard for the image provided.
You will need to be logged in before you can see this user's image description.


10 comments
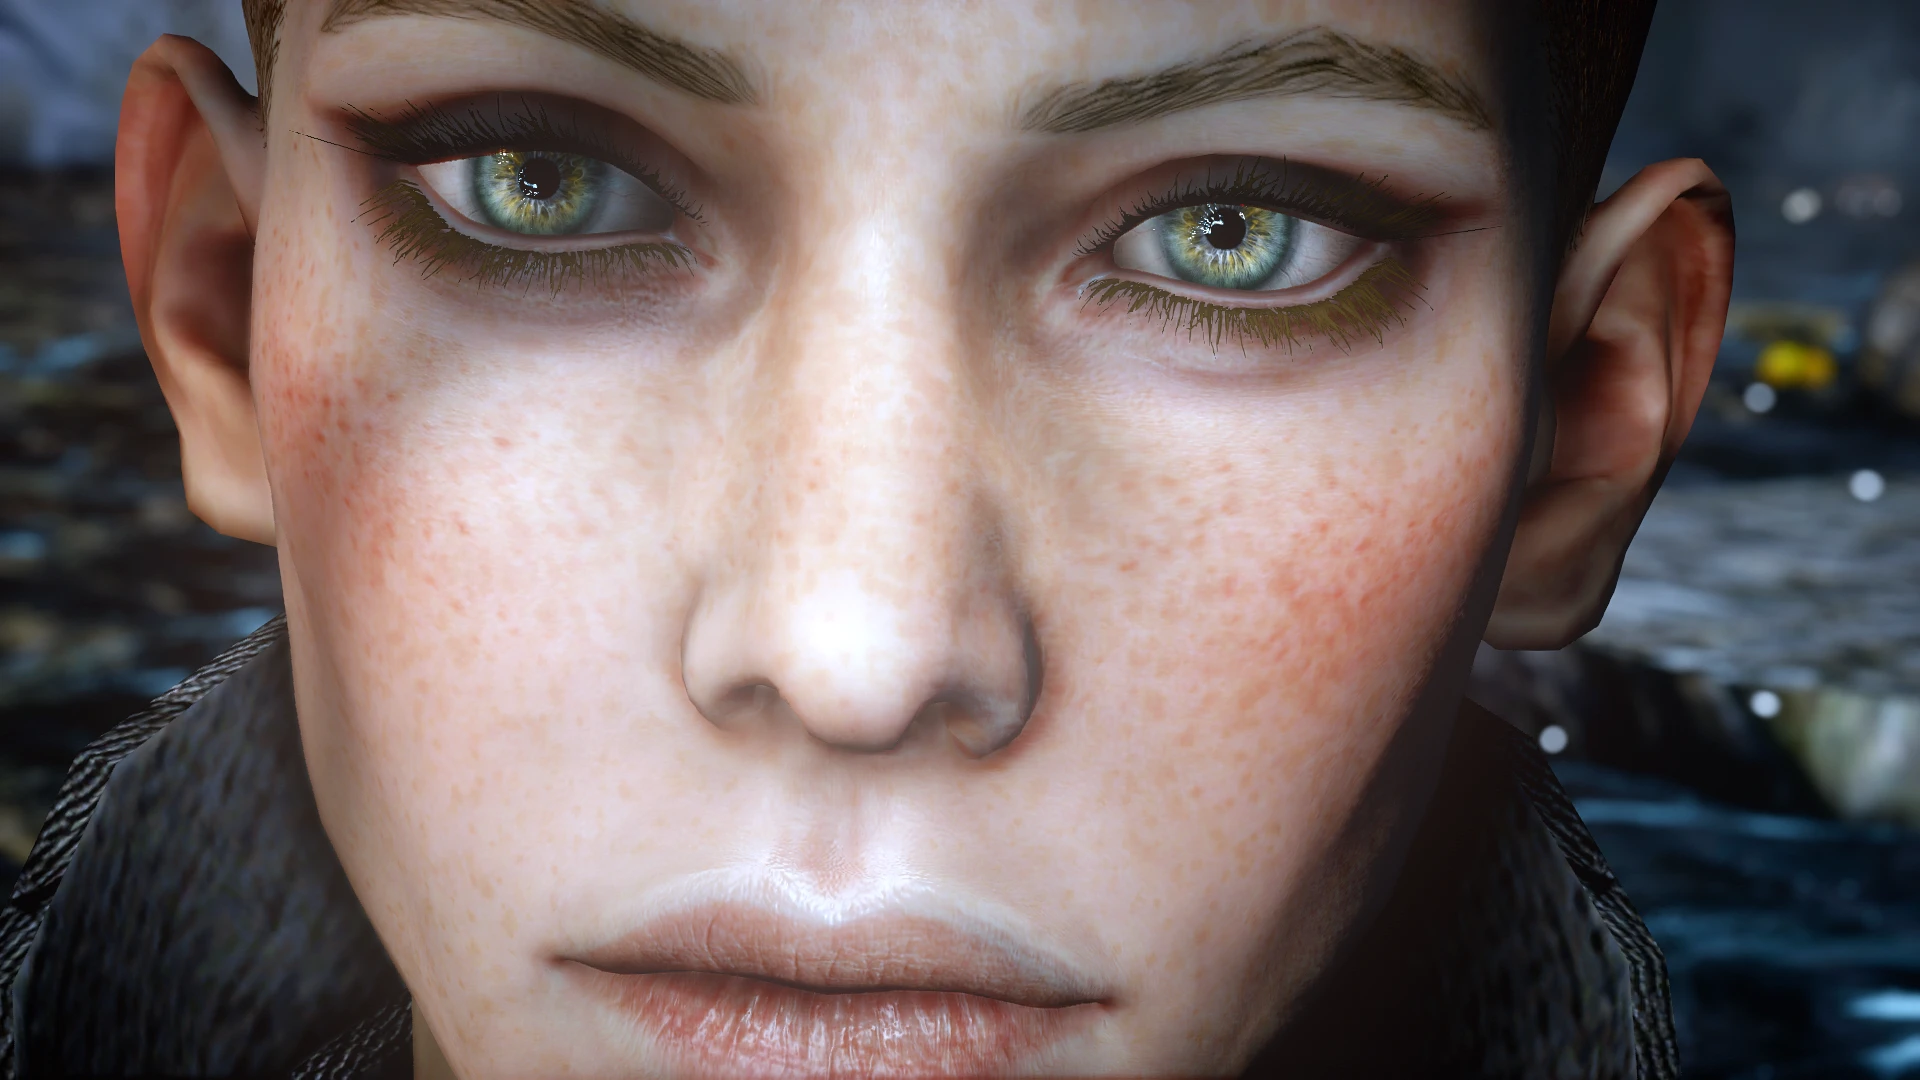
I'm starting to realize that less is better when it comes to the main (diffuse) texture, but it's amazing how far someone can take it. I just love flaws so much, haha... You should see me sitting at traffic lights trying to take a picture of my chapped lips with the back facing camera on my phone (selfie pictures destroy resolution). I'm sure I look ridiculous. But I've gotten some of the best resources that way - just wait for the right lighting while driving an hour to work, and voila!
The eyes were actually really simple, surprisingly. I discovered this 'technique' not long ago which, in case anyone wanted to try it, I'll list a thing below. As long as you can find a decent picture of an iris online, anyone can do it (painting works too though) -
How to create eye textures that 'pop' with a photo:
1. Find your image online (should be as high a resolution as you can find just to be safe, but this technique will work for pretty much anything)
2. Import the image into photoshop - or paint a design (you'll have to do more work)
- Note: I like to import images as smart objects on top of a base texture, if one is used. To easily import as a smart object onto a base texture just open
windows explorer & find the image you want to import, then drag&drop the image directly onto the canvas/texture. It's now a smart object. (if you're
unfamiliar with how smart objects work & their benefits, do a quick search on google)
3. Go ahead and either erase or mask out the parts you don't want, keeping as close to a perfect circle as you can (the iris - this is where having a base texture underneath can come in handy)
- Note: I first erase with the soft brush at 100% opacity & flow, then go back with the same brush with a lower flow % and either 100% opacity (barely
skimming the edges) or a lower opacity for a messier approach, then I feather the edges just a bit. There are options to 'automatically' feather, but I like
this way better for the most control (another google search will show you other ways to feather)
4. Once you have just the iris, go to "Filter>Oil Paint" in the top menu. Play around with the settings until you're happy with the results (less is better here. You don't want it to look TOO much like a painting)
- Note: this also gets rid of any (or most) pixelation and artifacts, & will give you a nice, smooth finish if you adjust the right settings!
That's really all you need to do, but I take it a little further...
5. Duplicate the layer
6. Once more, go to the "Filter" drop down, but this time select "Style>Emboss". Play around with the settings, but keep in mind the end result, which is -
making the eyes 'pop', or look almost 3D.
- My settings: Height: between 3 & 5 (it depends, but going too high will make the images not line up right)
Depth: really high, between 100 & 200
7. Press "OK" and go to the layers tab & change the blend mode to either "soft light" or "overlay" (to access the blend mode you should see a drop down menu that says "normal" in the top left. Clicking it will display other options)
Cliff note: Most photos of eyes have reflections & whatnot... Try to find one with as little of this as possible, unless you know how to fix this.
For small reflections, keep them through the entire process & then use the spot healing tool to get rid of them afterward.
You can do it before, but sometimes you can't even tell it's there after you apply the oil paint filter and realize fixing it was a waste of time (or you don't, since you already fixed it!)
It's really only two steps if you're familiar with PS. Maybe someone will find this useful!
Complexions tend to look muddy if you have more than one loaded up at a time since they'll try to overwrite one another and then bug out the normal maps, so I'd go through your modlist and make sure you disable all companion retextures you aren't using entirely.