


0 of 0


About this mod
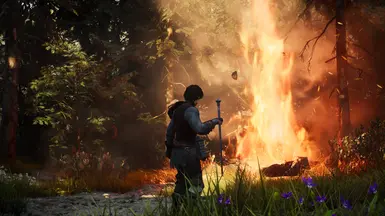
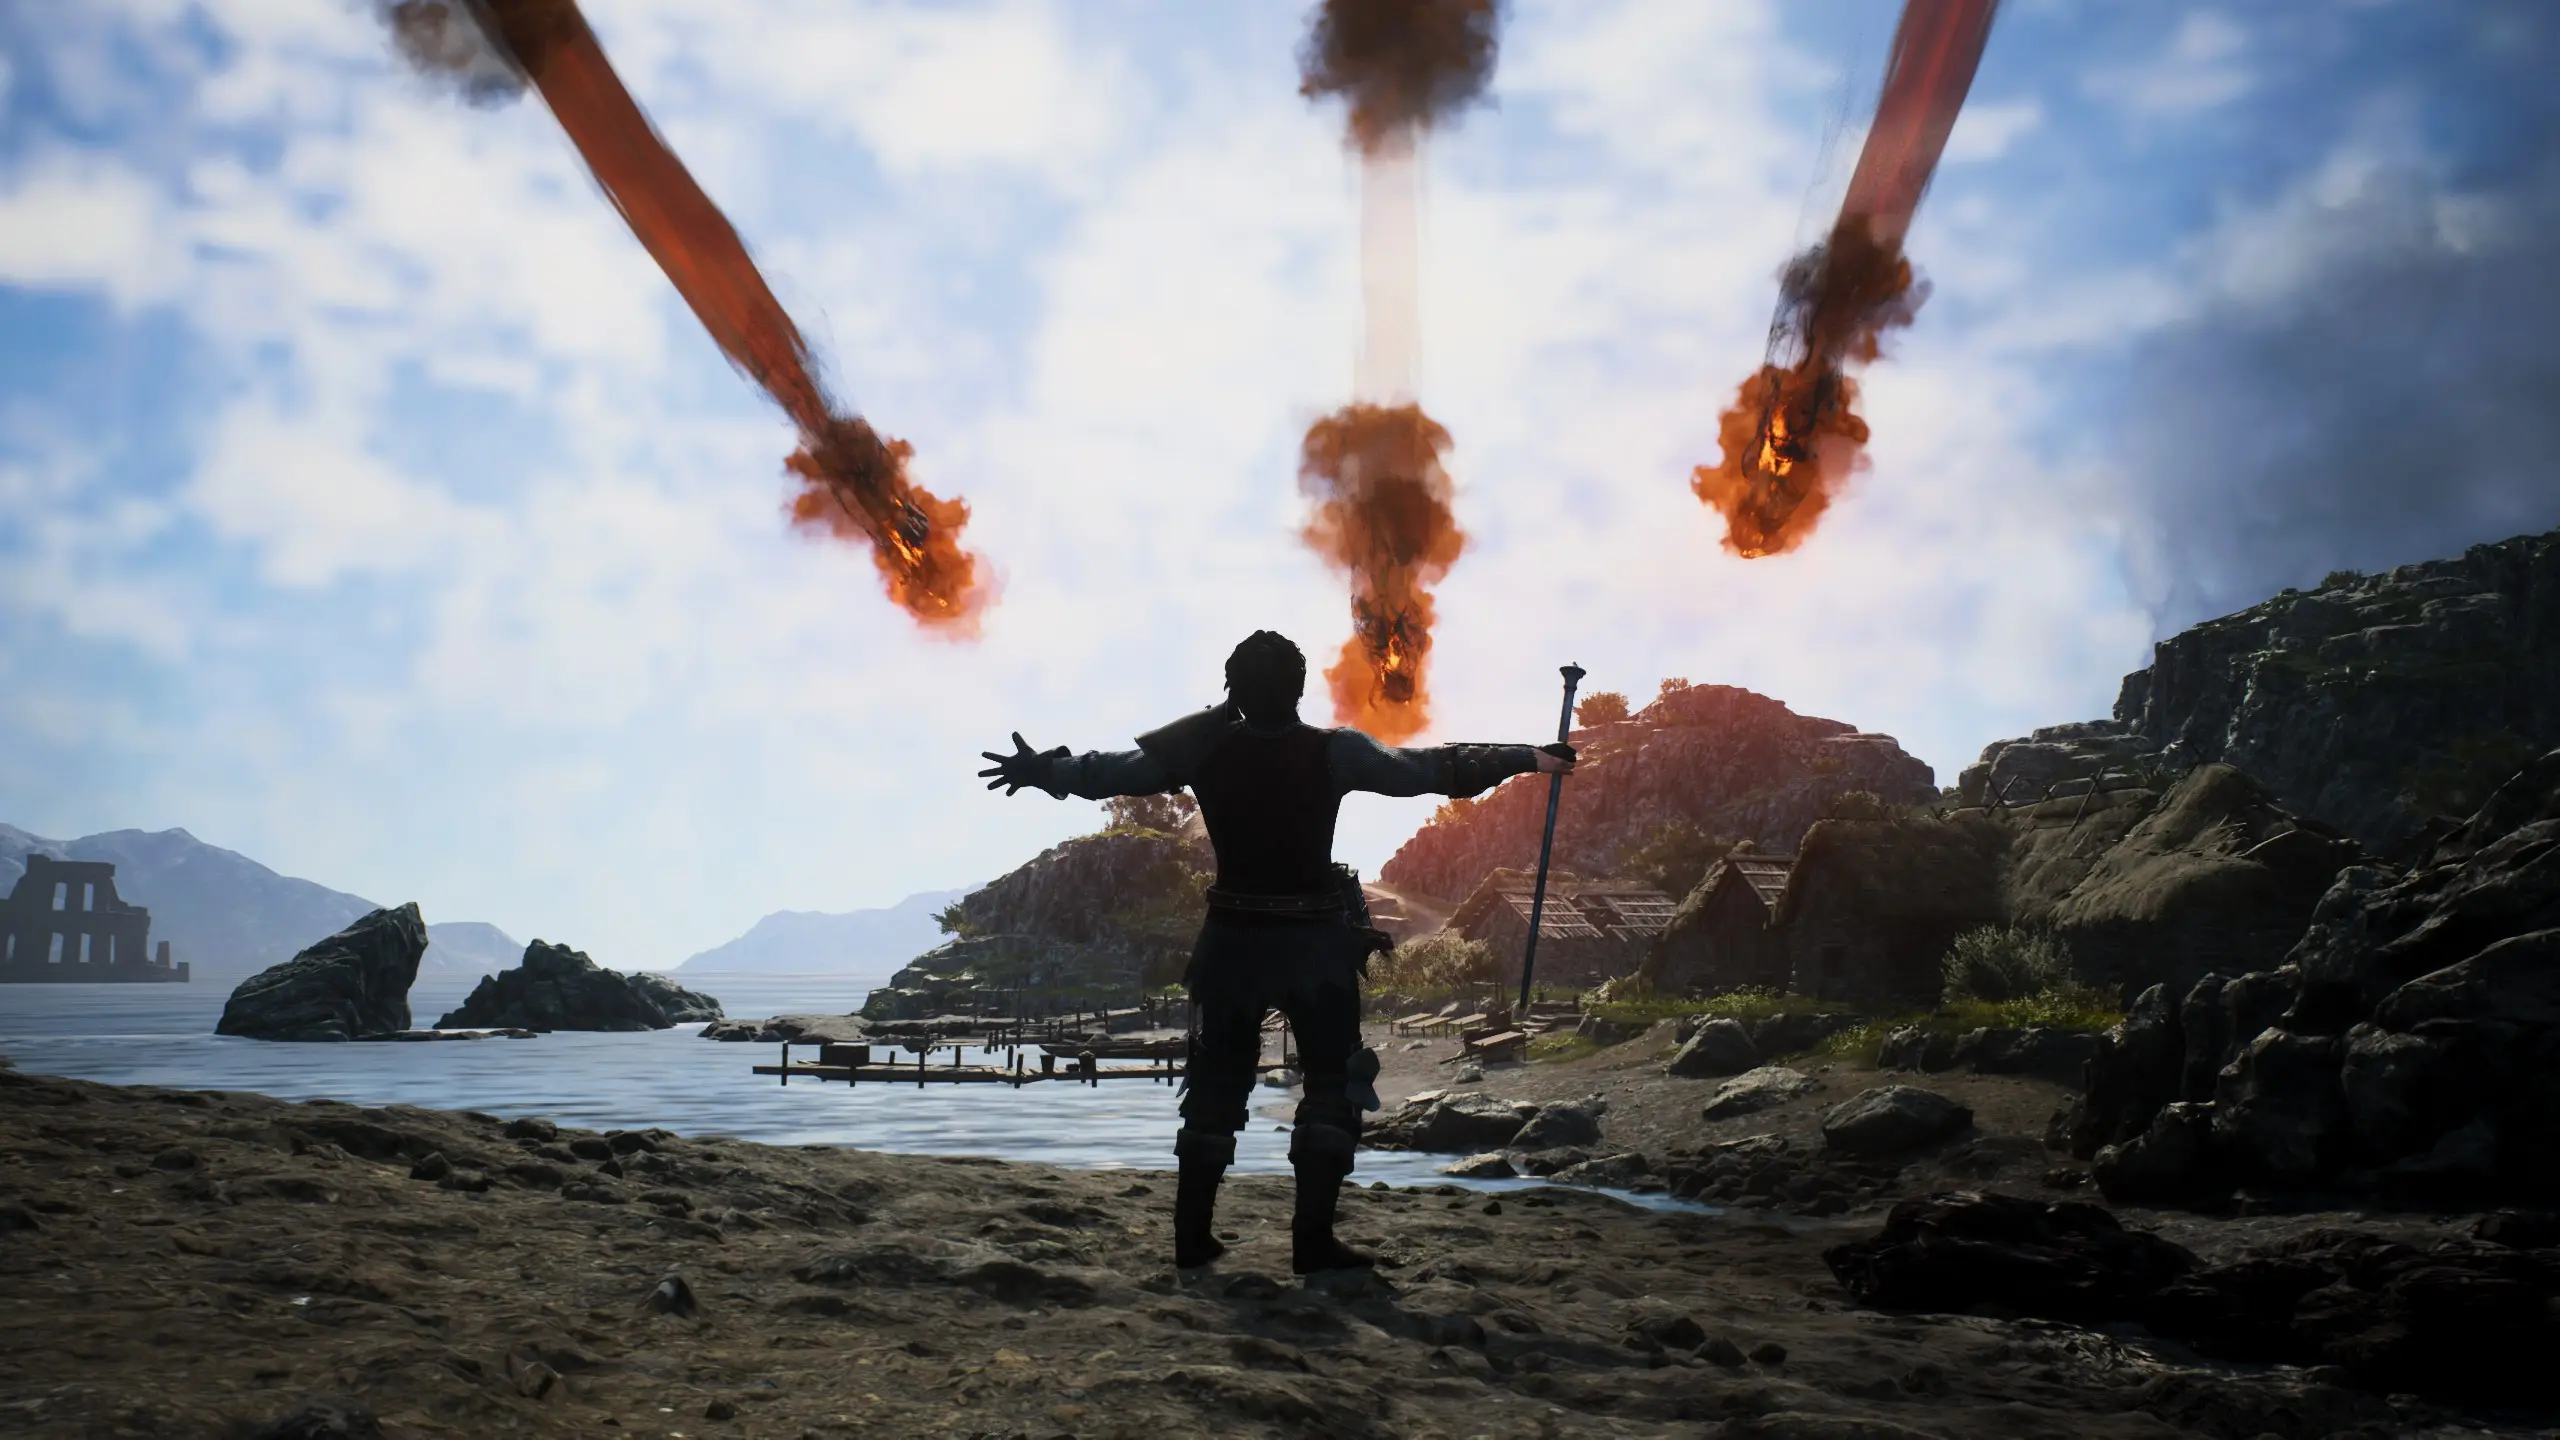
Create your own skills as sequences of animations, melee attacks, summons, lightning, explosions and other magical or physical effects
- Requirements
- Permissions and credits
- Changelogs
- Donations
Skill Maker

Skill Maker is now able make skills for enemies and NPCS, and can create new enemies with new movesets! Check out New Enemy - Enchantress for an example
I will write more information on the new features soon. You can get an idea of them from the Changelog here, and also the tooltips you see in the mod itself explain everything as much as I could explain it here.
v1.19 of Skill Maker requires the NEWEST version of _ScriptCore (v1.1.9)
This is a REFramework mod that allows you to create your own skills in Dragon's Dogma 2, and then bind them to hotkeys to use whenever you have the stamina. Each skill in this mod is treated as a sequence of "nodes". A node can trigger an action (animation+), and it can trigger a "shell", which is what the game calls its physical effects. Shells can be all sorts of things, such as explosions, pillars of ice jutting from the earth, fireballs, missiles, healing spheres, arrows and more. You can add and remove nodes from a skill, set how long the skill lasts and set which nodes trigger at what time over a skill's duration. Skills can be saved and loaded as json files from the [dd2 game folder]\reframework\data\SkillMaker\Skills folder for preservation and sharing.
Installation
- Get REFramework and put its dinput8.dll into your game folder
- Get Fluffy Mod Manager from Here
- Place the mod download file in your Fluffy Mod Manager mods folder for this game
- Get _ScriptCore and drop it in your mods folder next to Skill Maker's RAR
- Install "_ScriptCore" and then install "Skill Maker" from the mods list in Fluffy Mod Manager
- or -
- Get REFramework and put its dinput8.dll into your game folder
- Get _ScriptCore, extract it and place its "reframework" folder into your game folder, overwriting as needed
- Extract the "reframework" folder from this mod's download RAR and place it in your game folder, overwriting as needed
Usage
Skill Maker basics video by The Rift:
To use the mod, load up the game and press Insert to view the REFramework menu, and find the Skill Maker window. Open the Mod Options to make sur your controls are set right, then open a skill slot and load a skill using the drop-down menu. Then set the skill to a hotkey.
It is recommended to play the mod using a gamepad, and to use the "L1 + L2 to Sheathe/Unsheathe" option with your modifier set as L2. This option makes it so you have L2 free to use for the mod, with all other buttons disabled while you hold it and it not being used for Sheathe. You can then set each skill to use the modifier and be convenient combinations of L2 + dpad, L2 + face button, L2 + R2 et cetera.
There is a menu for "Skillsets" where you can save your current setup of skills and then load it up again later with a hotkey. This is useful for creating multiple movesets of skills and switching between them on the fly.

Skill Making Tips
To get an idea for how to create a skill, you can load up one of the skills that come with the mod. Open one of the mod's skillslots and use its "Load Skill" menu to select one of them, then load it, bind it to a hotkey, and try it.
The skill is a sequence of nodes, and you can see how they work. First, a simple node is often set on the first frame, to initiate an action. An action is the player doing something, like an animation or an attack. For example, to make a spell, you can set it to start a "prepare casting" animation on the first frame.
Then you can make it wait for a second or two of charging the spell with that animation and then override the animation with the next action, changing it to a full casting animation. At this time you may want to add one or more new nodes that each have a file with a shell projectile set in it, for the damaging part of the skill. These shells will add a payload of explosions, meteors and other magical effects.
You can create nodes that utilize the game's original casting system by using an action that has "Prepare" or "Ready" in the name and has a "Hold" checkbox. Check this box to allow the node to continue running indefinitely until the player lets go of the game's spellcast button (default L1). It may be necessary to have some space between the held node and the next one, in terms of start-time.
You can configure under what conditions you can perform a skill using the skill's 'States' menu. There are states like Climbing, Standing, Falling, and there is a box where you can input custom states. You could put "JustGuard" to make the skill only executable during a shield parry, for example.
Moves can be chained together using the 'Custom Skills' text box here. Putting a skill name in here makes it so the selected skill is *only* performable during that skill (or other skills in the box, unless you put a `backtick), and can be combined with 'Custom States' to transition from a specific stage of that skill. All this enables things like combos and contextual behaviors.
The number of Skill slots and Skillset slots can be increased or decreased in the Mod Options.
There are many options for where the shells will spawn, their size, damage, speed and more. It can seem a bit much but everything is explained by tooltips.
- Right-click on the combo boxes (drop down menus) for Actions, Files and Shells to expand them into List Boxes, which are much easier to navigate and read
- If you get stuck in an action and cant move, click "Reset Player State". You can still use these actions in skills provided you cut them off with other actions that will end
- If a shell is sticking around forever, click "Destroy Shells" to make it go away
- The most common types of shells you will use are with a cast type of "Target" (the shell appears where you are looking, at a crosshair), ""Player" (the shell appears on your player, on or relative to a specific bone) and occasionally "Skyfall" (the shell appears high in the sky or anywhere around the player and moves toward the target you're looking at).
- To test game shells quickly, you can make a new skill that has only one shell entry to it, set to Target or Player cast-type. Then use the 'Prev Sel Shell' and 'Next Sel Shell' hotkeys to change between ShellIDs and Files on that shell, testing them one by one quickly
- To test actions/animations quickly, create a test skill with one entry and use the Actions list box (click "List") to click which ones you want to try with that entry.
- Press Shift+Z and Shift+Y (default) to undo and redo any mistakes you make
If you want to find actions or shells from a specific vocation, you can try looking out for their job number. These are the job numbers in DD2:
- Job01: Fighter
- Job02: Archer
- Job03: Mage
- Job04: Thief
- Job05: Warrior
- Job06: Sorcerer
- Job07: Mystic Spearhead
- Job08: Magic Archer
- Job09: Trickster
- Job10: Warfarer
It is highly recommended to group any related skills together inside a folder for organizational purposes. You can do this by naming the skill 'MySkillFolderName\MySkillName' (for example) when saving.
When packaging a set of Skill Maker skills as a mod, you should use the Skillset system to ensure the controls are set up correctly for the user.
Only one skill using a specific hotkey can be activated per-frame. Skills further in the list will take priority over skills at the beginning of the skills list. This is because skills further in the list tend to have more complicated hotkeys and triggers and are more likely to have the simpler hotkeys be just a part of their own hotkeys.
Summons
Skill Maker has the ability to spawn friendly monsters to help you fight, as a function of a node. The monster will be spawned on whatever shell that node is using and will despawn after a time limit expires, firing the shell again.
You can set an action for the summon to perform as it spawns, enabling fun skills where a monster only appears for a moment to do a powerful move and then disappears
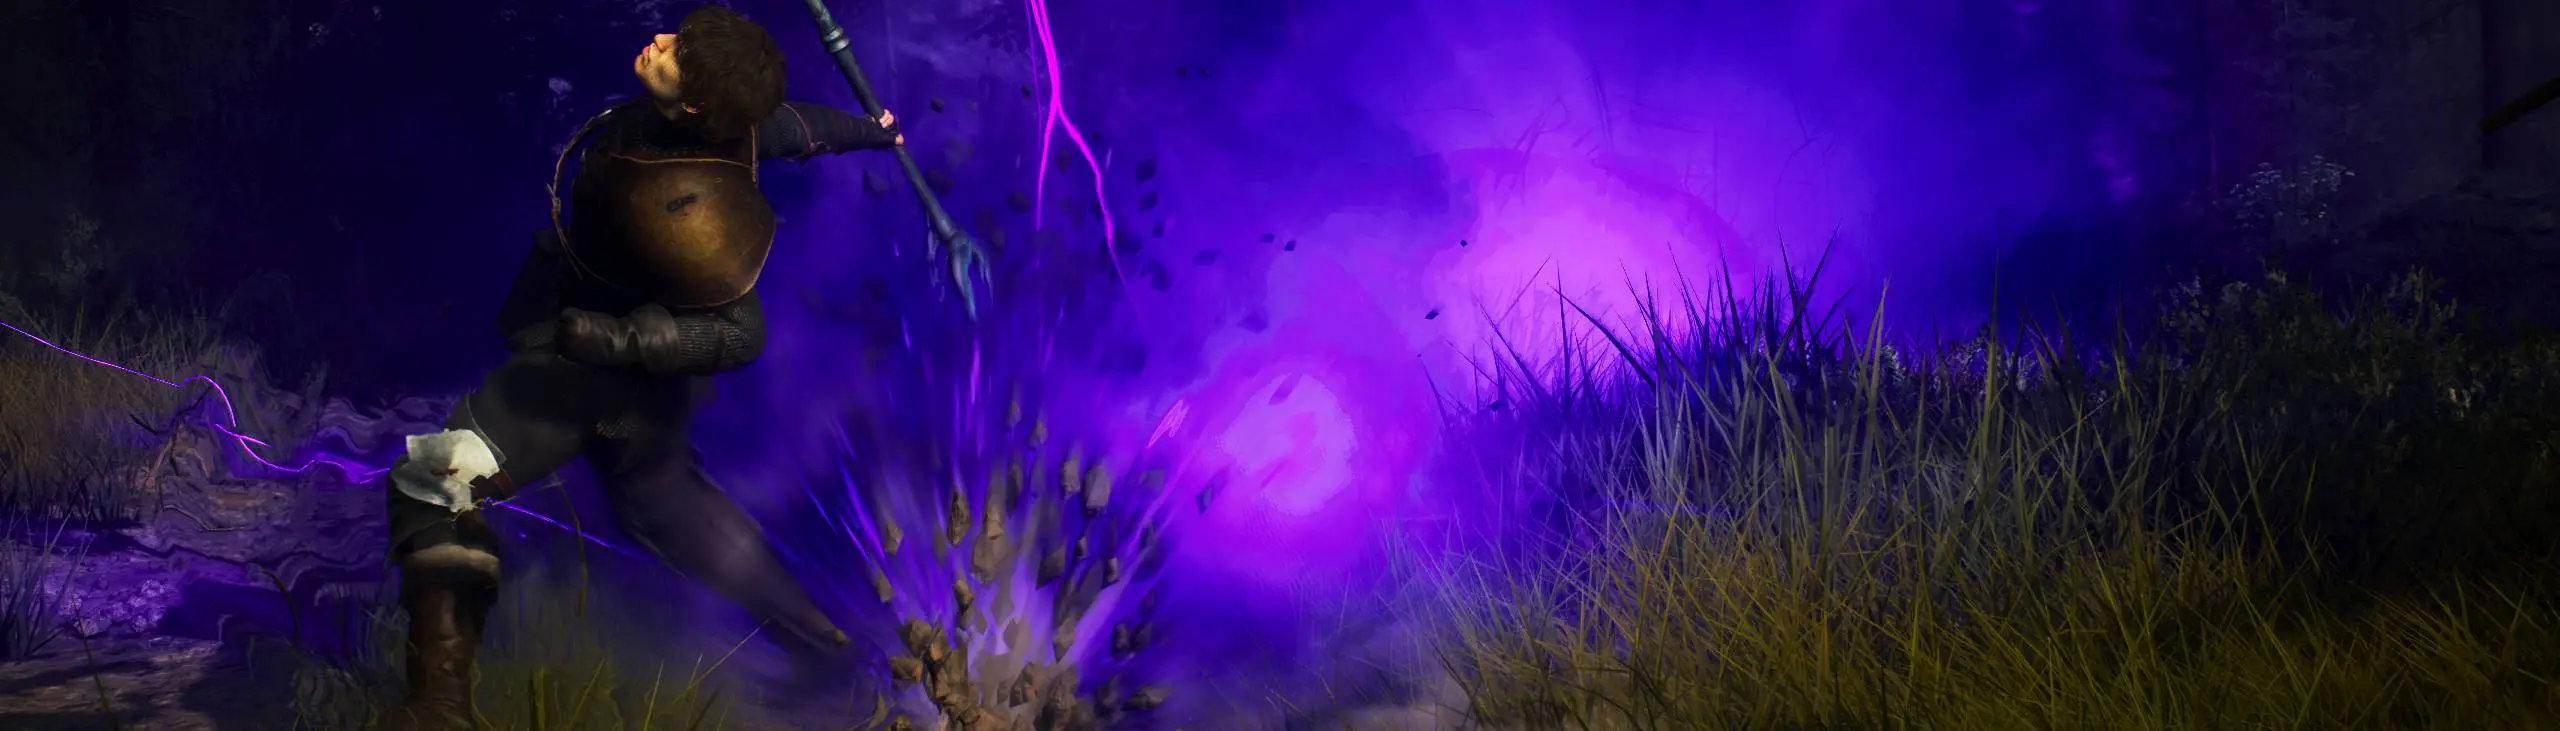
Velocity
Velocity is an option that allows you to apply force to the player, either as a one-time push at the start of a node or as a constant movement speed for the node's duration. It appears as an XYZ vector, where the number for each axis determines the direction and amount of force on that axis. There are multiple types of velocity that can be applied, such as 'Player Direction' and 'Towards Analog Stick'. These types determine the direction that the velocity vector will go in. Setting the velocity vector Z axis to +0.300 will give a very strong push to the player in the forward direction, and with the velocity type set to 'Towards Camera', that means the forward direction is wherever you're looking. Similarly, setting the type to 'Towards Analog Stick' will move the player in whatever direction the analog stick / WASD is pressed, with a positive number on the Z-axis.
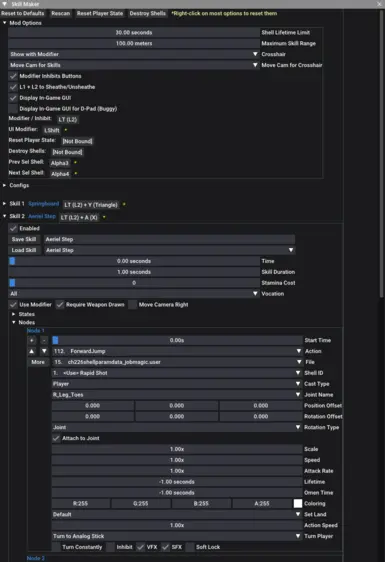
Mod Options
Press 'Insert' to open the REFramework window and scroll down to the "Script Generated UI" tab. If the mod is installed correctly, there should be a menu for "Skill Maker" like this image:
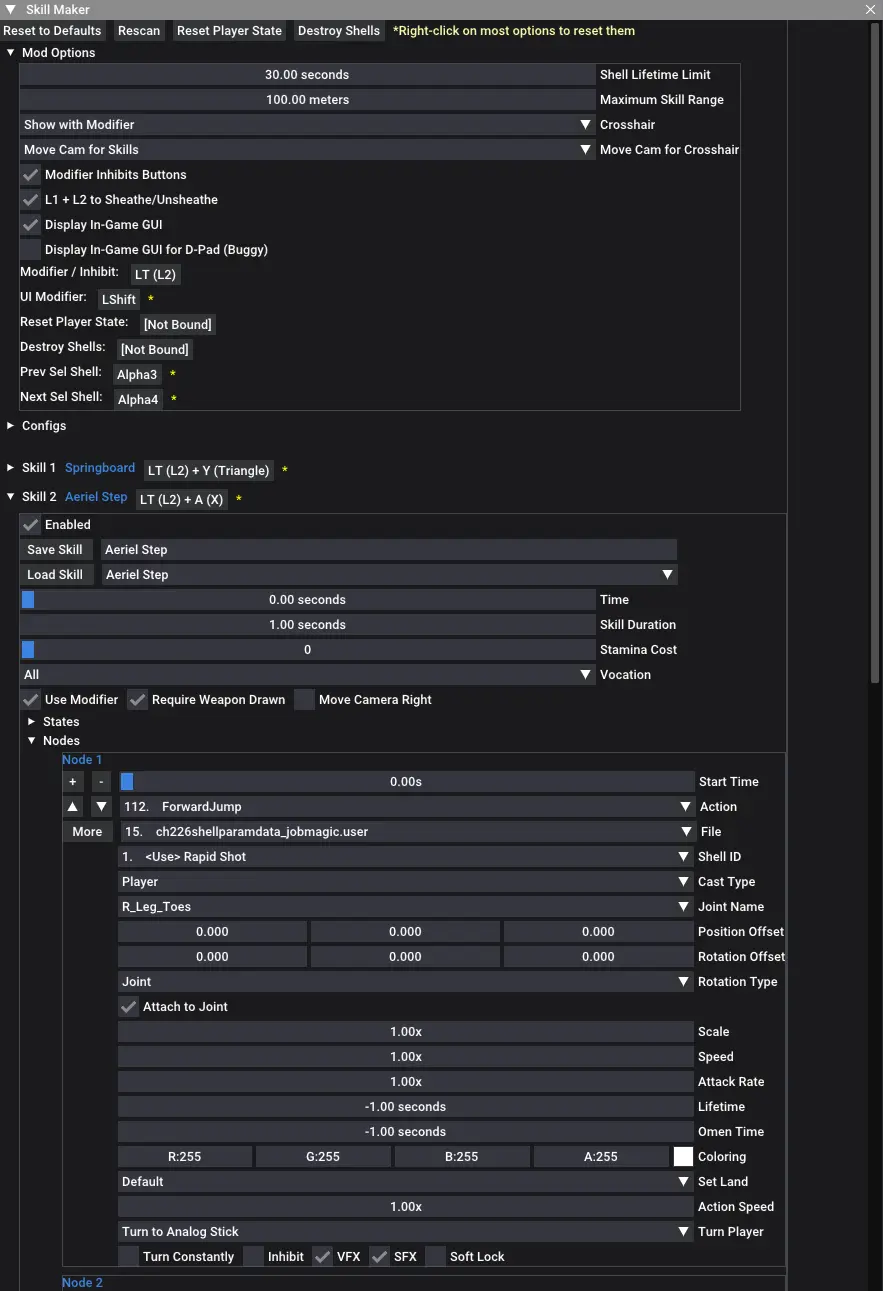
General Options
Reset to Defaults - reset all mod options to default
Reset Player State - reset the player to the default walking state
Inhibit Face Buttons - hotkey for making it so the face buttons on controller do nothing (so you can use them for the mod)
Prev Sel Shell - hotkey for switching the currently selected shell's effect. Useful for testing shells
Next Sel Shell - hotkey for switching the currently selected shell's effect. Useful for testing shells
Skill Options:
Use Inhibit as Modifier - makes this skill require that the 'Inhibit Face Buttons' hotkey be held down to activate its hotkey
Save Skill - Save a skill to the [dd2 game folder]\reframework\data\SkillMaker\Skills folder
Load Skill - Load a skill from the [dd2 game folder]\reframework\data\SkillMaker\Skills folder
Skill Duration - How long of a timeline (in seconds) that the shells will be able to be activated across
Stamina Cost - How much stamina will be subtracted when executing this skill
Vocation - Require that a specific vocation be used in order to use this skill
Node Options:
Start Time - the start time of this node during the skill
Action - the player action that will play whenusing this skill
File - the userdata file containing the collection of shells selectable with 'Shell ID'
Shell ID - the index of the shell in the file
Cast Type - the spawn location of the shell
Joint Name - the name of the joint that the shell should spawn on (if 'Cast Type' set to 'Player')
Joint Position - the position of the shell on the joint relative to the player (if 'Cast Type' set to 'Player')
Joint Rotation - the rotation of the shell on the joint relative to the player (if 'Cast Type' set to 'Player')
Scale - the size of the shell effect
Speed - the motion speed of the shell effect
Attack Rate - multiplier for the amount of damage that the shell deals
Lifetime - the number of seconds that the shell can exist. Set to -1 to use the shell's default lifetime
Omen Time - The amount of warning time given before the shell goes off
Set Land - Whether the shell will always spawn on the ground or if it can spawn in midair
Coloring - the override color of the shell
Inhibit Buttons - You cannot move or do anything while this node is active
Freeze Crosshair - if checked while using 'Target' Cast Type, the next shell after this one will be placed at this one's crosshair position"
Hold - If checked while using an action with "Prepare" in the name, you must wait until that action completes and the Inhibit modifier button is released before casting is allowed and the sequence continues
Soft Lock - the shell will jump onto the nearest enemy from its position
Soft Lock Range - the maximum distance that the shell will travel from its expected position to jump onto an enemy
Custom Motion - Here you can make the node load a specific animation at a specific frame, overriding the action's animation. It can be loaded from any animation in the game, as long as the motlist file and motion ID are known. You can find the motion ID by opening a motlist file using the motlist template in 010 Editor, and you can preview motlist files using Noesis. This feature can potentially be used to load custom animations created with such tools as the Motlist Tool.
Custom Function - This is a text box in which to write your own function, which will repeat over the existence of the skill and uses variables from the node its created for. This is extremely versatile for managing skills after they are created, and is capable of checking, influencing and cancelling other skills by name.
Some new options have been added with updates, all are explained by their tooltips
Credits
Thanks to praydog for creating REFramework
Thanks to Andras and SilverEzredes for testing and making skills
Join Modding Haven Discord for RE Engine modding
If you enjoyed the mod please consider supporting me on Patreon or Donating on Ko-fi