About this image
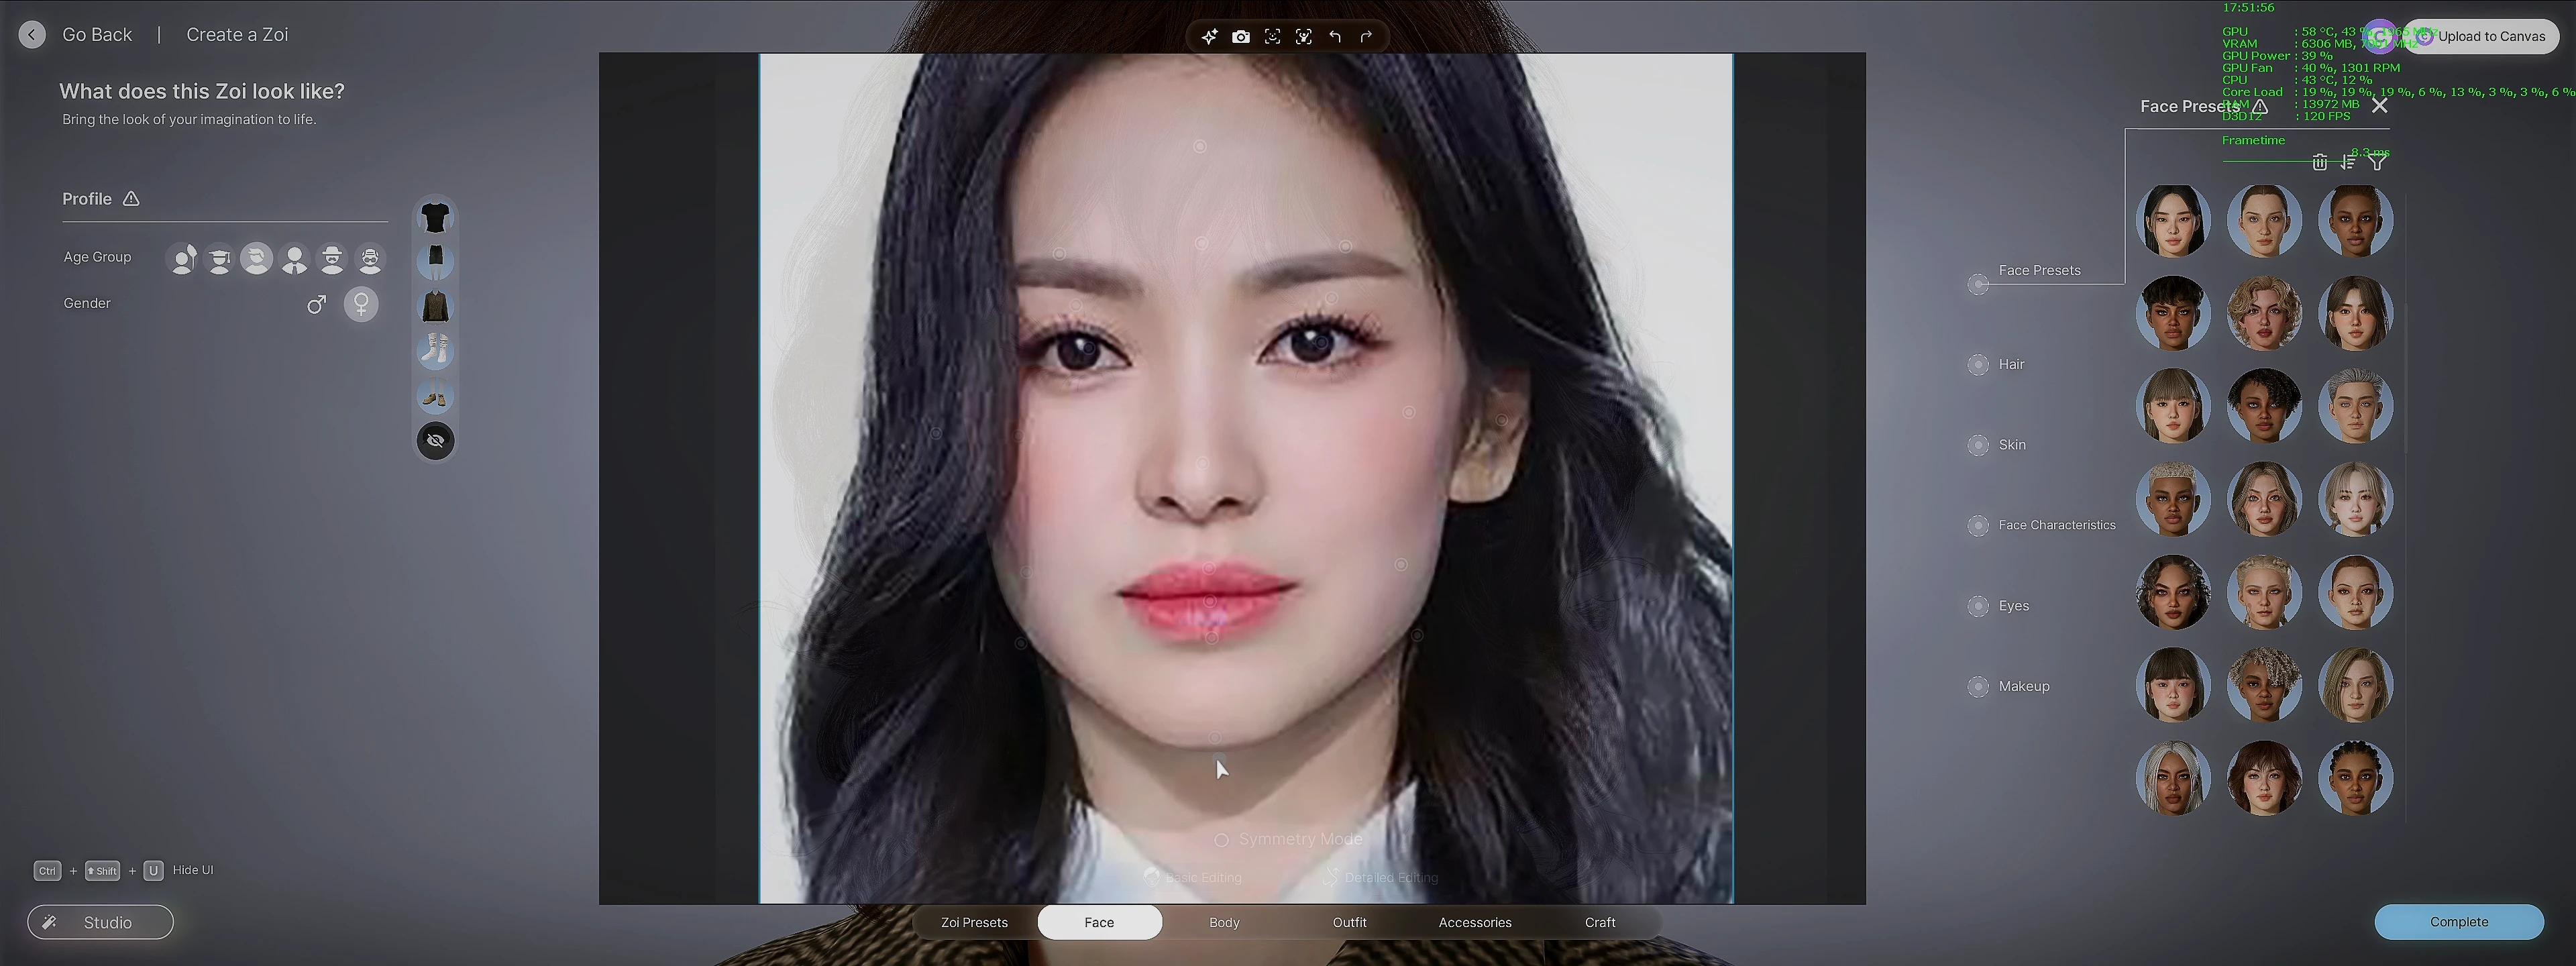
This is how I create my character model.... lol
- Download and install "Pureref" (2.x or newer) free version from MajorGeek.com (click here for download)
- Search and download your reference picture/photos from Internet, pickup front-view photo and side-view photo of your prefer character reference.
- Run Pureref, add from-view photo into Pureref.
- Run inZOI in window mode (Alt + Enter)
- Set Pureref as "always on top mode" then move it to the top of inZOI's window
- Rotate your inZOI base character to front view then give it maximum zoom-in
- Back to Pureref, set Pureref opacity by press SHIFT+CRTL+Minus or Plus to set amount of opacity overlay of your photo reference; then resize and move your photo to match your character in inZOI's window. I'm use the eye brows as based reference for size and position.
- Set Pureref mode to "Transparent to mouse" or CRTL+T
- now you can starting to tweak head shape, eyes shape, eyes spacing, nose shape/high, nose bridge width/position, brow shape/spacing, eyes space and position low/high, mouth size and shape, cheek/jaw/chin size and position, etc. to match your photo reference.
- After you satisfied with front view of your model, then you can repeat steps above for side-view of your inZOI model and use the side-view photo reference.
I hope this tip can be useful for you.
You also can use this trick when modeling or sculpting your character modeling in 3D apps (e.g Blender, ZBrush or MAYA) or any other game that provided character model creation (e.g Starfield, Dragon Age the Veilguard, etc.)
Enjoy it! ;)
Happy gaming and cheers,
Chris


4 comments
just got inzoi few days ago .