About this mod
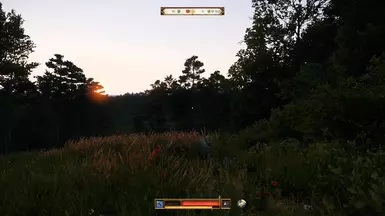
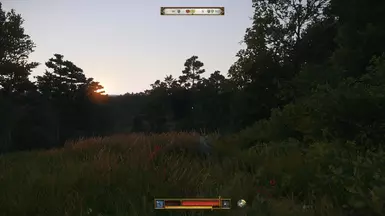
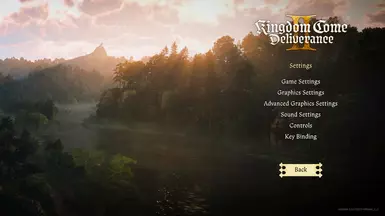
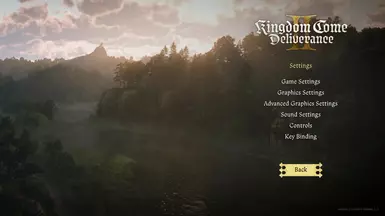
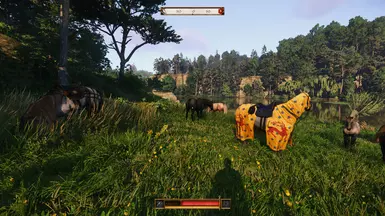
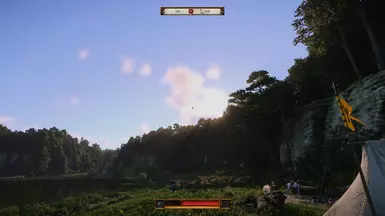
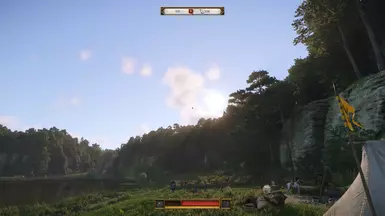
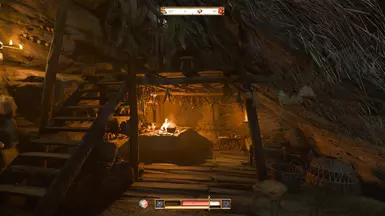
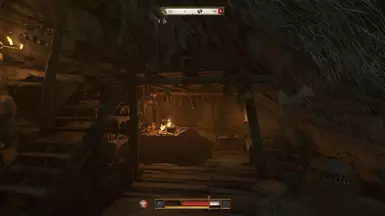
This is an Realistic ReShade preset for Kingdom Come: Deliverance 2 . Improves lighting, contrast, color, sharpness and shadows without performance loss.
- Requirements
- Permissions and credits
Install:
You only need to use one of the two options: Choose either the "Quick Setup Version" or the "Manual ReShade Setup Version".
The Quick Setup Version (Recommended):
1. Download the AIO Version of my ReShade Preset on files at the top.
2. Unzip the downloaded file.
3.Just drag and drop all the files (except the readme file) from the downloaded folder into your main game folder where your .exe is located. (It has to be the folder in which the KingdomCome.exe is located, otherwise it will not work)
(For steam by default it is in:
C:\Program Files (x86)\Steam\steamapps\common\KingdomComeDeliverance2\bin\Win64MasterMasterSteamPGO).
4. Done.The ReShade should now be active when you start the game. (It may take 20 seconds longer at the first start)
I would highly recommend checking out the Less Bloom Version below as some people are having issues with the HUD and inventory being too bright!
To uninstall the AIO Version you need to delete all the added ReShade files manually in the main game folder.
OR
Manual ReShade Setup Version:
1. Download the Manual Version of my ReShade Preset on files at the top. Download the latest ReShade Version on the original ReShade Website -> https://reshade.me
2. Click on the setup file and choose Kingdom Come Deliverance 2 in the menu and click next.
3. Select DirectX10/11/12 in ReShade setup and click next.
4. Select the following effects in the ReShade setup: (You must place checkmark symbols by clicking twice and not black filled square in front of the effects)
- Standart effects
- SweetFX by CeeJay
- Legacy effects
- AstrayFX by BlueSkyDefender
5. Click next and then click finish.
6. Go to your main Kingdom Come Deliverance 2 directory where the .exe is located. (For steam by default it is in C:\Program Files (x86)\Steam\steamapps\common\KingdomComeDeliverance2\bin\Win64MasterMasterSteamPGO)
7. Unzip my downloaded ReShade Preset and simply drag and drop the Realistica Reshade.ini file in the directory.
8. Rename the dxgi.dll to D3D12.dll (May not be necessary for you but I had a problem with the name dxgi.dll.)
9. Start the game. It may take 20 seconds longer at the first start! You should see ReShade loading at the top of the screen.
10. Press the shown key (should be the Home-Key) to open the config menu and skip or go through the tutorial.
11. At the top of the menu you should see a bar with the description: ReShadePreset.ini, click on it. Scroll down and search Realistica Reshade.ini in the drop down menu and select it.
12. Done.The ReShade should now be active. Close the menu by pressing the same key you used to open it.
I would highly recommend checking out the Less Bloom Version below as some people are having issues with the HUD and inventory being too bright!
To uninstall the Manual ReShade Version, simply run the ReShade setup again and select Uninstall. Or delete all the added ReShade files manually in the main game folder.
Optional Less Bloom Version:
- This version can help if you have too bright inventory, hud and subtitles.
In this version eye adaption is disabled, which is included in the normal versions.
1. For install: First install either the "Quick Setup Version" or the "Manual ReShade Setup Version" with instructions above.
2. After you installed one of them download the Realistica Less Bloom from my files.
3. Go to your main Kingdom Come Deliverance 2 directory again where the .exe is located. (It has to be the folder in which the KingdomCome.exe is located, otherwise it will not work)
(For steam by default it is in:
C:\Program Files (x86)\Steam\steamapps\common\KingdomComeDeliverance2\bin\Win64MasterMasterSteamPGO).
4. Unzip the downloaded Realistica Less Bloom and simply drag and drop the Realistica ReShade Less Bloom.ini file in the main directory.
5. Start the game and press the shown key to open the config menu (and skip or go through the tutorial if necessary).
6. At the top of the menu you should see a bar with the description: ReShadePreset.ini or Realistica Reshade.ini, click on it. Scroll down and search Realistica ReShade Less Bloom.ini in the drop down menu and select it.
7. Done. Now you can switch between Normal Version and Less Bloom Version in the ReShade menu in game by repeating step 6.
Enjoy!
IF YOU LIKE THE PRESET
PLEASE
GIVE IT A THUMBS UP
(CLICK ON ENDORSE AT THE TOP OF THE PAGE) :-)


