Modding Guide and Mod Collection for Mass Effect Andromeda
-
Endorsements
-
Unique DLs--
-
Total DLs--
-
Total views--
-
Version1.0.0
About this mod
A complete mod list and mod installation guide for Mass Effect Andromeda.
- Requirements
- Permissions and credits
- Changelogs
- Donations

In this beginner friendly guide I will explain how to install Andromeda mods to have an amazing Mass Effect experience.
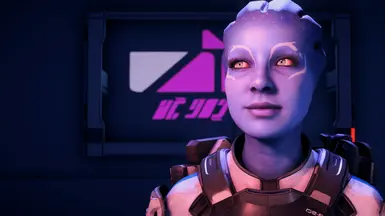
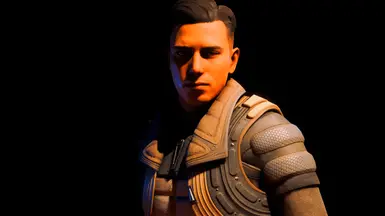
I selected mods that overhaul Mass Effect Andromeda characters, improve its combat, modernize its gameplay and I also included a hefty amount of quality-of-life mods that make the game as nice as possible to play.
I selected mods that don't harm performance too much so this mod list can be used on any PC, as long as you can run vanilla Mass Effect Andromeda fine.


Q: How long does it take to complete this guide?
A: Around 2 hours.
Q: How many mods are listed in this guide?
A: There are 70+ mods that account for 140+ plugins.
Q: I have cracked version, can it be modded?
A: NO!
Q: Can I use this guide with a low-end PC?
A: Yes. I selected mods that don't tank performance.
Q: Do I really need to buy RTGI shader to enjoy this mod list to the fullest?
A: No. Plus, I don't think RTGI adds that much to the game to begin with, hence it is listed as an optional feature to install.
Q: Can I use other/unlisted mods with this guide?
A: In theory yes. However I will not help you out if something bad happens to your game.
Q: I hate Mass Effect Andromeda... Will you change that?
A: Then why are you here? :D


I know - this is time-consuming - but I won't be able to help you out if you attempt to mix which ever mods you have already installed, with mods I listed in this guide.
- Download and start your game.
- When you launch your game for the first time, choose your in-game resolution and preferred graphic options.
IMPORTANT: set Mesh Quality to Ultra and Anti-aliasing to Temporal AA (some texture mods require these settings).
- Disable EA Desktop/Steam overlay (this is usually not needed unless your ReShade preset doesn't appear in the game)
- IMPORTANT: if you have Steam version of the game, you must disable BOTH Steam & EA Desktop overlay (see instructions below)
1) Open EA Desktop app
2) Click on

3) Click on Settings and then on Application
4) Disable In-game overlay

1) Open Steam
2) Click on Steam in top left corner and then on Settings
3) Click on In-Game
4) Unselect Enable the Steam Overlay while in-game


- Download the latest Frosty Mod Manager (for the purpose of this tutorial I will call it FMM, Frosty or Mod Manager).
Always download the latest version available
- IMPORTANT: Always run FMM as an Administrator

- Download any Mass Effect Andromeda mod by clicking on Manual Download
- Drag&drop mod folder into mod manager [OR] click on Add Mod(s) and select downloaded mod folder
- Select any imported mod (in the left column) and click on Apply Mod(s)
- Quick Tip: you can import and apply multiple mods at ONCE
- IMPORTANT: Launch your game WITH Frosty Mod Manager for mods to appear in the game (see images below)


(use this method when you get the following messages:
Failed to read the Archive.
Archive contains no installable mods.
This is because Frosty Mod Manager can't manage .7z file format anymore)
- Download any Mass Effect Andromeda mod by clicking on Manual Download
- Manually unpack mod folder with WinRAR, 7-Zip or any other alternative software
- Drag&drop any file with .fbmod file extension into mod manager [OR] click on Add Mod(s) and select any file with .fbmod file extension
- Select any imported mod (in the left column) and click on Apply Mod(s)
- Quick Tip: you can import and apply multiple mods at ONCE
- IMPORTANT: Launch your game WITH Frosty Mod Manager for mods to appear in the game (see images above)

or no mods will appear in-game!!!
[OR] if you are using Epic Store Games version of Mass Effect Andromeda, you need to download and then run FrostyFix. If it doesn't work, try using more up-to-date DatapathFixPlugin.


Install all mods in the order in which they are listed below.

When there are two or more files listed under 'Main Files', I will tell you which file to download.
- MEA Fixpack
- X5 Ghost Fixed Lights → download the main file. Upon importing enable only one plugin (I use X5 Ghost Fixed Lights - Blue Version)
- Task Augmentation Crafting Fix
- Pathfinder Chest I Armour Fix
- Mark All As Read Button Fix
- Generator Explosion Sound Fix
- Enhanced Statistics Page
- Better Quantity Selection Screen
- Quick Loot → download and install Quick Loot (all in one)
- Faster Kadara Doors
- Silent Kett Wind Turbines → download and install Silent Kett Wind Turbines
- Shut up SAM → download and install All in One
- Better Inventory Size → download and install Better Inventory Size 300
- Remnant Sudoku Puzzle Glyphs to Numbers
- Remnant Decryption Key Limit Increase
- Blue Scanner and Omnitool inc Combat Omni → download and install Blue omni and scaner v1.2
- KrrKs' Changes Packs → download and install (2 files): 1) DimFlashlight, 2) Fall Damage
- Enhanced Hotkeys → download and install:
For Controller: Lightswitch-QuestTrackerButton
For M&KB: Enhanced Hotkeys → upon importing enable both main file AND text mod that matches your game version
(ex. for me those are 1) Enhanced Hotkeys, 2) Enhanced Hotkeys - English Texts) - Nomad ND2* → download and install Nomad ND2 One-Click Doubled Mining
- Tempest Overhaul
- Shorter Landing and Departure Cinematics** → IMPORTANT: enable this mod AFTER you board the Tempest for the first time
- Little Tweaks → download and install (3 files): 1) Audio - Sound Edits (B), 2) Audio - Suvi And Kallo Cinematics Muted, 3) Audio - Suvi And Kallo Destination Prompts
- Smooth Planet Approach
- New Loading Screens
* this mod makes Nomad much quicker BUT very difficult to control
** this mod can save you a lot of time by cutting travelling cinematics off after 2 seconds, but in my mind this completely destroys immersion

- HUD Overhaul → download and install HUD Overhaul (minimalistic)
- HUD Overhaul's (Enemy Indicator Patch) → download and install HUD Overhaul's (Enemy Indicator Patch) - Vanilla
- HUD.Player → download and install hud-player_Type-A (WARNING: this mod disables combat control prompts. If you don't know them yet... I suggest you skipping this mod)
- Reduced Nomad HUD → download and install With Drive Mode (WARNING: this mod disables Nomad control prompts. If you don't know them yet... I suggest you skipping this mod)
- Cleaner Omni-Tool Scanner
- Minimal Targeting HUD → download and install (6 files): 1) 0 Extra - No Interaction Text, 2) 0 Extra - Remove Enemy Name, 3) Higher Combo Indicator, 4) Low Opacity Reticles - Original Center Dot, 5) Minimal Squadmate Position Marker, 6) No Enemy Target Bracket
- GUI Tweaks → download and install (1 file): 1) New Ammo Consumables Icons
- Mantle Icon Begone
- Faster Quest Tracker Hiding → download and install Faster Hiding 5 Seconds
- Push Down Camera → download and install (2 files): 1) Push Down Camera, 2) Push Down Camera - Nomad
- Right In The Eye

- Better Squad
- Profiles Reworked → download and install Profiles Reworked
- Weapon Overhaul → download and install Weapon Overhaul - With Level Scaling
- Better Enemy Health Scaling → download and install Better Enemy Health Scaling 5 Percent
- No Auto Reload
- Increased Weapons Range → download and install Increased Weapon Range 1.01
- No Scope No Problem
- Assault Rifles and Pistols Scopes Redone → download and install (2 files): 1) AR scope redone (FOV 25), 2) Pistol scope redone (FOV 25)
- Perseus Armory → download and install (2 files): 1) Armor - Asari Breather, 2) Weapons - Initiative N7 Weapons
- Multiplayer Powers in Singleplayer → download and install Multiplayer Powers in Singleplayer
- Powers Boosted and Balanced → download and install both Powers Boosted and Balanced 1 and Powers Boosted and Balanced 2
- General Augs Rebalanced
- Balanced Melee Weapons
- No Consumables Cooldown → download and install All in One
- Reduced Evade Cooldown → download and install Reduced Evade Cooldown 2

- Project Pretty → download and install all files EXCEPT (8 files): 1) Initiative Blue Nomad, 2) Initiative Blue Tempest, 3) Initiative Cora Armor V2, 4) Jayde - Default Sara - Makeup, 5) Lexi, 6) Liam's Armor and Helmet, 7) New Initiative Cora Armor and 8) All in One Complexions
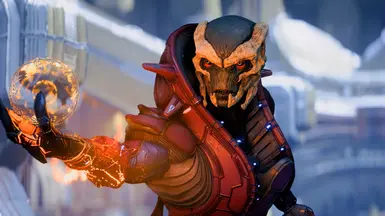
- Turians Restored → download and install Turians Restored and Turians Restored - Vetra (IMPORTANT: you must use Temporal AA anti-aliasing for this mod to work correctly)
- Turian Eye Tweaks → download and install TET 01 - Round TET Male and TET 02 - Round TET Female
- Froggy eye salarians
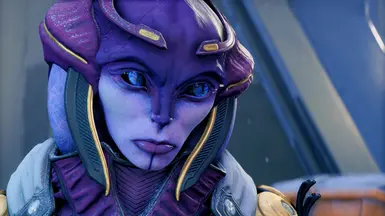
- Asari Tweaks
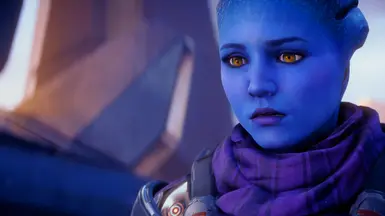
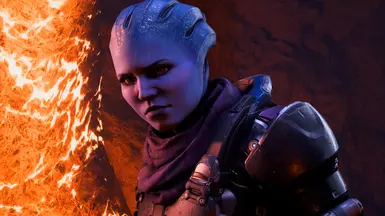
- Peebee Tweak → download and install Peebee Tweak 2.0
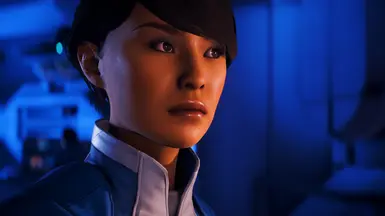
- Suvi Hair Options → download and install Suvi Hair Options (bob)
- Chained Princess Fashion Boutique → download and install (5 files): 1) Characters - Angara - Eyes - Horsehead Nebula, 2) Characters - Angara - White Teeth, 3) Characters - Humanoids - White Teeth, 4) Characters - Krogan - Eyes, 5) Characters - Krogan - White Teeth
- Vetra No Visor
- Foster.Addison_Customization → download and install Face-Universal
- Ryders Wardrobe Overhaul → download and install (4 files): 1) Athletic Outfit as Base for Jacket Outfit Scott Ryder, 2) Athletic Outfit Volus Necklace for Scott, 3) Custom Dress for Sara Ryder Hoodie and Jacket Replacer (enable only the Dress for Sara Ryder Hoodie Replacer) and 4) Custom Outfit Sports Bra and Jacket Original Pants
- Initiative Colors for Initiative Members → download and install (11 files): 1) Initiative Construction, 2) Initiative Engineers, 3) Initiative Mechanics, 4) Initiative Medical Personnel, 5) Initiative Scientists, 6) Initiative Security and Soldiers, 7) Major NPCs and Operations Bridge Crew and Captain Dunn, 8) Gil - Alternative Pattern, 9) Kallo - Alternative Pattern, 10) Lexi - Alternative Pattern and 11) Suvi - Alternative Pattern
- Cora and Liam Overhaul → download and install (2 files): 1) New Cora Armor - Asari Underarmor as Casual Outfit and Default Hair and 2) New Liam Armor - Athletic Outfit and Tiny Afro Hairstyle - BRACERS - NO BRACERS

- Wrinkles B Gone for male Ryders
- Better Beards
- Clear Eyes
- Natural Lashes → download and install Subtle Lashes
- Better Hair
- MEA - Anto Hairstyles WIP → for my male Ryder you need Reload hairstyle by Anto - ONLY FOR MALE PRESET 10 (Ron) - Hair A; for my female Ryder you need Indiana hairstyle by Anto - All female presets - Hair L
- Character Creation Overhaul → download and install complexion ANNIE
- Director Addison Hair Swap → download and install Addison Hairstyle Swap - C_Biftu
- New Male Tatoos
- New Female Tatoos
- Renewed Scars
- Human.Makeup
- My Custom Sara Ryder save file → if for whatever reason you want to use my custom Sara Ryder from screenshots, download my save file from Optional files of this guide, and then place Career4da420f4-Chapter0 or Career306e7d6-Chapter0 file in ...\Documents\BioWare\Mass Effect Andromeda\Save folder. IMPORTANT: This save file requires ALL mods from Ryder Overhaul section of this guide

NOTE: All of my screenshots were taken with my ReShade preset enabled.
- Download one of my my personal ReShade Presets from Optional Files.
- Manually place HFV_RT_ON.ini in ...\Mass Effect Andromeda (where your MassEffectAndromeda.exe is located)
- Download ReShade and run it.
- Select MassEffectAndromeda.exe (located at: ...\Mass Effect Andromeda) as an executable to which you want to apply ReShade.
- Select Microsoft DirectX 10/11/12 rendering API.
- Under Select preset to install click on Browse and then select my HFV_RT_ON.ini preset. ReShade will automatically detect and download all necessary shaders (except for one) for my preset to work.
- If you want to use Ray Tracing preset, you must download iMMERSE_Pro shader package. It is available on Marty McFly Patreon. To install it, drop Textures and Shaders folders into ...\Mass Effect Andromeda\reshade-shaders
- When in game press Delete button on your keyboard to open ReShade UI. If ReShade is installed correctly and my preset
works, you can continue modding your game.
- When you are ready, click on Performance mode button. This gives small FPS boost.

Download my mod pack listed under Main FilesOpen Frosty Mod ManagerClick on File → Pack → Import → select my Andromeda Mod Pack (by Synth).fbpackIgnore window that pops up. If done correctly your mods should be placed in the correct load order.You may need to close Mod Manager and open it again.


OPTION B - Manual
You need to manually place mods in the correct load order. The load order is the same as mod installation order listed in this guide ;) You can also use screenshot showed below:


