About this mod
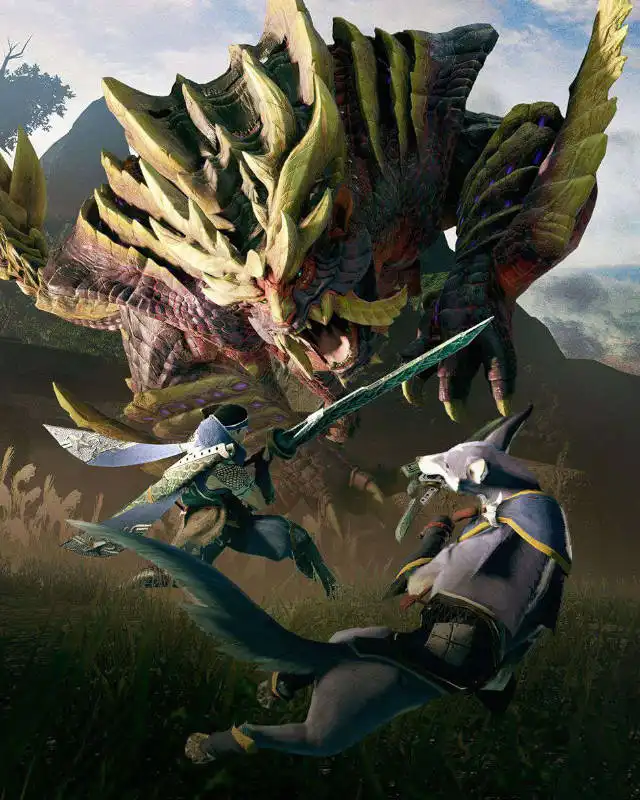
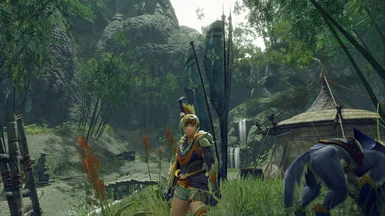
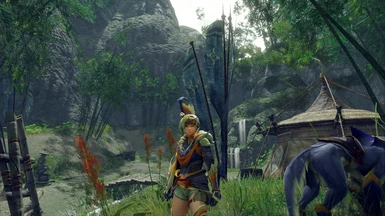
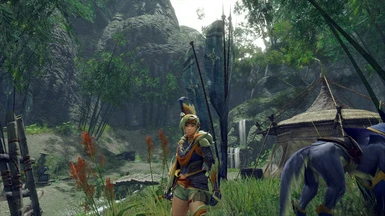
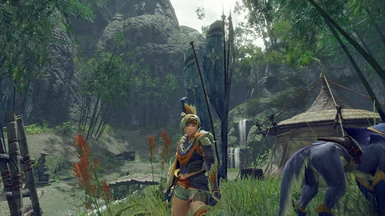
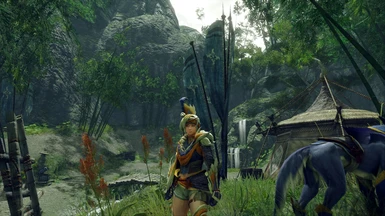
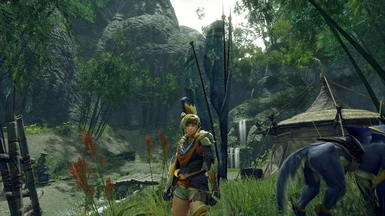
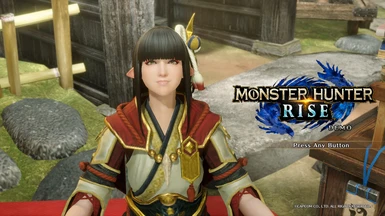
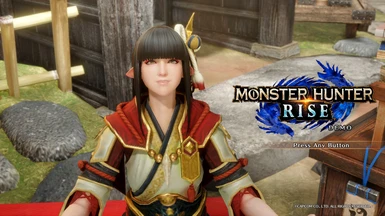
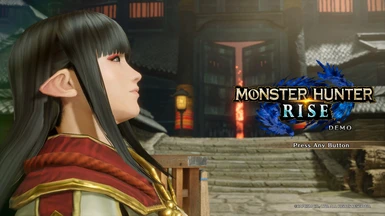
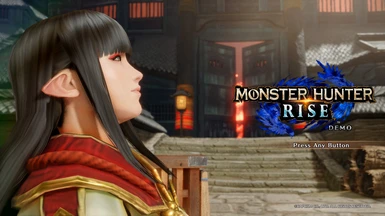
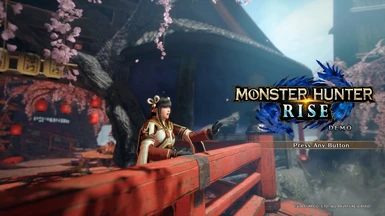
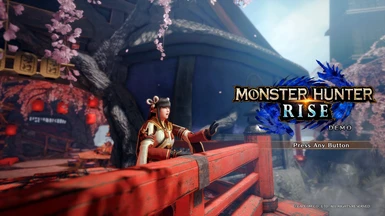
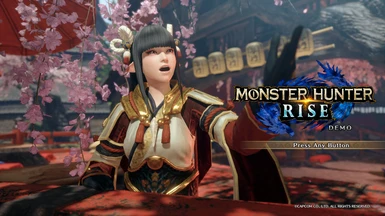
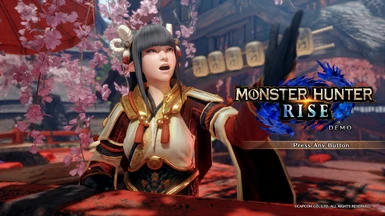
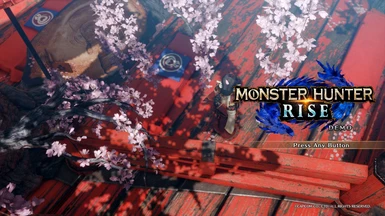
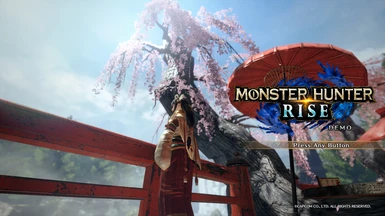
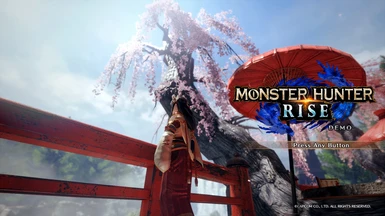
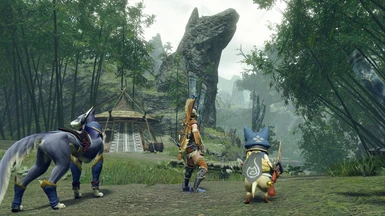
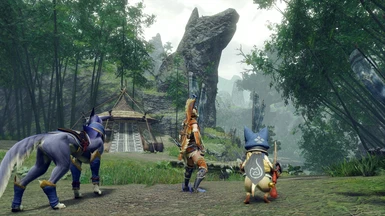
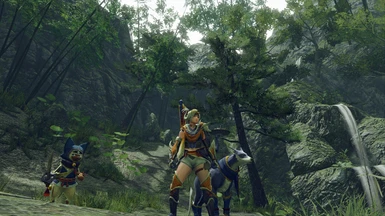
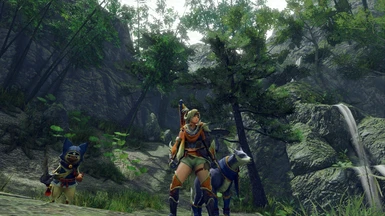
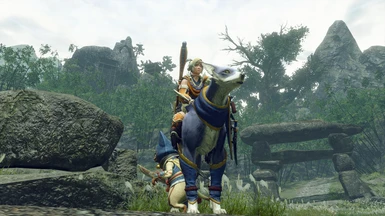
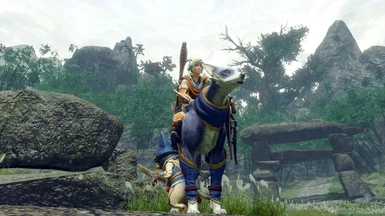
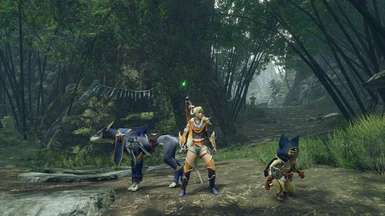
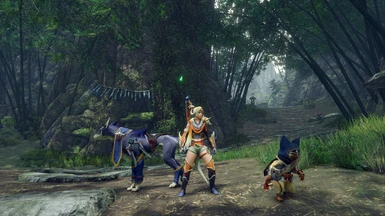
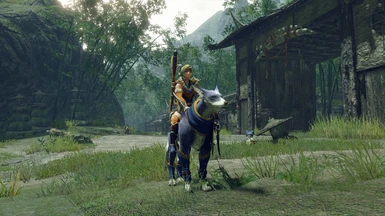
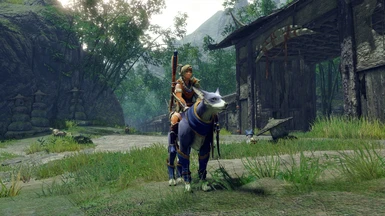
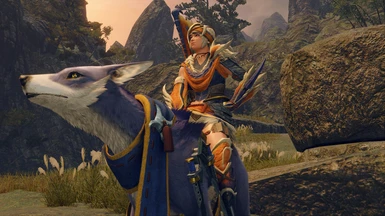
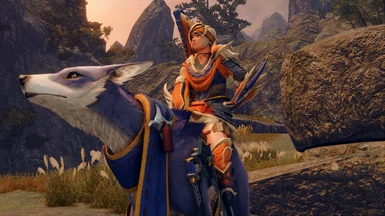
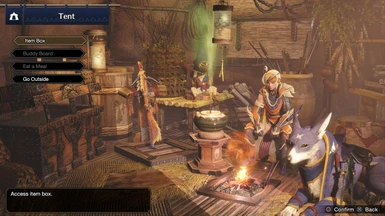
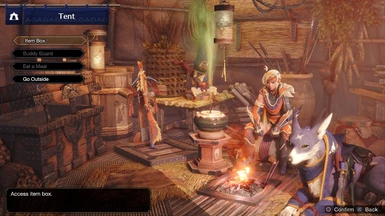
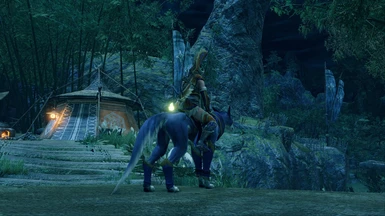
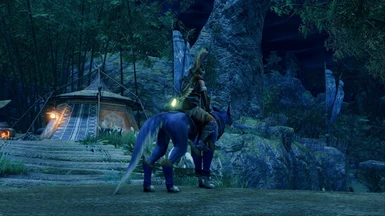
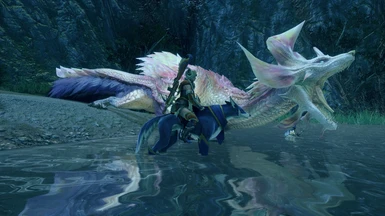
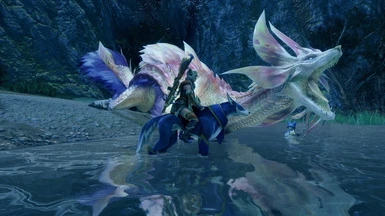
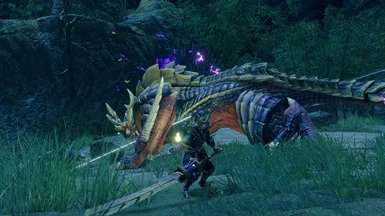
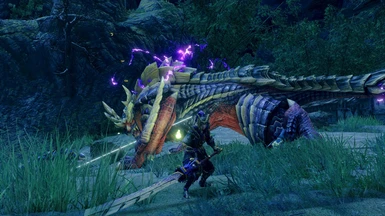
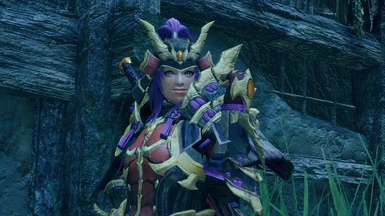
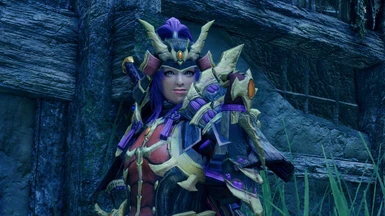
Removes green tint. Optional layer of shadow to improve visual depth. Many variations included.
- Requirements
- Permissions and credits
- Donations
I made this months ago. I added the shadows after the PC demo was released. Because the visuals looked too flat to me.
日本語の説明はこの下です。
WARNING: MHR crashes if it detects DLLs like Reshade. You can use either of these mods to fix the problem:
ご注意:MHRがReshadeみたいなDLLがあると強制終了発生するので、この二つのMODで問題を解決できるはずです:
https://www.nexusmods.com/monsterhunterrise/mods/28
https://www.nexusmods.com/monsterhunterrise/mods/29
Alternatively, this completely fixes all crashes:
あるいは、強制終了問題を完全解決したいなら、これおすすめです:
https://www.nexusmods.com/monsterhunterrise/mods/26
Changelog:
- Uploaded a new version I made for myself, titled "EX". Has adjusted shadows, less saturation than default, and should have better frame rate.
- Added a contrast only EX version for use with this mod.
Notes:
- Works on the demo, should work on the full version. Also works on emulators.
- GUI sometimes has shadows on top.
- Lite version has less saturation and lighter shadows.
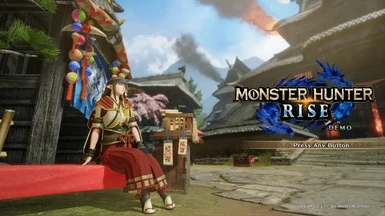
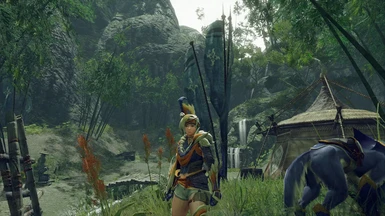
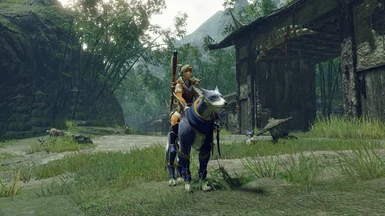
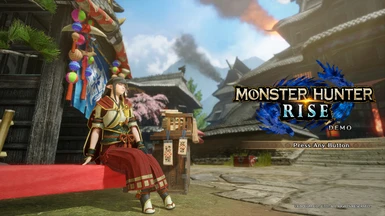
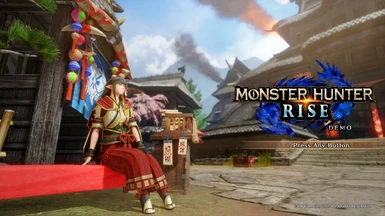
- Unlabelled screenshots are of unmodified game and Natural Color and Contrast version.
Installation:
1. Unzip the archive of your choice into Steam\steamapps\common\MonsterHunterRise(or MonsterHunterRiseDemo)
2. Download the latest version of ReShade. Run it, and select the Monster Hunter Rise folder/executable.
3. Select Direct3D 10/11/12, and install all shaders.
4. Start MHR, you should see ReShade appear at top of the screen. Press Home to open the ReShade menu.
5. Continue or skip the tutorial.
6. Click Home tab. At the top, where it says ReShadePreset, click and select the ini that you unpacked. Click select.
7. Under Settings, you can set an Effect toggle key to turn the effects on and off.
Uninstallation:
1. Delete the NaturalColor or NaturalColor&Contrast ini files.
2. Run ReShade installer and select Rise again. Select Direct3D 10/11/12. You can now see an Uninstall button. Click it.
Credits:
I would like to emphasize that none of this would've been possible without the hard work of the people listed here.
- Thanks to all modding contributors.
- The people who made ReShade.
Special thanks to the people reporting problems, and helping others out in the forum.
日本語:
緑色フィルターを消し、オプションで視覚的な奥行きを改善するための影も重ねられます。いろんな種類あります。
何か月前作りました。PCの体験版出たから、影も追加しました。ビジュアルが平板すぎに見えたからです。
更新ログ:
・自分のための新版をうpしました。名前は「EX版」。ソコン処理にもっと軽いはず、影が再調整して、デフォルトより彩度がもっと低い。
・このMODと一緒に使うためのコントラストEX版をうpしました。
ポイント:
・体験版、完全版にも使えるはずです。エミュにも使えます。
・たまにGUIの上に影が重ねられます。
・「Lite」版は彩度がもっと低く、影がもっと明るいです。
・説明がないスクショは元とNatural Color and Contrast版のスクショです。
インストール:
1. 好みのアーカイブをSteam\Steamapps\common\MonsterHunterRise (あるいはMonsterHunterRiseDemo)に解凍してください。
2. ReShadeの最新版をDLして起動。モンハンライズのフォルダーとexeを選択してください。
3. Direct3D 10/11/12を選択して、全シェーダーをインストールしてください。
4. モンハンライズを起動したら、画面の上にReShadeのGUIが見えるはずです。ホームのキーを押したらReShadeメニュが開けます。
5. チュートリアルを読んでください。あるいはスキップしてください。
6. ホームのタブを選択してください。ReShadePresetが書いてる上のところをクリックして、DLして解凍したiniファイルを選択してください。
7. 設定のタブで、エフェクトをオン・オフするキーを設定できます。
アンインストール:
1. 解凍したNaturalColorかNaturalColor&Contrastのiniファイルを消してください。
2. ReShadeのインストールファイルをまた起動して、またライズを選択してください。Direct3D 10/11/12をクリックしたら、アンインストールの選択が出ます。選択したら、アンインストールされるはずです。
クレジット:
この作者様がんばったおかげでMOD作ること可能になりました。
・MODコミュニティーの皆さんのいろいろに感謝。
・ReShadeを作った人達。
問題を報告してくれた皆様とフォーラムで他人に手伝ってあげてる皆様に感謝です。
