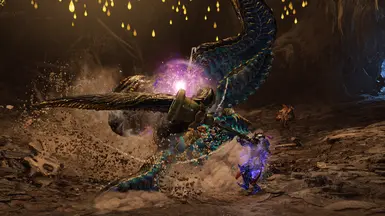
About this mod
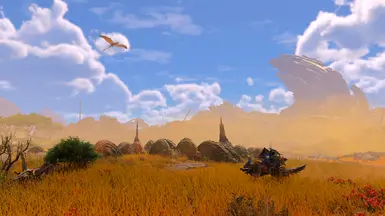
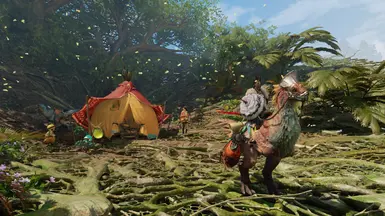
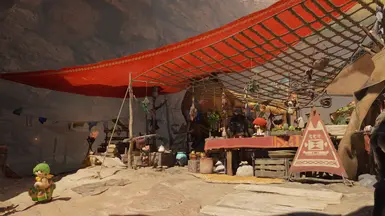
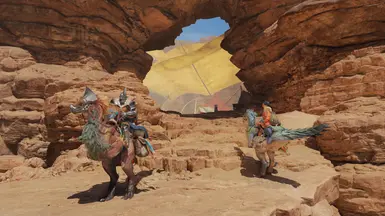
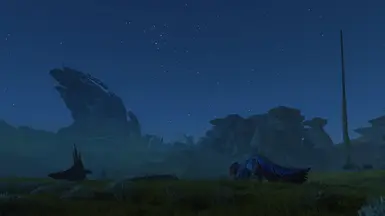
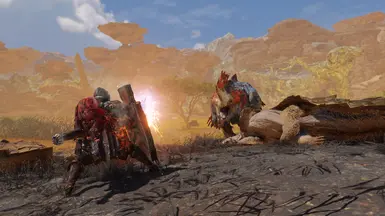
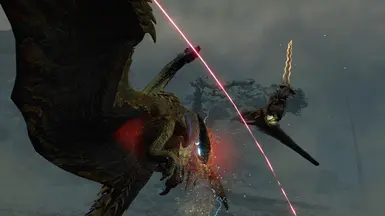
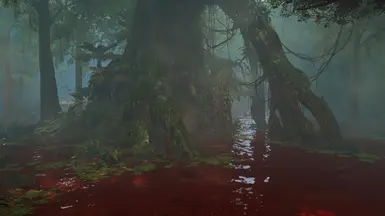
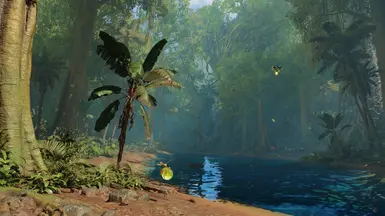
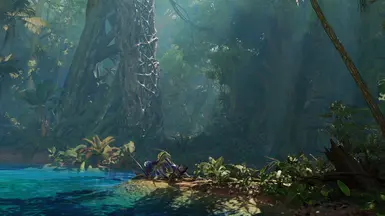
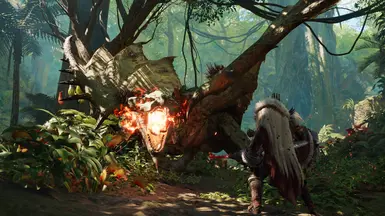
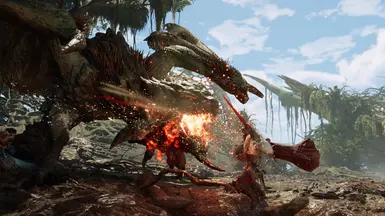
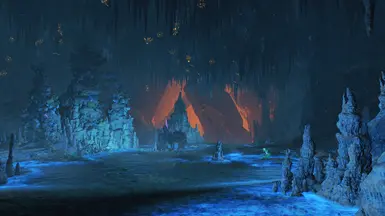
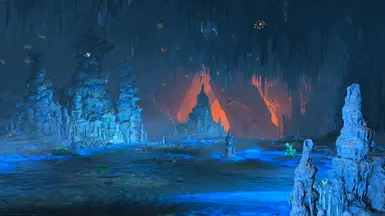
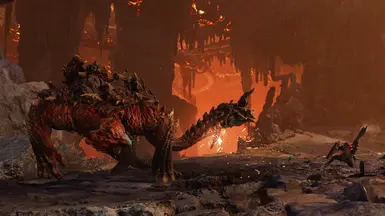
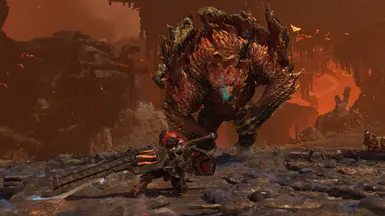
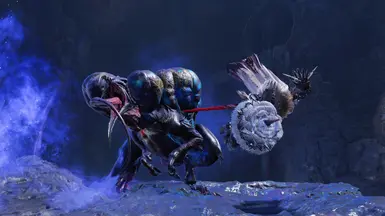
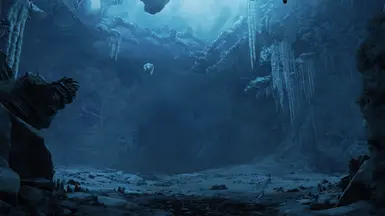
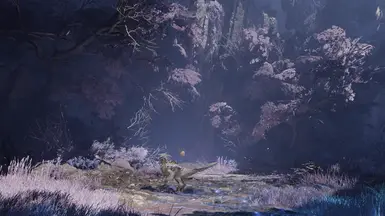
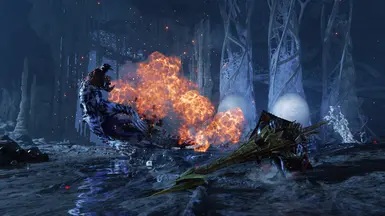
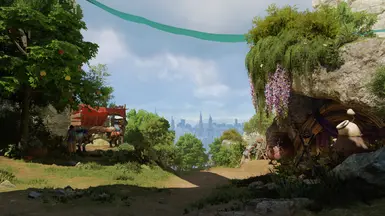
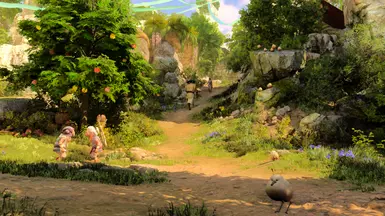
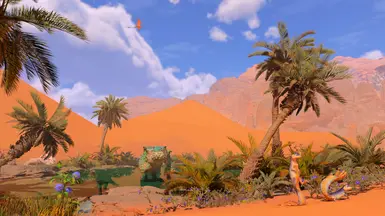
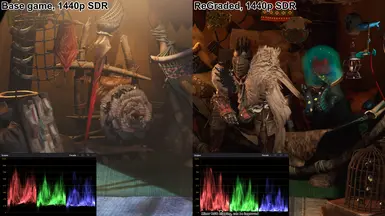
Monster Hunter Wilds ReGraded is a color grading mod that enhances the dynamic range and visual clarity of Wilds, using TonWonton's Disable Post-Processing Effects mod as a base.
- Requirements
- Permissions and credits
- Changelogs
Update (3/17/25): While I've extracted and converted Wild's native LUT files to .dds for editing, RE Engine's .tex format compresses each individual layer into a single 33x33 texture. I'm currently learning how to properly decompress the files into a format I can actually work with.
IMPORTANT:
This mod is currently designed to be used with version 1.1 of the Disable Post-Processing Effects mod and with specific brightness settings. It will NOT look the way it is intended to if you do not disable the game's native color grading and adjust the in-game brightness settings as described below. Feel free to adjust the custom contrast settings in TonWonton's script, but be aware that most of my changes were made at 1.0 - 1.1 contrast and there are some minor visual bugs with the mod. This mod is a stopgap and the way it works may be changed in the future.
Installation Instructions:
- Download and install RE Framework from the Nexus or GitHub.
- Download and install TonWonton's Disable Post-Processing Effects Mod. Disable Color Grading, enable Local Exposure, and optionally disable Blurred Luminance (note that this causes some minor flickering in specific menus, like entering and exiting the tent or smithing with Gemma). Your settings should look like this.
- Download and install ReShade. Select DirectX 12 as the game's rendering API. Only standard (default) effects are needed.
- Download the SDR or HDR version of this mod depending on your display device and extract the archive's contents into your Monster Hunter Wilds game folder, where the .exe is located. For Steam users, this is "Program Files (x86)\Steam\steamapps\common\MonsterHunterWilds" by default.
- Press HOME in-game to bring up ReShade's GUI and select "Monster_Hunter_Wilds_ReGraded.ini" from the drop-down menu, ensuring that LUT.fx is enabled. Enable ReShade effect.
- Adjust your in-game brightness settings:
HDR users: This will vary depending on your HDR device and, potentially, whether you are using RenoDX HDR Fix. Personally, I do not currently use RenoDX even though Wilds' HDR implementation is poor and my monitor's HDR is also relatively poor (especially highlights), so while I use 8 for shadows and maximum highlights and brightness due to low peak nits, this may not be the correct setting for your device. The fact of the matter is that HDR is inherently not a standardized display format and I do not have a way to extensively test a wide range of HDR display devices.
Uninstallation:
- Disable ReShade preset
- Re-enable the game's native color grading through Disable Post-Processing Effects mod's settings and restore your original brightness settings.
SDR Comparisons with post-processing and base game color correction removed:
Windward Plains plenty 1, 2
Windward Plains fallow
Scarlet Forest plenty 1, 2
Scarlet Forest fallow
Oilwell Basin plenty 1, 2
Wyveria
Suja (for enhanced effect, scroll back-and-forth over the downy crake)
Optional Downloads:
- 50x50x50 LUTs: These provide very slightly more accurate color transformations, but may not work correctly depending on your monitor's native resolution. I personally have no issue using these while playing at 1440p on a 4k native monitor. To install, drag and drop as would the 32x version, replacing lut.png in your "reshade-shaders\Textures" folder if it exists and changing LUT.fx's preprocessor definitions in ReShade's GUI to 50x50.
- ReGrade settings: While I was initially working with Photoshop, I ended up using Pascal Gilcher's ReGrade effects suite because it was much more convenient for making flexible adjustments in-game and testing edge cases. If you have ReGrade installed, simply copy and paste these settings into your ReShade preset's .ini and enable the effect to make your own adjustments.
Thanks:
FAQ:
Q: What is the performance impact?
A: Negligible, depending on your native resolution. Personally, I play at 1440p on a 4k monitor and the impact is 1-3 frames per second. ReShade performs its operations per-pixel, meaning its efficiency is dependent on your display device's native resolution and it performs better on smaller displays. However, both LUTs and ReGrade are very performance-efficient color grading tools.
Q: Why do I need to adjust my in-game brightness settings?
A: Disabling the game's native color grading reverts the image to a "clean" state, which is very dark but contains all the necessary color information. However, this does not affect the UI. Initially, I tried to work with the game in this state, but I ran into two consistent issues:
1. A lack of flexibility when grading
2. Any attempt to brighten the image would blow out the UI and many highlights
Using the in-game brightness setting kills two birds with one stone: it makes the image easier to grade (almost like working with LOG) and drastically reduces the risk of blowing out UI elements by bringing it and other elements of the image closer together. It is my intent to make this step unnecessary as soon as possible.
Q: So it's a ReShade preset?
A: Yes, for the time being. It's a stopgap solution to issues with both the game itself and the Disable Post-Processing Effects mod. While I know where Wild's own color grading LUTs are located, I'm pretty inexperienced with modding RE Engine games and attempting to convert the extracted .tex files with RETool doesn't work. Ideally, I'd like to refine move these color grading changes over to the game's internal LUTs, which would avoid having to work around its UI.
(If you think you can help me with properly extracting and converting the game's LUTs, shoot me a DM.)
Q: So... it's a ReShade preset?
A: I hear you, guy who hates bad ReShade presets. I also hate them, but ReShade in and of itself is a great post-processing utility. There are no unnecessary effects or extreme contrast or saturation changes in this preset; it's purely color grading changes with the intent of widening the dynamic range and increasing visual clarity. I have played with this mod with an RGB and luminance histogram open for dozens of hours while testing it to ensure the absolute minimal amount of color information loss. If you open one yourself, the most you'll see is that pure white text and really extreme brightness due to light adaptation are suffering some RGB clipping, but that's it.
Q: Adaptation?
A: The game uses an adaptation effect to adjust the image's brightness depending on where you're looking. It's pretty context-unaware, so something like a grey, overcast sky (think Area 17 of Scarlet Forest) can end up darkening things in the same way that exiting a cave into blinding daylight can. It has nothing to do with this mod, but I tried to work around it as much as possible.
Q: Can I adjust the color and luminance changes of the LUT?
A: Yes, and you can do adjust them independently of each other. Simply open ReShade's GUI and adjust the sliders for LUT.fx's chroma and luma settings. Maybe you want that green tint back, you sick freak?
Q: Why?
A: I hate the four horsemen of modern video game graphics: raised blacks, narrow dynamic range, volumetric fog, and green tint.
Q: Who?
A: I'm just an amateur with some color grading experience. I previously contributed to Dark Souls 2 Lighting Engine before my PC died. While Rage is an absolute wizard and you should definitely check out the mod, the current screenshots do not reflect those previous contributions as I've been out of commission for a while.


