About this mod
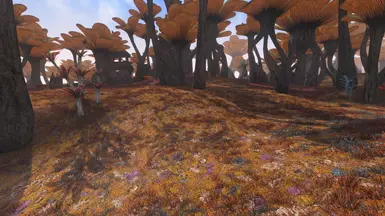
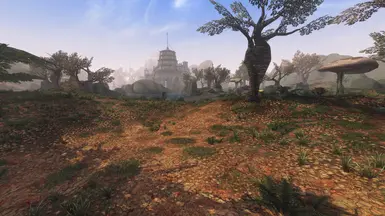
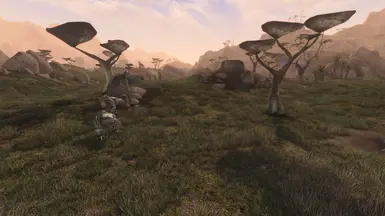
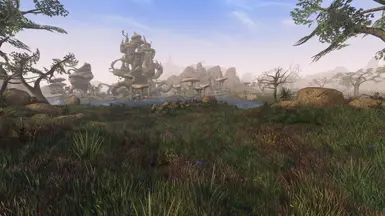
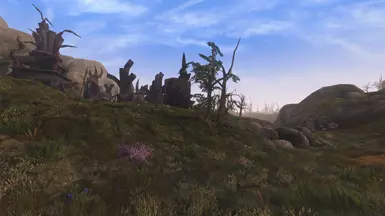
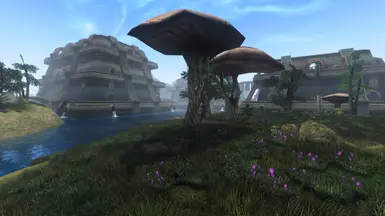
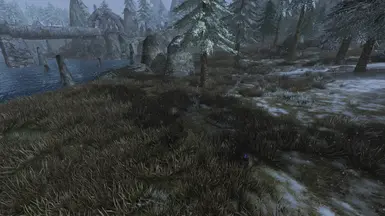
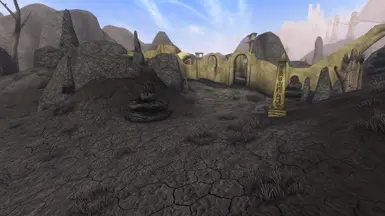
A modular remix of popular grass mods with some new plants and flowers.
- Requirements
- Permissions and credits
- Changelogs


INSTALLATION
NOTE: if you are upgrading from a previous version of lush, it is recommended to uninstall the old version first.
Step 1: extraction of files and ESP choices
There is no fancy installer. From the LUSH_ subfolders select and copy the ESPs that most closely match your mod loadout to any folder your prefer. If you are confused continue to read, it'll start making sense.
DO NOT ACTIVATE THE PLUGINS IN YOUR LOAD ORDER.
Available folders and plugins:
- LUSH_VANILLA and LUSH_BCOM folders
These folders contain plugins for the vanilla regions. The BCOM folder containing the same plugins as the VANILLA folder is compatible with BCOM core (and maybe with all the optional BCOM plugins, try it). For each vanilla region choose vanilla or BCOM, do not use both versions.
For Ascadian Isles there is an optional flowerfields plugin which adds a few flower fields throughout the region, you can install both or just LUSH_AI.
For Grazelands you must choose between regular and _trackless, install one or the other, not both. Trackless adds grass all over including the paths.
- LUSH_SO folder
Plugins for Solstheim. There is a Tomb of the Snow Prince (TOTSP) or Bloodmoon (BM) version, install one or the other, not both.
- LUSH_TR folder
Contains the Tamriel Rebuilt plugin for TR version 25.x - Grasping Fortune, will cause floating grass if used with other TR versions. There is a loose file version and a merged version, use one or the other, not both. Like vanilla, there is an optional AI flowerfields plugin.
- LUSH_UNDERWATER folder
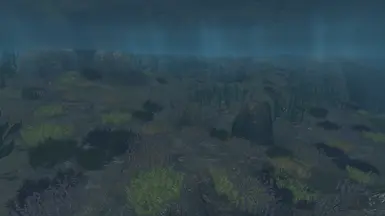
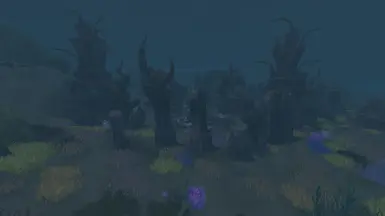
The RI plugins contain green/brown sea grasses that start at river depth and go all the way down to the sea floor. The SE plugins contain an optional set of colorful deep sea grasses/corals that can be installed in addition to the RI plugins.
All RI/SE plugins except CYR cover vanilla areas plus additional areas; available combinations are with/without TR support (TR), with/without Waters of Morrowind support (WOM), and a choice between Bloodmoon (BM) and Tomb of the Snow Prince (TOTSP). Choose whichever is most appropriate for your load order. Each RI esp has an optional matching SE esp. You can use just the RI or combine it with the SE, as long as you use a matching pair suitable for your load order.
lush3_CYR SE and RI esps are for the extensive Project Cyrodiil underwater areas and covers only that; it does not affect nor is affected by the other RI and SE plugins and can be installed in combination with any other SE/RI esps.
To summarize the above, after selecting and copying a bunch of lush3 esp files you have a folder somewhere containing these lush3 esps chosen by you to match your load order (or closest to it), all in the same folder (no subfolders). If so,carry on with the rest of the folders in the archive (you're almost done!):
- Meshes: goes into Data Files.
- Textures: goes into Data files.
- Textures_halfsize: optional halfsized texture sets (about 256px per plant as opposed to about 512 px per plant for regular, it varies a bit from plant to plant, rename to textures if you are using these.
- modmaker_tools: not needed for normal play, contains mesh generator ini files and some example build scripts (used to build lush)
DO NOT ACTIVATE THE PLUGINS IN YOUR LOAD ORDER.
Step 2 for MGE XE:
run MGEXEgui.exe, go to distant land tab, click 'distant land generator wizard'. If you have not used the wizard for this install before click "use current load order". Click "plugin directories". Click "Add" and then find and add the folder where you installed the chosen ESPs in step1, save it. Scroll to the bottom of the list of ESPs and activate the grass ESPs you want to add (in addition to any other mods you want to generate distant land files for). Click continue, then click "automatic setup everything" (or use your preferred settings, I have only tested with the default settings). If you want a reduced amount of grass, then instead click "distant land configuration setup" and go through each step until you get to statics, adjust the grass density to your liking. Finish the wizard to complete distant land generation. Exit MGEXEgui. Goto step 3.
Step 2 for OpenMW:
Open the openmw launcher, go to tab "Data Directories". Click Append. Navigate to the folder where you installed the ESPs in step 1 and add it. The ESPs will now appear in the tab content files but never activate them there. If you have your install configured in a way that does not use the default Data Files from a Morrowind install, you will also need to add the meshes/textures folders of this mod to the content files like you did with the ESPs. Once done, close the launcher. Open openmw.cfg (should be in the same folder as the launcher, if not, where is this file?) and for each grass ESP you want in the game, add a groundcover= line to the end of the file like this (this is just an example):
groundcover=lush3_ai.esp
groundcover=lush3_bc.esp
groundcover=lush3_ai_flowerfields.esp
(more lines like this for each esp)
for your convenience, here is an example file you can copy and paste from (do not blindly copy!)Save and close the file. If you have not used the groundcover system on this openmw install before, you will also need to open settings.cfg (where is this file?) and check for a section called [Groundcover]. If it is not there, add the following to the end of the file:
[Groundcover]
enabled = true
stomp mode = 2
stomp intensity = 1
This is a very minimal configuration, you can change more groundcover settings here, including grass draw distance and changing grass density, see the openMW documentation.
Step 3 for both engines:
Launch the game and enjoy the grass.
Optional but recommended: For openMW, turn on refraction in the in-game settings (under the 'water' section).
Optional but recommended: For MGE-XE consider installing the grass shader included with Remiros' Groundcover, it's very nice.


