


0 of 0

")


About this mod
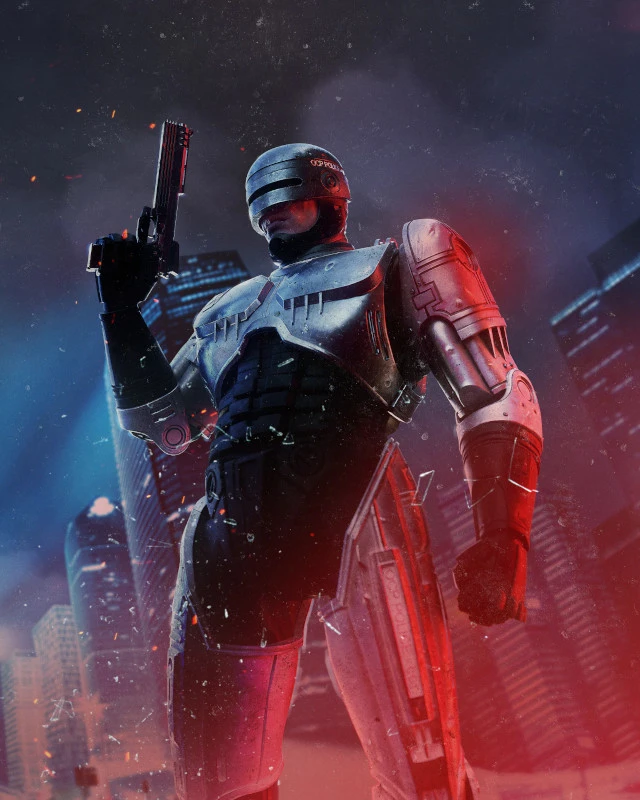
Ultra+ is a series of mods designed for all PCs, fixing bugs and performance, with the best possible visuals.
- Permissions and credits
- Changelogs
Only download Ultra+ mods from Nexus or Ultra Place Discord. We do not upload anywhere else.
Support and Supporting

Join The Ultra Place Discord For the fastest support and releases. See you there!

If you'd like to support our efforts please endorse, share or support us on Patreon.
About Ultra+
Ultra+ is a series of mods designed for all PCs, fixing bugs and performance, with the best possible visuals.
What it Does
Use function keys to toggle certain settings as marked. Note: In-game keybinds are disabled by default, set EnableKeybinds=on in UltraPlusConfig.ini to enable keybinds and to edit all settings; not every setting has a keybind (this can be done while the game is running). Press F12 to load the current configuration file while in-game - you can now edit the configuration file and load the changes while in-game.
Installation Instructions
Ultra+ Mod Manager Installation and Configuration (2.6.2 and newer):
UMM provides a way to easily install, update, and configure Ultra+ mods.
Important! If coming from versions prior to 2.6.2, delete old Ultra+ files.
Now, you can configure mod settings in the Settings tab; this can be done while the game is running as well; simply press F12 in-game to load your new settings. Launch the game either via the Launch Game button in UMM or your usual means.
Manual Installation:Drag all the files to Robocop Rogue City\ If you're using Nvidia/DLSS then you can download the Ray Reconstruction DLL and drag it to:
\Robocop Rogue City\Engine\Plugins\Runtime\Nvidia\DLSS\Binaries\ThirdParty\Win64 Configure Ultra+ using function keys or by editing \Robocop Rogue City\Game\Binaries\Win64UltraPlusConfig.ini. There is detailed instructions inside UltraPlusConfig.ini Enjoy Robocop!
Detailed How-to and Performance Guide
Other Ultra+ Games
All Ultra+ Games
Silent Hill 2 (2024 remake)
Days Gone
Hogwarts Legacy
Cyberpunk 2077Star Wars: Jedi Survivor
Star Wars: Jedi Fallen Order
Avowed
The Elder Scrolls IV: Oblivion Remastered
Ghostrunner II
RuneScape: Dragonwilds
[/size]
In Detail
I've now made Ultra+ for a few games (Hogwarts Legacy, Jedi Survivor, and another secret one I'm definitely not working on).
Initially Ultra+ was to fix stutters and texture loading problems. After that I realized cut scenes looked so much better than the game itself, so I started pushing the in-game quality harder too. My third goal is "everyone can enjoy the game."
So that's what Ultra+ mods are... Finding and removing underlying reasons a game's engine hitches, and forcing graphics higher if it's not too costly to do so.
Is it an Engine.ini mod? No. Other games I've modded use pak files, and edit several game assets to achieve the goals (see note below).
This is also not based on any Engine.ini you've seen pasted on Reddit. I extract all the games commands and hand tune them in-game using the console, which takes a lot of testing. In other games the community has joined in to help test and solve problems (thank you! 😊)
Is it an FPS mod? No, that's not the main goal. However I do try and target vanilla FPS or higher _at higher visual quality_. Often once I remove the cause of performance problems/hitching, it's possible to push quality higher. Put another way, sometimes games studios reduce quality to minimise performance problems.
When the same or higher FPS is not possible, I release a few versions of the mod (Basic, Full, Insane).
So please do let me know how you go in Posts, good or bad. Work is very busy at the moment but I check whenever I can, at least once a week. If I can't respond to everyone, be assured I am reading.
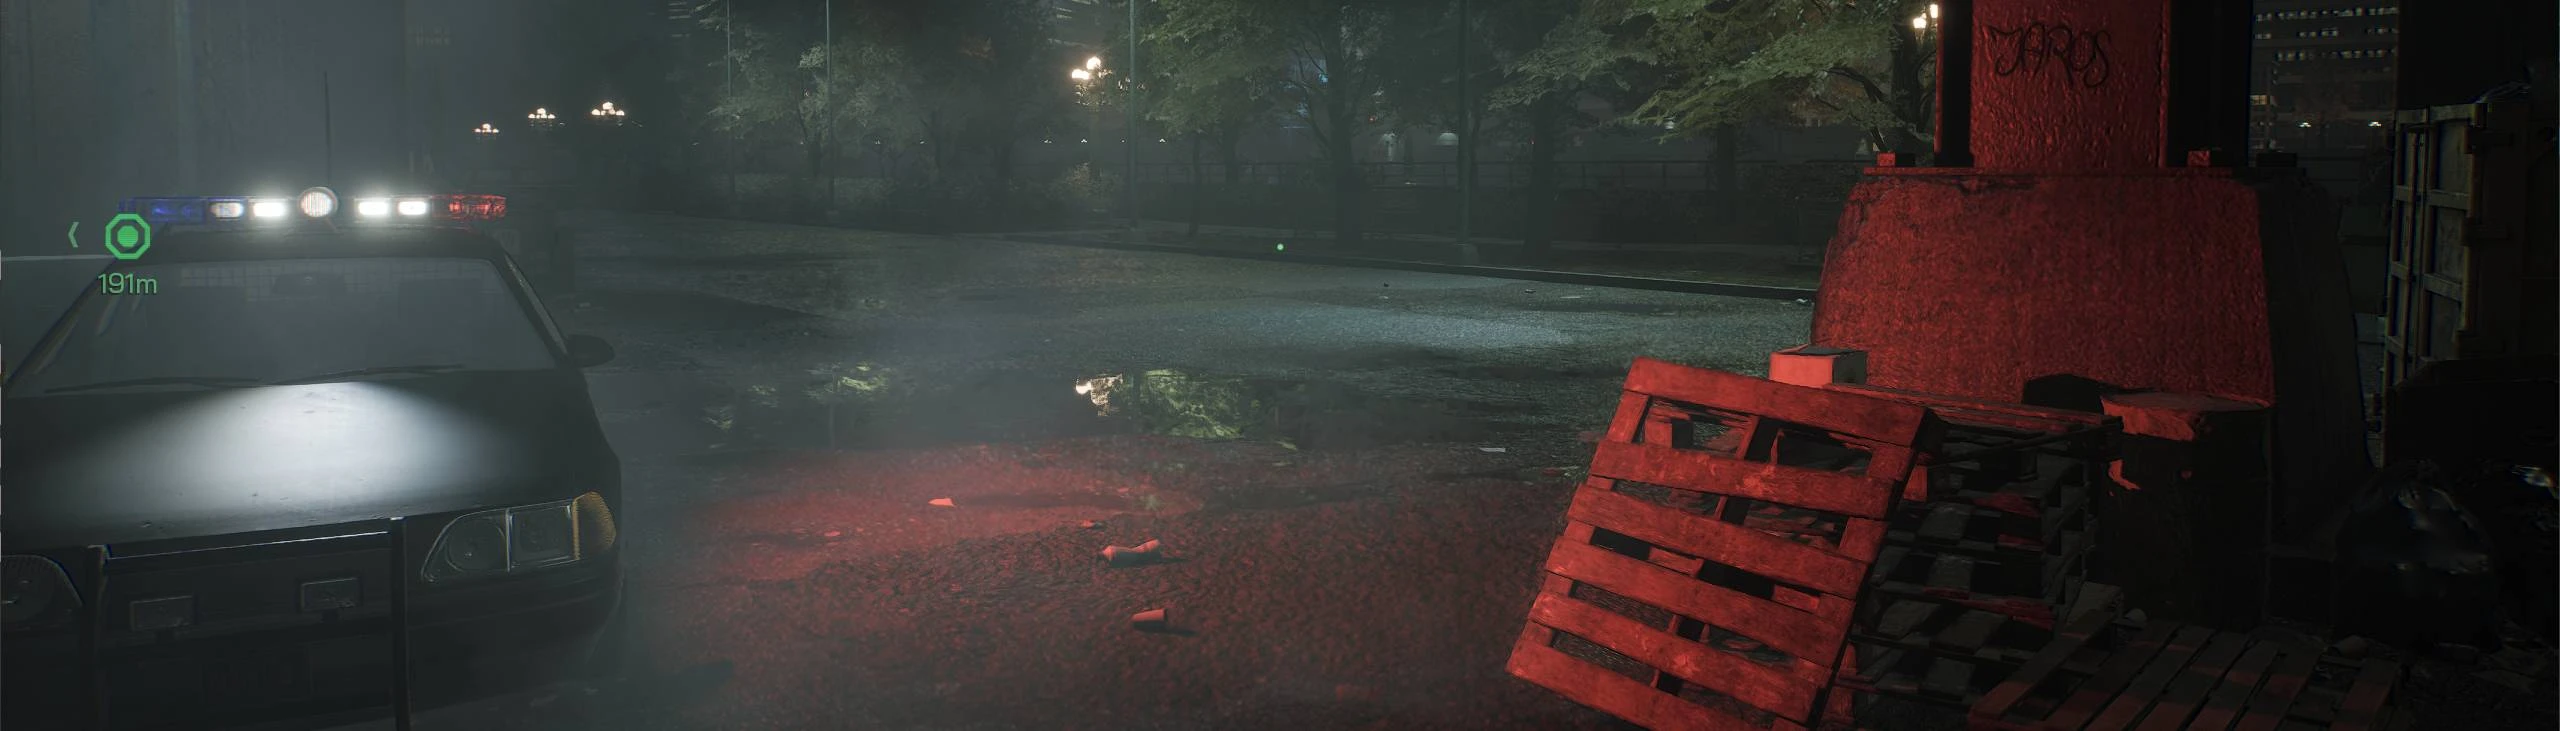
About RoboCop specifically: I heard suggestions thr stutters are caused by shader compilation. They aren't — they were caused by unbuilt shadows, which I've disabled, and by a few other things (see "What it does" above). There is no visual loss from disabling unbuilt shadows.
The game can run extremely well, the Unreal Engine 5.2 texture streamer does not appear to had code modified by Orion, which is good. Most of the problems I see are due to the game studio modifying UEs streamer, instead of really understanding how it works.
Overall RoboCop Rogue City is very well optimised and designed, with only some minor fixes required, plus pushing the visual quality where it doesn't hurt performance.
Note: There are some things I'd like to do but can't yet because the modding tools aren't working 100% with UE5.
To Orion
This is a great demo and I'm super excited about the game! Please use my fixes at will and contact me if you want to discuss anything.
Support and Supporting
Join The Ultra Place Discord For the fastest support and releases. See you there!
If you'd like to support our efforts please endorse, share or support us on Patreon.
About Ultra+
Ultra+ is a series of mods designed for all PCs, fixing bugs and performance, with the best possible visuals.
What it Does
Use function keys to toggle certain settings as marked. Note: In-game keybinds are disabled by default, set EnableKeybinds=on in UltraPlusConfig.ini to enable keybinds and to edit all settings; not every setting has a keybind (this can be done while the game is running). Press F12 to load the current configuration file while in-game - you can now edit the configuration file and load the changes while in-game.
- F2: Toggles Denoiser (none/temporal/Ray Reconstruction (Nvidia DLSS only))
- F10: Cycles through Vanilla, Medium, and High reflection quality
- F6: Cycles through DLSS presets (default is 'E')
- Ctrl + F9: Cycles through Lens Attenuation (default/lower/lowerer/lowest)
- F3: Toggle Vignette off/on
- Ctrl + F8: Toggle HDR off/on
- F4: Toggle Motion Blur
- F7: Cycle LightingAO method (lumen/ssao/gtao)
- F9: Cycles through Off, Low,Medium, and High reflection bias
- Ctrl + F10: Cycles through Lighting Quality (game/low/standard/high/epic/epic_alt/epic_alt2)
- Disables forced 66.7% screen percentage on the whole game (before DLSS or FSR3).
Note: This increases quality considerable but halves FPS. I may add a toggle for this in the future. - Fix noisy reflections on rough surfaces without Ray Reconstruction
- Enables Lumen hardware ray tracing if available
- Fixes noisy global illumination in some areas (Lumen ray noise)
- Fixes slow DLSS Auto quality (testing). Auto is slow because NGX automation testing was disabled
- Enable smooth fading of shadows and objects
- Significantly improves skin
- Uses DLSS as an unsharp mask before UE's sharpen, which gives a really nice look
- Adjusts frame timings to fix hitching
Installation Instructions
Ultra+ Mod Manager Installation and Configuration (2.6.2 and newer):
UMM provides a way to easily install, update, and configure Ultra+ mods.
Important! If coming from versions prior to 2.6.2, delete old Ultra+ files.
- Download and install Ultra+ Mod Manager (UMM)
- Run the application, and select Robocop, and click Initialize.
- If using UNN v1.4 or newer, the path should automatically be detected. If not, navigate to where you installed Robocop: Rogue City and select the indicated .exe, then click Open, then click Save.
- Select "RoboCop-Win64-Shipping.exe" in "\Robocop Rogue City\Game\Binaries\Win64" - You may get an error at this point about the file "nvgx_dlssd.dll" is missing. This is normal; nvgx_dlssd.dll is required to use Ray Reconstruction (Note: Nvidia users only). Click Ok. If you do not plan to use Ray Reconstruction, you can ignore this message. If you do wish to use Ray Reconstruction, follow these steps: Click Open Folder, and copy nvngx_dlssd.dll from here to \Robocop Rogue City\Engine\Plugins\Runtime\Nvidia\DLSS\Binaries\ThirdParty\Win64
- Now that UMM is configured for Robocop: Rogue City, to install or update Ultra+, go to the Installed Mods tab, click the box next to UltraPlus, select Install Mod Update, select the zip file you downloaded, and click Open. Confirm installation and UMM will handle installation (or updating).
Now, you can configure mod settings in the Settings tab; this can be done while the game is running as well; simply press F12 in-game to load your new settings. Launch the game either via the Launch Game button in UMM or your usual means.
Manual Installation:
\Robocop Rogue City\Engine\Plugins\Runtime\Nvidia\DLSS\Binaries\ThirdParty\Win64
Detailed How-to and Performance Guide
- Install the game on an SSD wherever possible, it needs a fast disk
- Run the game at least once
- (Required) Copy the two INI files to %LocalAppData\RoboCop\Saved\Config\Windows\
- (Required) AMD users, run the AMD Auto-Detect tool. If you've installed the AMD Chiset/CPU and GPU drivers, these usually miss a few important drivers, which is fixed by running AMD Auto-Detect. Go to the AMD site > click the Download Windows Drivers button > run the tool
- (Recommended) Write-protect the GameUserSettings.ini file to prevent forced visual quality to not be overwritten. Right-click > Properties > Read-only
- Disable VSync. Ultra+ enables the new DirectX "flip" presentation method which shouldn't tear. If you see tearing, however, enable VSync in the graphics card control panel (not in the game)
- (Recommended) in Display Settings -> Graphics Settings (at the bottom) -> Enable Hardware-accelerated GPU scheduling. Also enable Variable refresh rate if you have it
- (Strongly recommended) Disable Control Flow Guard in Windows. Click Start > type Exploit Protection > Click Program Settings > Click Add program to customize > click Add by program name > type RoboCop-Win64-Shipping.exe > Scroll down to Control flow guard (CFG) > Click Override > Switch it to Off. Done! If the game was running you need to restart it
- (Recommended) Enable resizable bar if you can. This game copies a LOT from CPU to GPU. It's not necessarily about CPU cores but it's definitely about CPU to GPU bandwidth
- (Recommended) disable PCI Express Link State Power Management in Windows Power Plans (here's how). No this isn't the root cause problem, but maximising CPU > GPU bandwidth helps this and other games
- (Recommended) if you're due to update your video drivers, use Display Driver Uninstaller (DDU) in Safe Mode to completely remove the old drivers and reinstall from scratch. I still hear of games being fixed by this. I recommend the NVidia Studio Drivers, or AMD "Recommended" drivers, because they're fully regression tested
- (Optional) If you're still getting micro-stutters, add the line r.FinishCurrentFrame=1 under [SystemSettings]. You may get a few FPS lower but the microhitching should be completely gone.
Other Ultra+ Games
All Ultra+ Games
- Ultra+ Mod Manager (UMM)
Silent Hill 2 (2024 remake)
Days Gone
Hogwarts Legacy
Cyberpunk 2077Star Wars: Jedi Survivor
Star Wars: Jedi Fallen Order
Avowed
The Elder Scrolls IV: Oblivion Remastered
Ghostrunner II
RuneScape: Dragonwilds
[/size]
In Detail
I've now made Ultra+ for a few games (Hogwarts Legacy, Jedi Survivor, and another secret one I'm definitely not working on).
Initially Ultra+ was to fix stutters and texture loading problems. After that I realized cut scenes looked so much better than the game itself, so I started pushing the in-game quality harder too. My third goal is "everyone can enjoy the game."
So that's what Ultra+ mods are... Finding and removing underlying reasons a game's engine hitches, and forcing graphics higher if it's not too costly to do so.
Is it an Engine.ini mod? No. Other games I've modded use pak files, and edit several game assets to achieve the goals (see note below).
This is also not based on any Engine.ini you've seen pasted on Reddit. I extract all the games commands and hand tune them in-game using the console, which takes a lot of testing. In other games the community has joined in to help test and solve problems (thank you! 😊)
Is it an FPS mod? No, that's not the main goal. However I do try and target vanilla FPS or higher _at higher visual quality_. Often once I remove the cause of performance problems/hitching, it's possible to push quality higher. Put another way, sometimes games studios reduce quality to minimise performance problems.
When the same or higher FPS is not possible, I release a few versions of the mod (Basic, Full, Insane).
So please do let me know how you go in Posts, good or bad. Work is very busy at the moment but I check whenever I can, at least once a week. If I can't respond to everyone, be assured I am reading.
About RoboCop specifically: I heard suggestions thr stutters are caused by shader compilation. They aren't — they were caused by unbuilt shadows, which I've disabled, and by a few other things (see "What it does" above). There is no visual loss from disabling unbuilt shadows.
The game can run extremely well, the Unreal Engine 5.2 texture streamer does not appear to had code modified by Orion, which is good. Most of the problems I see are due to the game studio modifying UEs streamer, instead of really understanding how it works.
Overall RoboCop Rogue City is very well optimised and designed, with only some minor fixes required, plus pushing the visual quality where it doesn't hurt performance.
Note: There are some things I'd like to do but can't yet because the modding tools aren't working 100% with UE5.
To Orion
This is a great demo and I'm super excited about the game! Please use my fixes at will and contact me if you want to discuss anything.