


23 items


About this mod
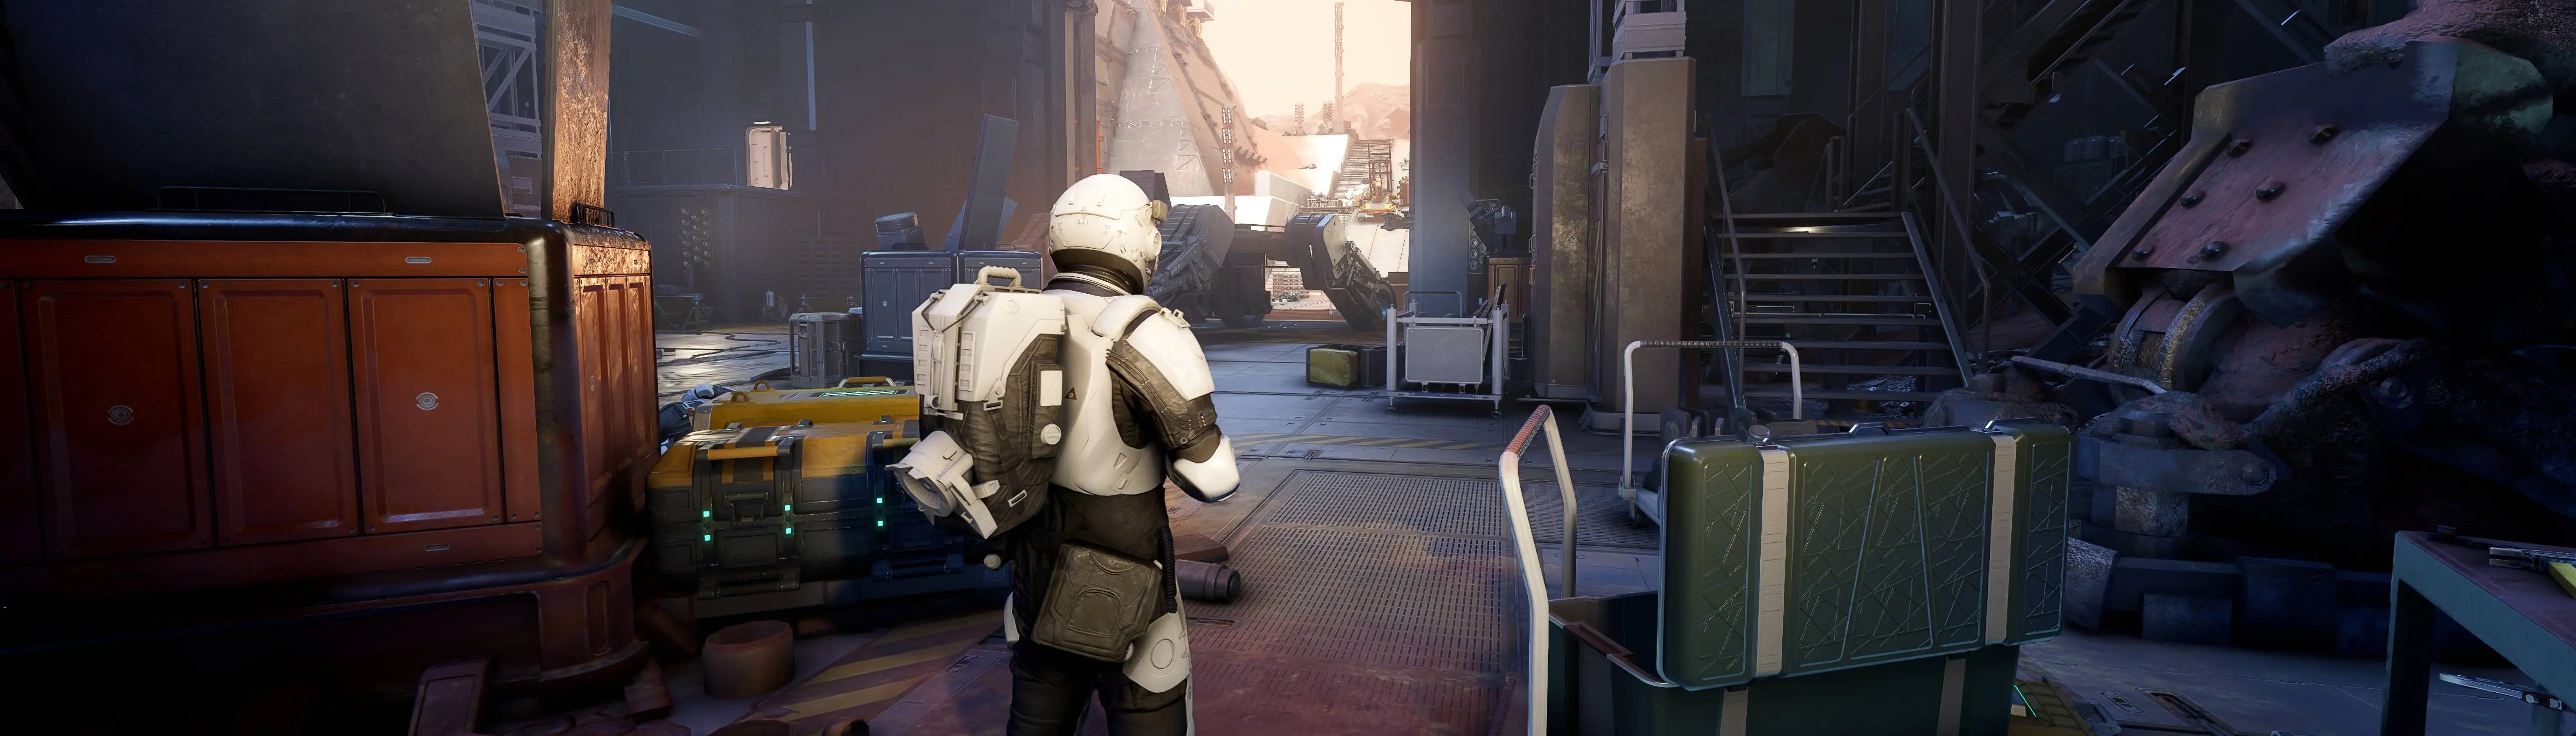
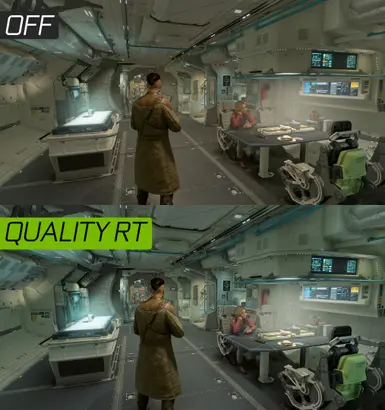
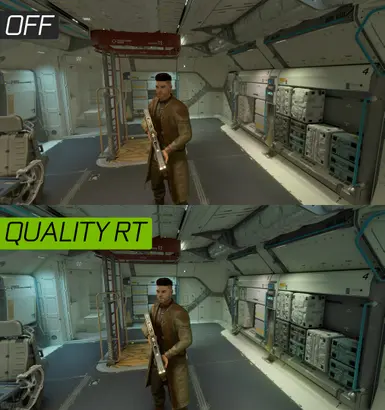
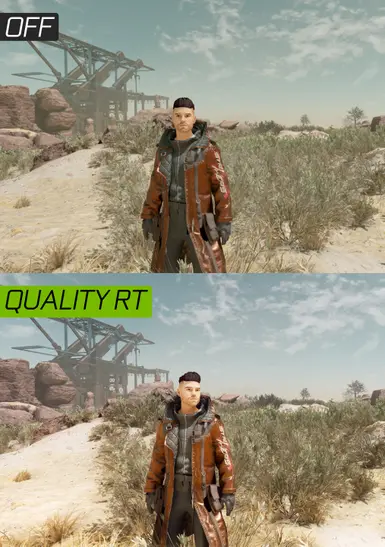
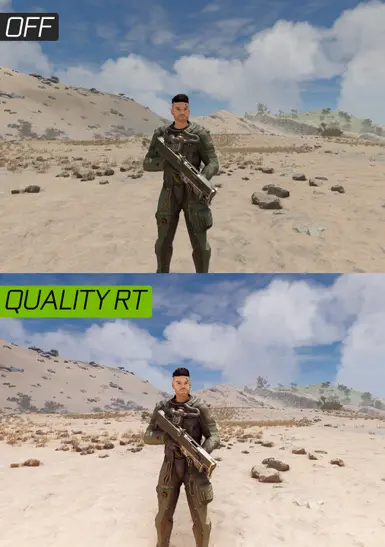
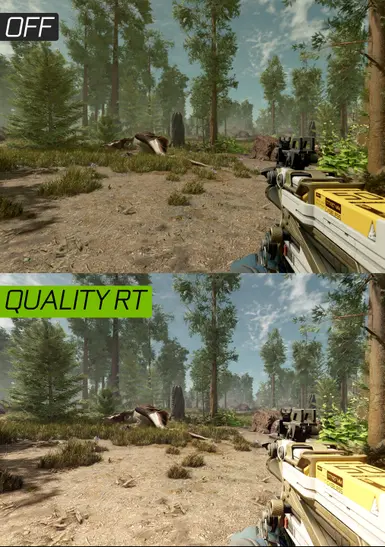
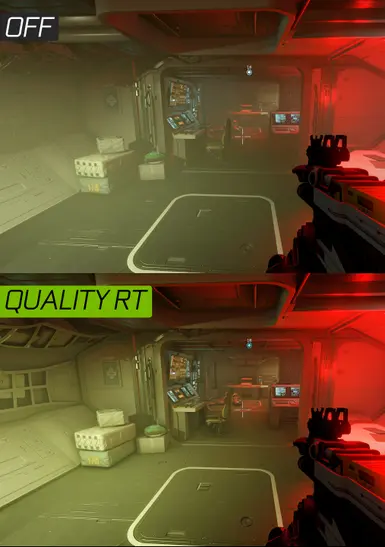
Realistic lighting and colors in two presets.
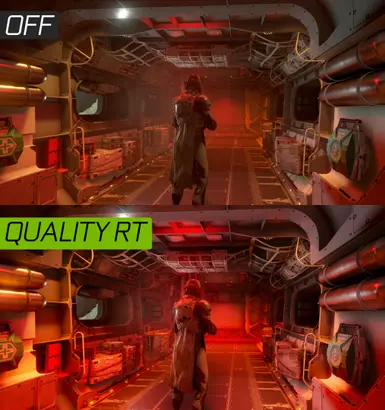
Performance RT
No RT
- Permissions and credits
INTRODUCTION
Hello and welcome to my Starfield Ultimate Graphics Reshade. These presets were made using the Neutral LUTs - No Color Filters mod, which removes the color filters from the game. I strongly recommend this mod for the best experience. My goal was to create an ultimate natural and realistic look without going to the extremes (oversaturation, too much contrast, etc.).
Article about how SSRTGI works for those who are not familiar with it:
https://80.lv/articles/ssrtgi-toughest-challenge-in-real-time-3d/
ABOUT SHADERS
Performance (Free) RT - This preset uses UBER_RT shader by AlucardDH which is free to use and you download it during the Reshade install process. This "ray tracing" shader is constantly being worked on and has many adjustable settings. Performance drop is medium (20-30%).
Update 1.2: Reworked for more precise but stronger effects and better performance! The best of both worlds.
No RT - This is the basic preset without any ray tracing. Small performance loss (10%).
Update 1.2: Small rework and finetuning, some additional color correction and ambient lighting.
After download you can freely customize the presets, turn off and on shaders of your taste.(sharpening, etc.)
The presets were tested in 3440x1440, 5160x2160 and 6880x2880 resolutions.
Attention: Please bear in mind that this preset was created for high resolution, high graphics gaming with RTX 4090 and Ryzen 5800X3D. The pictures and videos clearly shows how it looks on my end. Playing in 1080p resolution with mid-low graphics settings you might get other visual experience.
1.2:
INSTALL
1. Download ReShade 5.9.2 from here: ReShade 5.9.2. The game may crash with other versions.
2. Install ALL the shaders by clicking twice on the "Uncheck all" button.
3. Download and unzip the preset(s) into your main folder where your ".exe" is located.
4. Launch the game and press "Home" to bring up the Reshade interface, you can Skip Tutorial.
5. Choose the preset in the upper bar on the interface then press "Select".
6. Optional: If you don't see a difference or looks weird, you have to set the depth buffer in reshade "Preprocessor definitions" like this: ReShade Depth Buffer Tutorial.
6. Enjoy and endorse if you like it!
CHECK MY OTHER RESHADES