About this mod
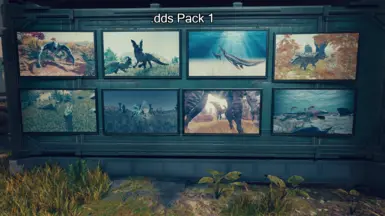
Included are 10 framed photos for your outposts. The frames come in two sizes, for use in various situations.
There are 8 image themes to choose from, or instructions on how to use your own screenshots or images.
- Requirements
- Permissions and credits
Select an image pack to add the pictures to an outpost.
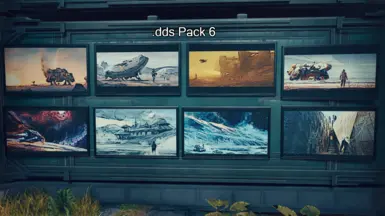
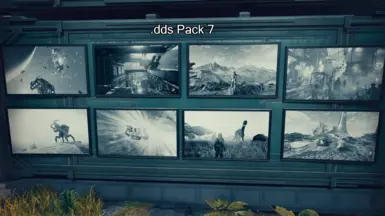
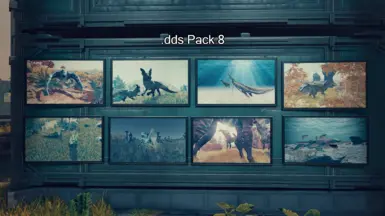
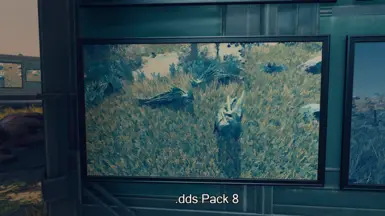
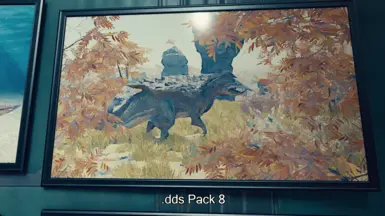
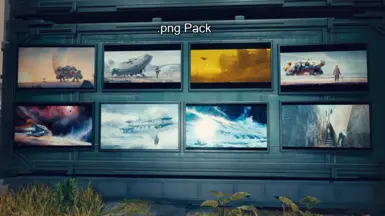
There are 8 separate image packs available, or you can follow the directions below to use your own screenshots or any other photos. The options have previews in the images and are detailed below.
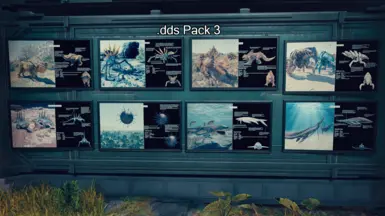
- Provided by my Loadscreen Zoology Files 10 of the beast only images
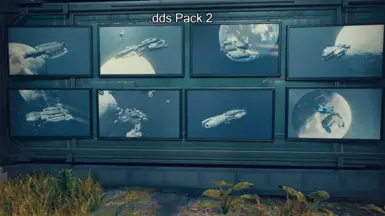
- Provided by my Loadscreen Ship Ads 10 of the ship only images
- Provided by my Loadscreen Zoology Files 10 of the beast card images
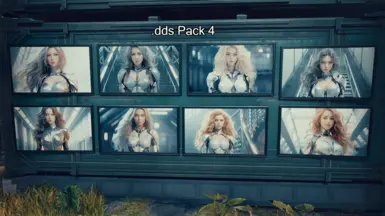
- Provided by AinsyMods Sci-fi Themed Women Loading Screens 10 of his images
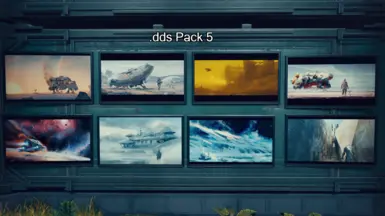
- Provided by google 10 concept art images resized for the mod
- Custom artified versions of the concept art
- Black and white vanilla load screens
- Artified version of option 1.
Compatibility
Everything.
This mod can be used with OUT to allow .png files, just install after OUT, and overwrite if asked.
Installation
1. Use mod manager to install normally or manually extract the plugin to your mod directory
1. Add "*OutpostPhotos.esm" to your plugin.txt
REQUIREMENTS
Plugin.txt Enabler
pls add some screenshots if you make your own :-D
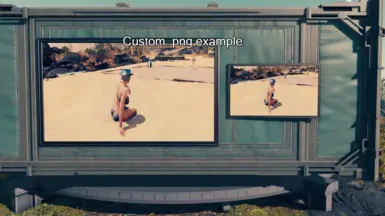
USING YOUR OWN SCREENSHOTS
.png Method (easy) requires the ".png option" download
The .png Method is less optimized, but easier to install. This method takes up more ram, so having too many with this method is unadvised especially on potato PCs, the .dds method is recommended.
Lazy Option - This method will inevitably cut off a chunk of the top and bottom of the image, so make sure the image you want is more centered.
- Navigate to your screenshots (located at textures/photos) and move the ones you want to use into the mod folder (located at textures/photos/Custom_Frames)
- Delete the mods pictures (001.png, 002.png, etc) and then rename your image to the same as the one you deleted.
- Done!
Harder Option -
- Locate a bulk image resizing tool online (google/bing "bulk image resize .png"
- Navigate to your screenshots (located at textures/photos), select the ones you want, and drag them onto the resizer.
- Set the resize option to 1200x1024, and click "resize images"
- Download the resized images, and move them to the mod folder (located at textures/photos/Custom_Frames)
- Delete the mods pictures (001.png, 002.png, etc) and then rename your image to the same as the one you deleted.
- Done! the pictures should have the proper ratio.
.dds Method (advanced)requires any dds option download
- Tools required: Gimp (it's possible there is a bulk converter online, I didn't look but was unsure if it could have the proper compression and mipmaps.
- These steps can be done in paint.net, or any other image editor that supports dds, but these instructions are specifically for Gimp.
- You can also try to use the Harder .png option above to resize images in bulk, then skip steps 2-4. (faster, unless only doing one or two) I personally had issues with exporting as .dds when using a bulk resizer.
- These steps are with my own resolution with screenshots starting at 1980x1080, you may have to alter the steps if your screenshots are different.
- Open Gimp, and open up the screenshot(s) you want to use.
- Click Image->Scale Image and change the width to 1200(2400 or 3600 if high-res) (keeping height to width ratio locked). Click "center" under the image preview.
- Click Image->Canvas Size, ensure that the height/width ratio is unlocked, and change the height to 1024(2048 or 3072 if high-res).
- Ensure that the option on the bottom "Resize Layers" has All Layers, Fill With doesn't matter.
- (optional)If you're feeling fancy, you can try your hand at using one of the filters: click filter -> artistic -> and there are several options here: Apply canvas=fabric look, Waterpixels=water color look. Feel free to play around and make something cool :P (example pack six is pack 5 with the filters cartoon and then apply canvas.)
- Click File->Export Image As... and set the Compression to BC3/DXT5, then set Mipmaps to Generate mipmaps.
- Export the image to textures/photos/Custom_Frames, overwriting the image you are replacing. Make sure you set the file extension to .dds.
- Done! The image should now fit perfectly in the frame and have minimal impact on frames.
Show your support
