About this mod
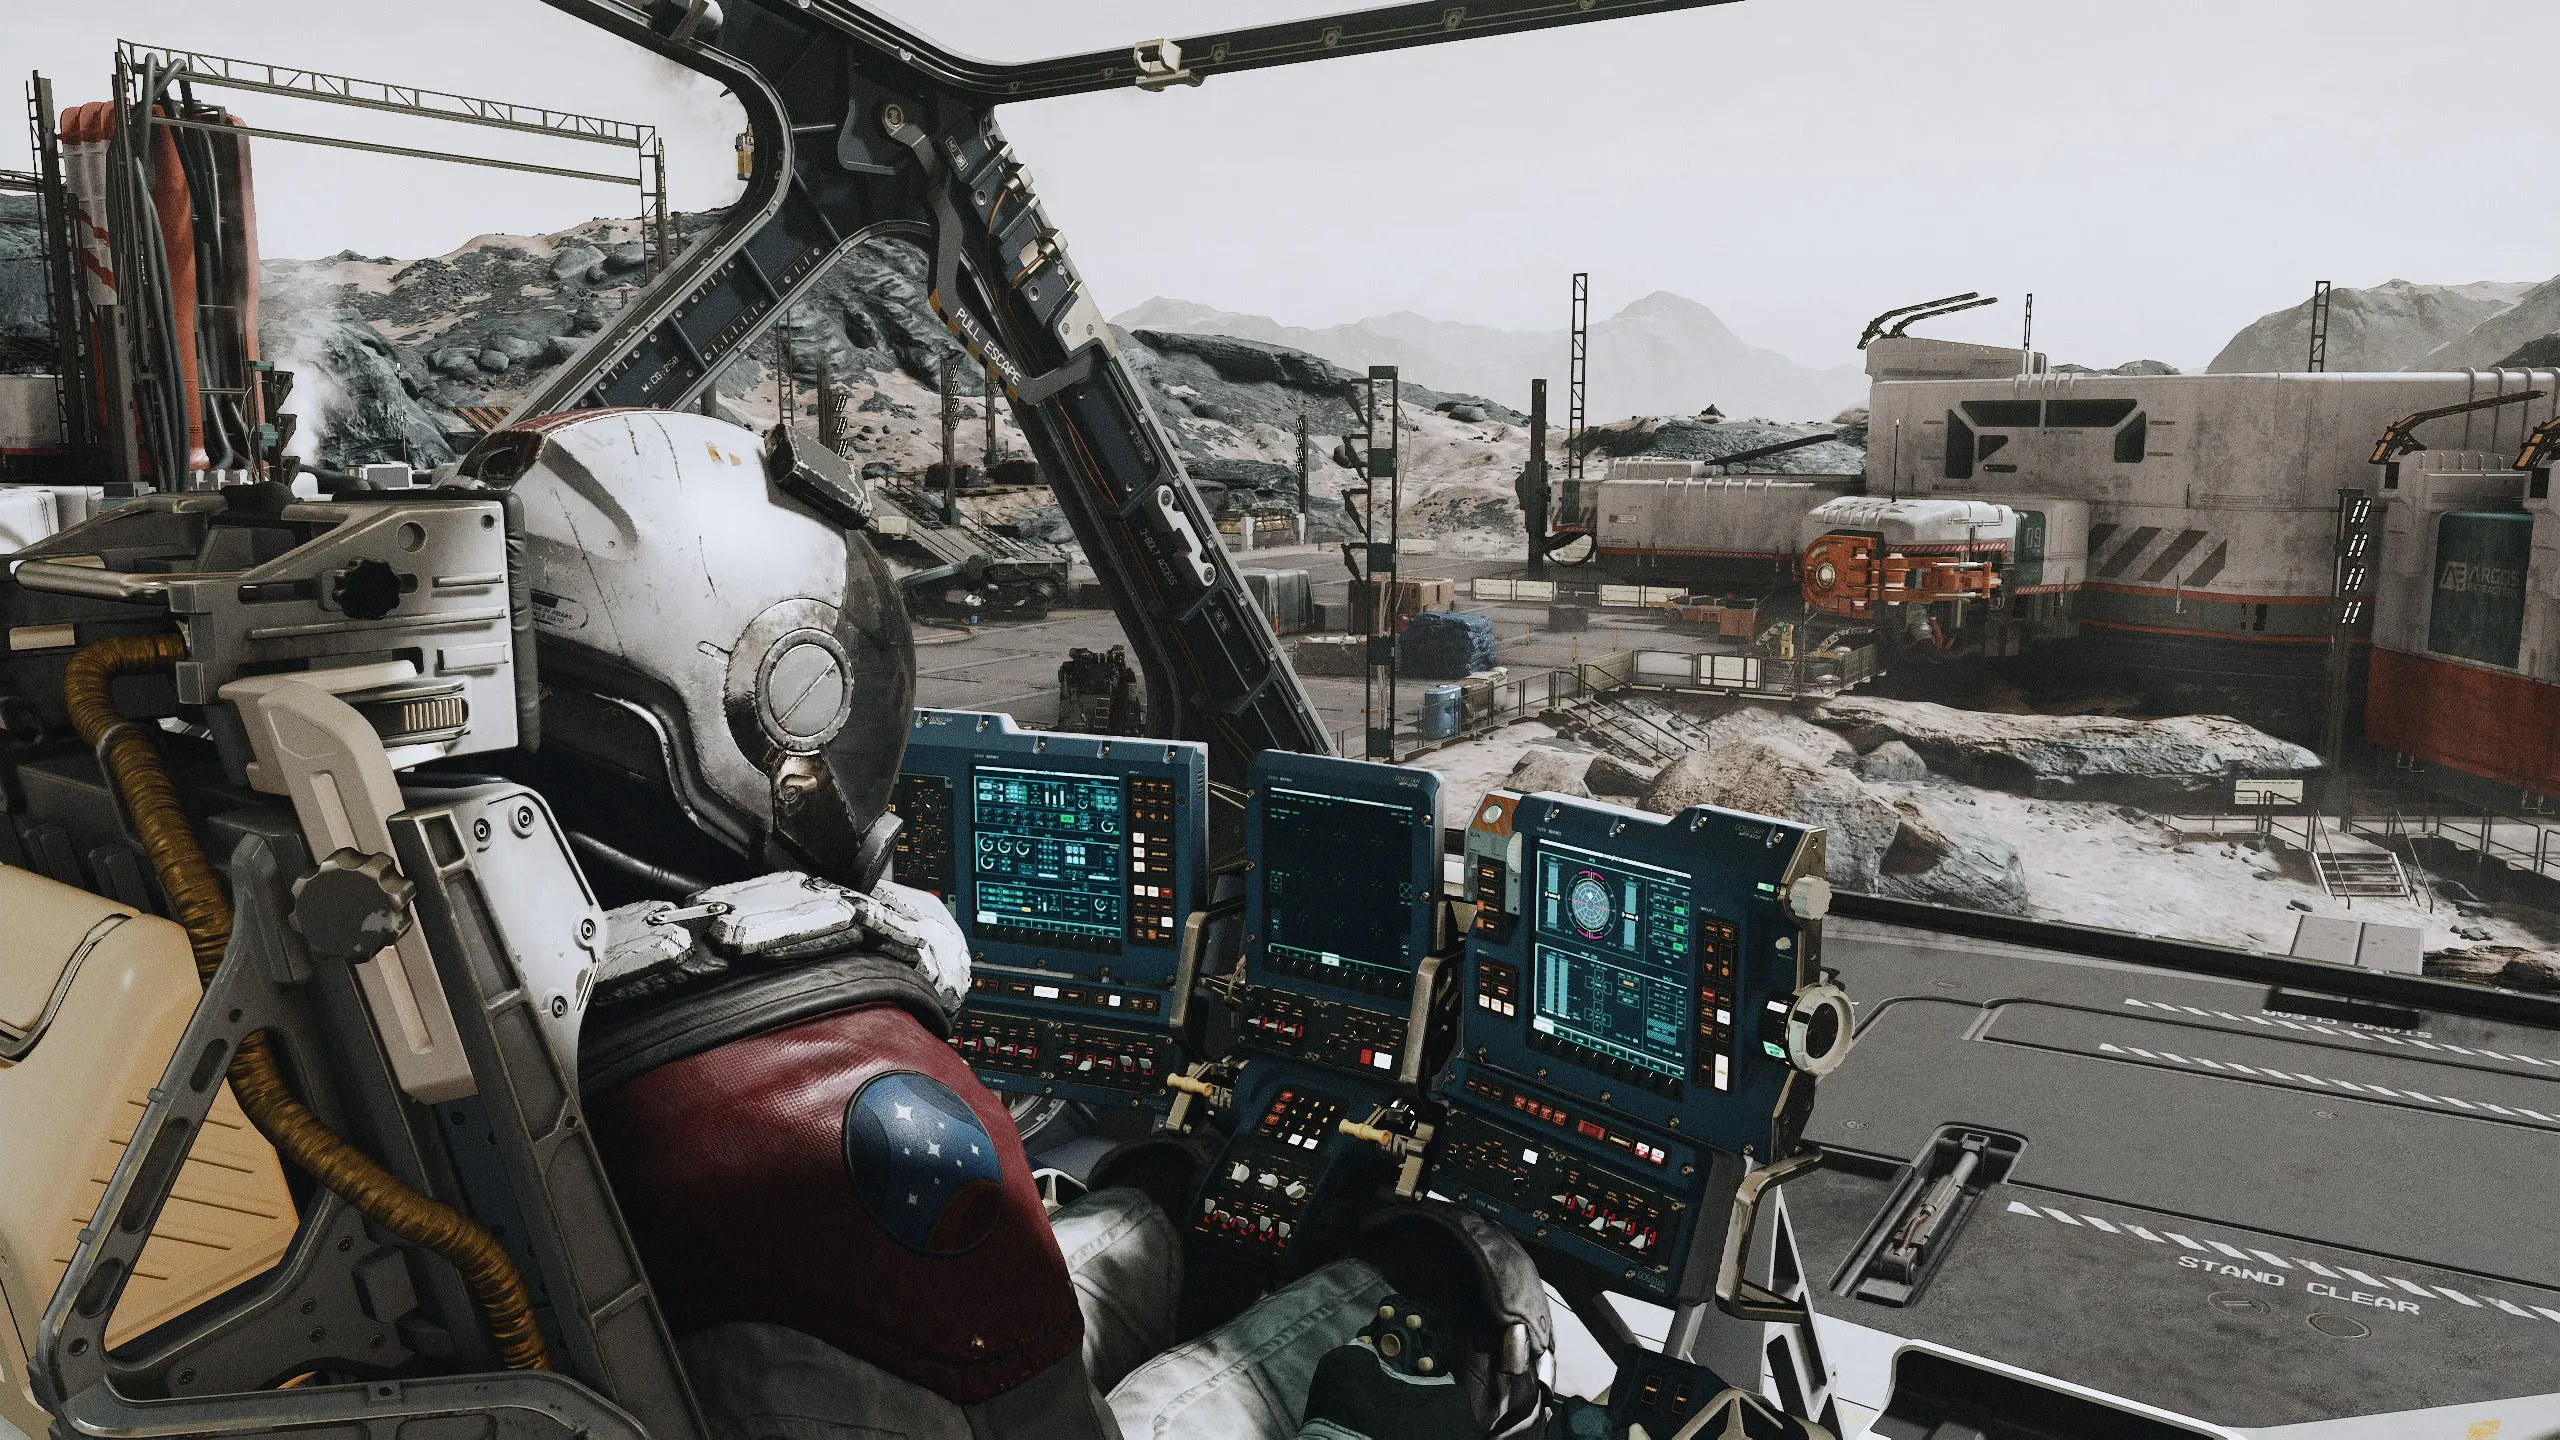
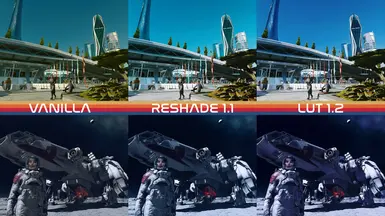
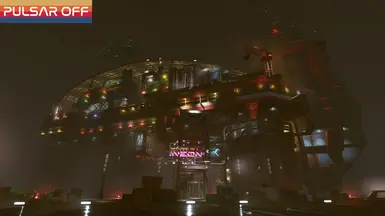
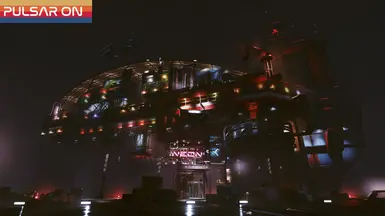
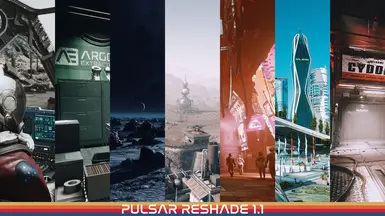
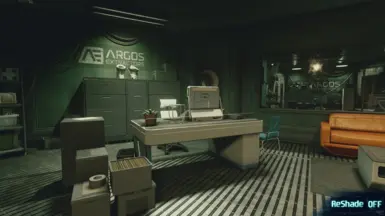
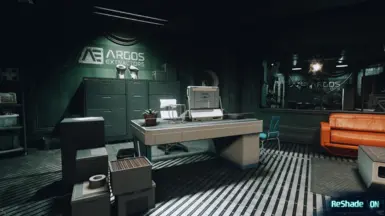
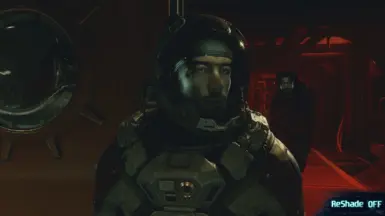
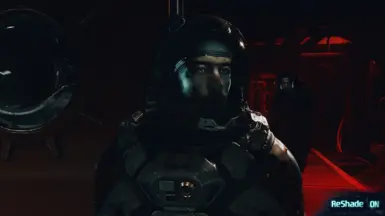
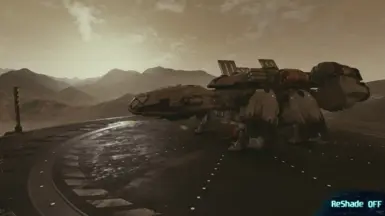
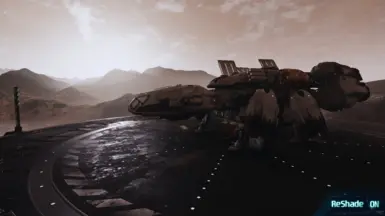
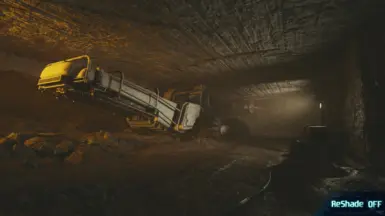
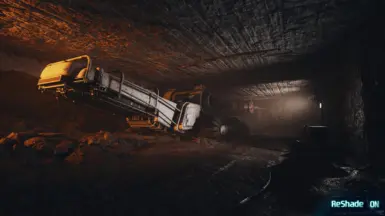
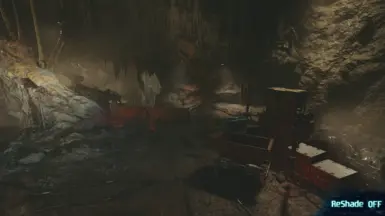
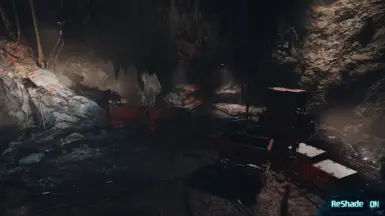
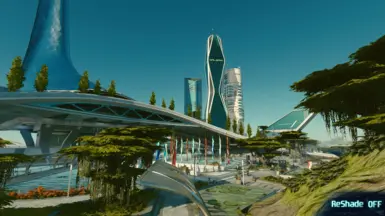
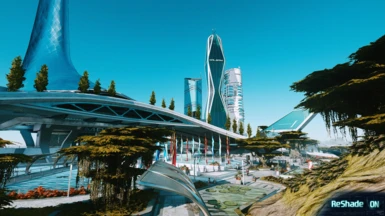
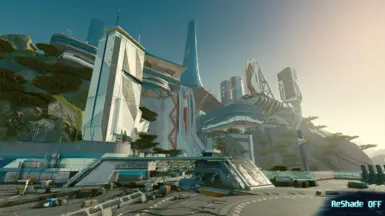
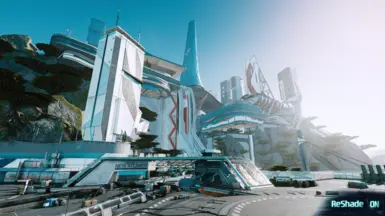
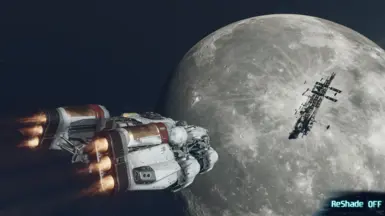
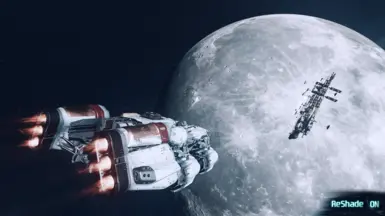
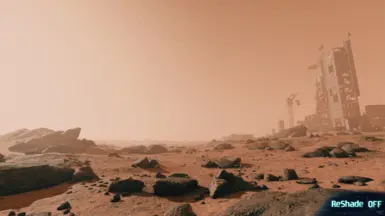
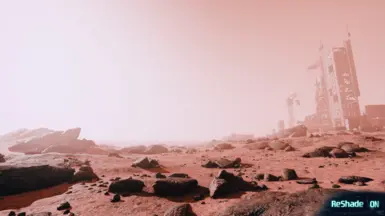
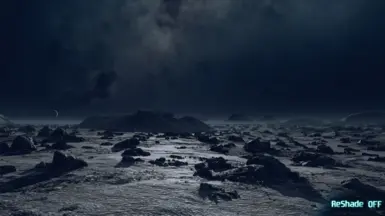
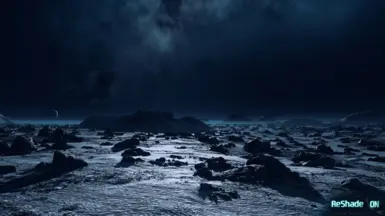
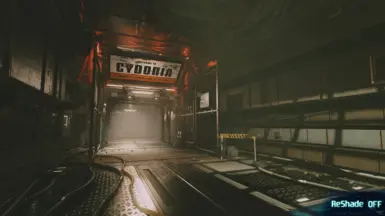
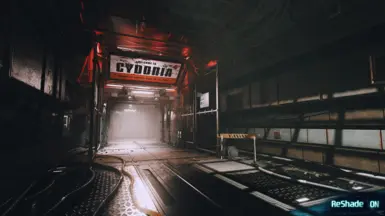
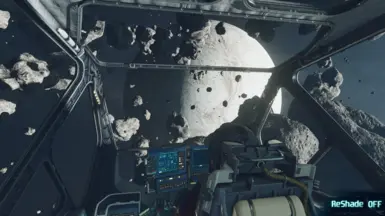
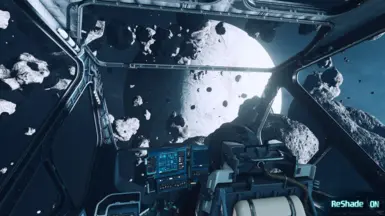
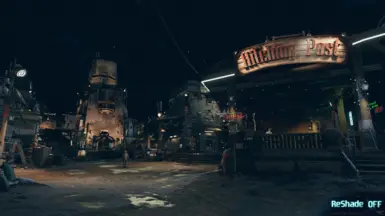
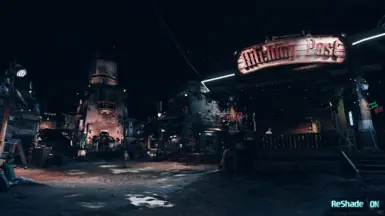
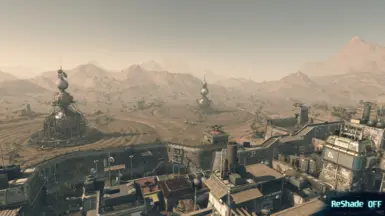
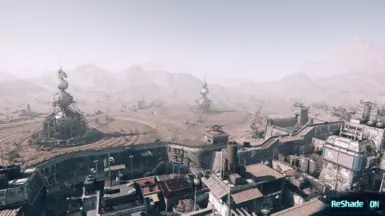
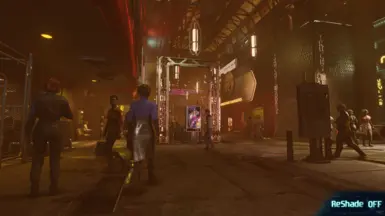
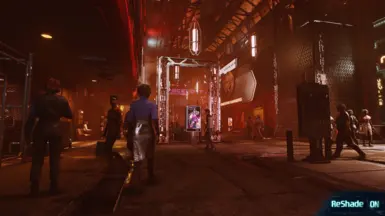
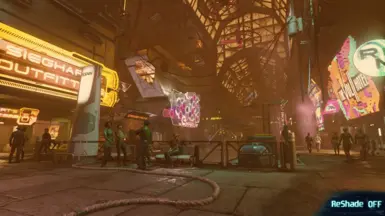
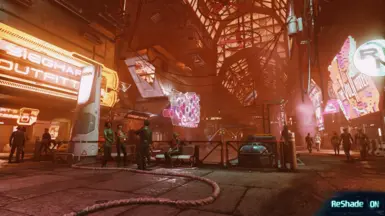
Pulsar ReShade aims to create realistic lighting conditions and cinematic visuals fitting the NASApunk design of Starfield.
- Permissions and credits
- Changelogs
Pulsar ReShade aims to create realistic lighting conditions and cinematic visuals fitting the NASApunk design of Starfield.
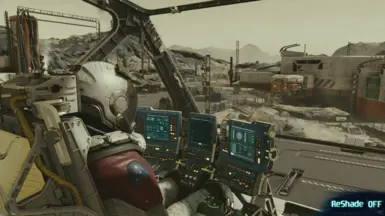
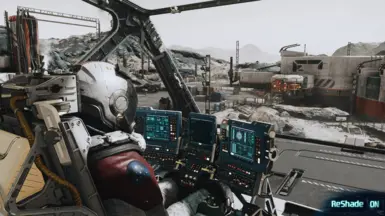
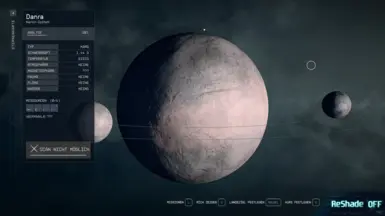
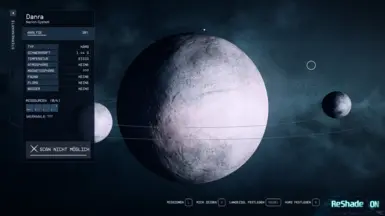
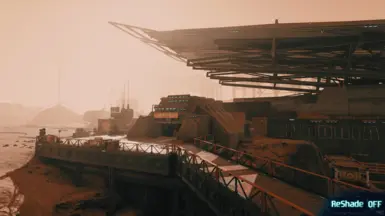
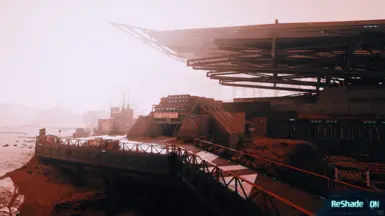
The preset also adds contrast as well as more blue tint to the image which removes the contrast lacking
yellow-green fog we know from previous Bethesda games.
INSTALLATION
For using this preset you need ReShade 5 or newer.
Download Reshade: https://reshade.me/#download
Install ReShade & Preset:
STEPS FRESH INSTALLATION
- After downloading PULSAR ReShade copy "pulsar-reshade.ini" to your Starfield folder. (e.g. \SteamLibrary\steamapps\common\Starfield)
Also copy "reshade-shaders" folder which includes a PNG LUT file to your game directory
You need this for my LUT to work - Download ReShade installer and execute it. Download Reshade
- Select Starfield game executable "starfield.exe" from your installation folder.
Microsoft Store or Gamepass users must select "gamelaunchhelper.exe" - Click on "Direct3D 10/11/12" button (it's already selected so press next)
- Select PULSAR ReShade INI File for installation and press next
All necessary shader packages should be pre-selected - just continue
(Standard effects, SweetFX by CeeJay.dk, Color effects by prod80, Legacy Effects) - Start the game and open ReShade Overlay by pressing "HOME" / "POS1" Key
- You can follow the integrated tutorial and may change the hotkeys.
- Check if PULSAR ReShade preset is selected - if not just locate it with the file browser and apply
RESHADE ALREADY INSTALLED?
If you have installed reshade in the past, run the setup again and click on "modify". Select PULSAR preset and update your shaders. Also don't forget to copy the LUT into your ReShade textures folder!
That's it.
ENJOY!
TROUBLESHOOTING
- It looks like v1.1? Copy the LUT in you ReShade textures Folder!
- If you have already installed reshade, run the setup again and click on "modify". Select PULSAR preset and update you shaders. Also don't forget to copy the LUT into your ReShade Textures folder!
- This presets adds CAS sharpening. You can deactivate it with the overlay if your image is oversharpened. Keep in mind that FSR2 adds an additional sharpening filter. The noise in the images is vanilla with ReShade CAS (NO FSR sharpening)
FUTURE PLANS
- further optimization of scenes with bright red or warm light
- maybe adding an alternate version with lens effects and vignette
- optional config for neutral LUTs
- reduce number of effects and do most things with a LUT for better performance
CREDITS
Thanks to all ReShade developers! https://reshade.me/#download
