File information
Created by
SammiLucia UnderwaterHomie Awaydays and LazorrUploaded by
sammiluciaVirus scan
About this mod
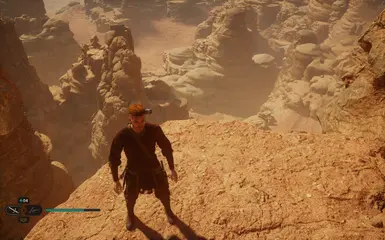
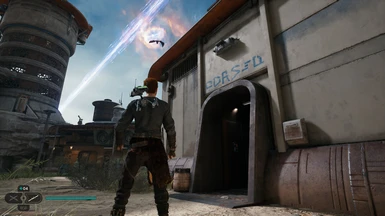
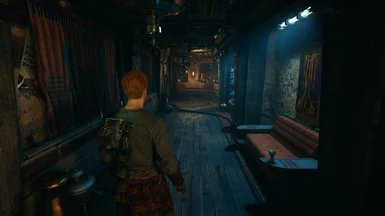
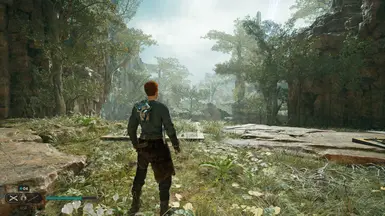
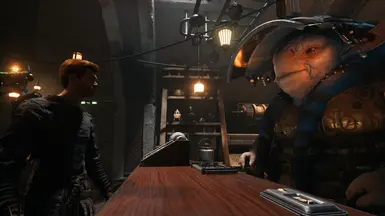
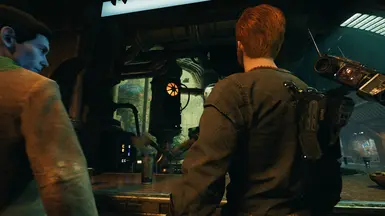
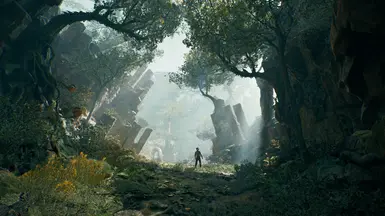
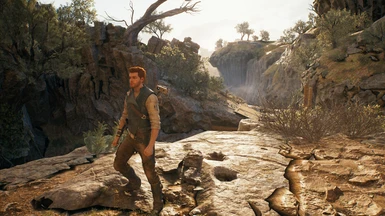
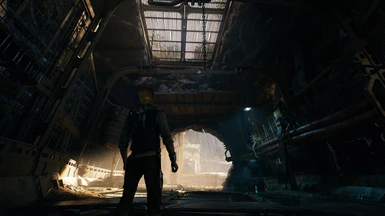
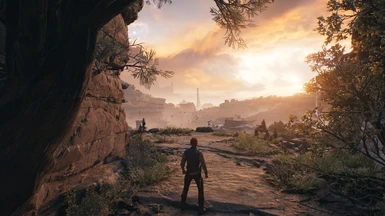
Ultra+ is a series of mods designed for all PCs, fixing bugs and performance, with the best possible visuals.
- Permissions and credits
- Changelogs
Support and Supporting

Join The Ultra Place Discord For the fastest support and releases. See you there!

If you'd like to support our efforts please endorse, share or support us on Patreon.
About Ultra+
Ultra+ is a series of mods designed for all PCs, fixing bugs and performance, with the best possible visuals.
What it Does
- Fix vanilla flickering ray tracing in dark scenes or shadows
- Hopefully fixes slow and hitchy ray tracing due to incomplete/poorly configured PSO cache
- Completely reworked the texture streamer, which was only partly enabled
- Fixed hitches from shaders and shadows compiling after they've presented
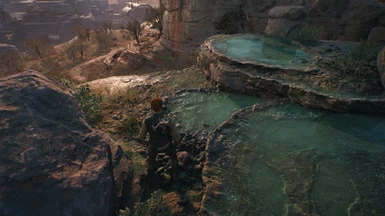
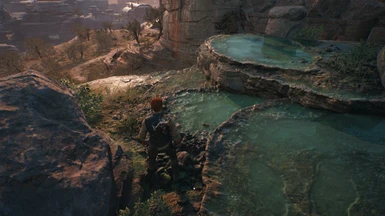
- Improves water quality, which was rendered at half res
- Cut scenes have an FPS boost with no visible quality loss by reducing excessive quality
- Freed ~500MB VRAM by disabling several unused engine functions, enabling larger PoolSizes.
- Rebalanced in-game graphics settings "Epic" is now closer to cut-scenes, "High" is what "Epic" used to be. "Mid" and "Low" should now look a lot more detailed but work on lower-end PCs
- Fixed TAA crawling on sharp texture edges. NOTE: This requires DLSS (it's not fixable on FSR2 unfortunately)
- Fixed blurry textures by using in-engine texture sharpening depending on the material (e.g. walls need more sharpening than skin)
- Improved white flashes on screen when moving the camera quickly. Not entirely gone but much better
- Improved fog and increased the visible movement of fog in lights
- Reduced motion blur and improved its quality
- Tweaked depth of field and bloom quality in line with game's look
- Increase anisotropic filtering to 16x
- Fixed TAA edge jitters by using DLSS as an unsharp mask before applying UE's texture sharpener (DLSS/DLAA only)
- Fixed stalling when changing camera views in cut scenes
- Tweaked subsurface scattering on skin (slightly reduced) to better match the game look
- Increased shadow draw distances for High and Epic graphics settings
- Enabled texture and shadow LOD fading over 2 seconds to make pop-ins far less noticeable
- Sharpened shadows to look more realistic/less blurry
- Fixes excessive polygons with grass causing frame drops with ray tracing
- Improved mesh accuracy of small objects (flasks, crates, bottles, plants) don't look distorted at a distance. NOTE: This needs more testing, please let me know if you find any potato meshes
- Changed Oodle to Selkie (was Mermaid) texture compression which is slightly faster with no noticeable quality loss
- Fixed virtual texture compression which causing traversal stutters moving the camera around
- Reworks graphics settings so Epic is higher quality and Low is faster
Notes
- Ultra+ now includes UE4SS, enabling U+ extensions, in-game config changes and the Unreal Engine console.
- Ultra+ does improve the game's performance by a few FPS, however the extra FPS are taken up with visual quality improvements
- This may also enable you to play the game on low-powered PCs. (Thousands of people have been able to play Hogwarts with Ultra+ when they couldn't before.)
- Should also work for Mac and Linux! Please let me know in Posts
- Adjust the black point of your screen (Visuals > Color)
- That's it!
How to Install and Use
Ultra+ Mod Manager Installation and Configuration (5.0.3 and newer):
UMM provides a way to easily install, update, and configure Ultra+ mods.
Important! If coming from versions prior to 5.0.3, delete old Ultra+ files.
- Download and install Ultra+ Mod Manager (UMM)
- Run the application, and select Jedi Survivor, and click Initialize.
- If using UNN v1.4 or newer, the path should automatically be detected. If not, navigate to where you installed Jedi Survivor and select the indicated .exe, then click Open, then click Save.
- Select "JediSurvivor.exe" in "\Jedi Survivor\SwGame\Binaries\Win64" - Now that UMM is configured for Jedi Survivor, to install or update Ultra+, go to the Installed Mods tab, click the box next to UltraPlus, select Install Mod Update, select the zip file you downloaded, and click Open. Confirm installation and UMM will handle installation (or updating).
Now, you can configure mod settings in the Settings tab; this can be done while the game is running as well; simply press F12 in-game to load your new settings. Launch the game either via the Launch Game button in UMM or your usual means.
Important: Don't install other performance or raytracing fix mods. I've completely reconfigured the engine — they will not work with Ultra+ and are not required.
Manual Install (5.0 and newer);
- Delete any old version(s). If you installed any version between 3.3.9 and 3.4.3/4 (depending on if you installed 3.4.4 from Discord), make sure you also delete any files relating to the U+ Extensions part! A clean Jedi Survivor\SwGame\Binaries\Win64 folder should only have 1 folder and 2 files. These are the "Core" folder, the "JediSurvivor.exe" file and the "turbojpeg.dll" file.
- Uninstall any other mods using an older UE4SS version than 3.x.x such as Outfit Manager (game will crash otherwise due to a UE4SS version mismatch).
- Copy the SwGame folder to Jedi Survivor\ or use a mod manager.
- U+ Extensions are included. This allows you to change various settings in game for your own personal preference. There will be an UltraPlusConfig.ini file in Jedi Survivor\SwGame\Binaries\Win64 which you can open and change before starting the game. You can also now make edits in this file during gameplay and press F12 in order to load the changes you made directly, meaning you no longer have to restart the game to apply your changes. Alternatively, you can also open the file and enable the "EnableKeybinds" option in order to use keybinds to change settings from the file whilst you're playing.
- Don't install other performance or raytracing fix mods. I've completely reconfigured the engine — they will not work with Ultra+ and are not required.
--------------------------------------------------------------------------------------
Legacy instructions:
3.3.9 - 3.4.4:
- Delete old version(s)
- Uninstall any other mods using UE4SS such as Outfit Manager (game will crash otherwise due to a UE4SS version mismatch)
- Copy the SwGame folder to Jedi Survivor\, or use a mod manager
- U+ Extensions are included. Similar to Hogwarts Legacy U+ Extensions, this allows you to change various settings in game.
- In game, adjust RT Samples (default is 1) and the sharpness (default is 1.1) to your preference. When you launch the game for the first time an
UltraPlusConfig.inifile will be created inSwGame -> Binaries -> Win64
You can view/edit this config to see the keys you need to press to change values or edit the values before starting the game.
- By default, press F3 to cycle the number of RT samples between 1, 2 and 3. Press F4/F5 to decrease/increase sharpness by increments of 0.1. Press F6 to toggle between TAA Gen 4 and Gen 5 (note: Gen 5 is generally not recommended as it will break holotactics in exchange for some image quality). Press F10 to bring up the console.
- PoolSize is now set by in-game "Texture Quality"
- "Epic" is for >8GB cards
- "High" for 6GB
- "Med" for 4GB
- "Low" for 2GB cards - Don't install other performance or raytracing fix mods installed. I've completely reconfigured the engine — they will not work with Ultra+ and are not required.
Older versions:
- Choose a pak (it doesn't matter which you choose for raster)
- 1 ray tracing sample is normal, but flickers sometimes in dark scenes (vanilla bug)
- 2 samples costs several FPS, but fixes 90% of flickering
- 3 samples cost quite a few FPS, but fixes 100% of flickering - Copy the pak to Jedi Survivor\SwGame\Content\Paks, or use a mod manager
- PoolSize is now set by in-game "Texture Quality"
- "Epic" is for >8GB cards
- "High" for 6GB
- "Med" for 4GB
- "Low" for 2GB cards - Don't install other performance or raytracing fix mods installed. I've completely reconfigured the engine — they will not work with Ultra+ and are not required
If you have a good or bad experience please let me know in Posts 😊
Troubleshooting
- Q: Game crashes on startup or loading saves
A: Your shader cache is corrupt. Please run the clear-shader-caches script in the Solutions folder > Crash on load, or black spots on landscape
A: You have another mod that uses UE4SS installed, like Outfit Manager. Follow that mod's instructions to uninstall it, and repeat the installation process of Ultra+. - Q: I cannot change sharpness or RT samples
A: UE4SS is likely not loading due to a permissions issue. Check this excellent writeup by the author of Outfit Manager for solutions. - Q: I have black spots on the landscape
A: Your shader cache is corrupt. Please run the clear-shader-caches script in the Solutions folder > Crash on load, or black spots on landscape
Full Troubleshooting Guide
These steps get more aggressive as you go down the list:
- Check you're on the newest version of the mod. I regularly fix issues
- Enable DLSS (or FSR2 on AMD). DLAA and TAA are the heaviest because they use more memory. DLSS etc. has a lower screen resolution which saves a lot of VRAM
- Ensure your Texture Quality is not set too high (see New Graphics Settings above) — this should be the exact "right size" for your video card. It shouldn't make much difference to the visual quality
- Lower some settings (especially View Distance, and Anti-Aliasing (which now controls volumetric fog, NOT anti-aliasing). You won't notice much difference with these lower
- For AMD users, run the AMD Auto-Detect tool, even if you installed the AMD Chipset and GPU drivers, this tool often finds missing drivers and fixes the issue!
- Try removing Blueprints mods. If these aren't carefully written they can increase the game thread time, which decreases your FPS
- Ensure your video and PC drivers are up to date. Jedi Survivorwon't work correctly with drivers before 531.68. I recommend the Studio drivers as they go through full regression testing (If you suspect driver problems, use DDU in Safe Mode to completely remove all old video drivers, then reinstall them in regular Windows mode)
- Close background programs. Even having Epic Games Launcher running in the system tray causes me problems (which is crazy because Epic make Unreal Engine!)
- Clear the DirectX shader cache. In the Solutions folder of the mod > Crash on load OR black spots on landscape, run the bat file in there. Furhter details are provided in the folder
- If you have ISLC or another memory cleaner running in the background and it's cleaning memory while the game is running, the game is more likely to stutter and crash with Ultra+. While it's great to flush memory in between game runs, it's not good while it's running
- If ISLC (or other) is reducing the system timer resolution to 0.5ms, this could also cause instability. Unreal runs best at a system resolution of 1.0ms (which is what the game requests — lower is not necessarily better)
- Try disabling Steam overlay, or any other overlays (Ansel, MSI, etc.). I haven't had a problem with it, but it can reportedly cause performance issues with Hogwarts
- Verify game files in Steam. (Right-click game > Properties > Local Files > Verify integrity...) Remember after doing this you will need to re-copy DLSS and SPLF)
- If you're having screen flickering issues, disable Windows Multiplane Overlay (MPO) - the reg file is available NVidia, and included in Solutions > Black screen flashes
- Verify your Windows install. 1) Ensure you have a good backup of any important files, 2) Right-click Command Prompt and click Run as Administrator > type dism /online /cleanup-image /restorehealth 3) reboot if required, 4) run Commend Prompt as admin again, 5) type sfc /scannow 6) reboot if required
- Message me in Posts. The more detail you provide the more I can help 😊
Other Ultra+ Games
All Ultra+ Games
- Ultra+ Mod Manager (UMM)
Silent Hill 2 (2024 remake)
Days Gone
Hogwarts Legacy
Robocop: Rogue City
Cyberpunk 2077
Star Wars: Jedi Fallen Order
Avowed
The Elder Scrolls IV: Oblivion Remastered
Ghostrunner II
RuneScape: Dragonwilds
There is just no way I can test an entire game by myself, so I rely heavily on feedback and testing from the community. Thank you so much to the following contributors for all your amazing help and feedback! 😊 ❤️
- BSherrod
- blackguard
- anticitizen101
- yellaLoon1991
- Niam123
- bkmac001
- MisterHyd3
- KoKlusz
- Fish (UnderwaterHomie)
- Mark (AwayDays)
- Lazorr (Lazorr)
