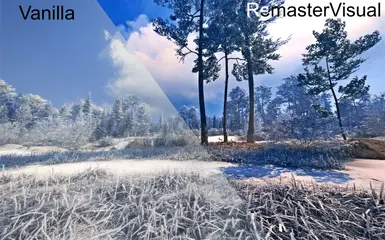
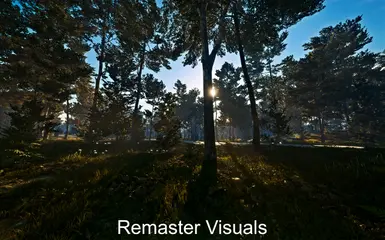
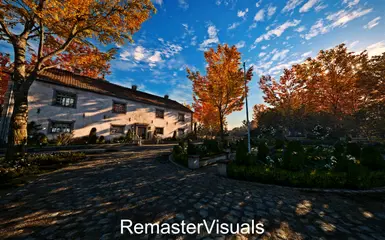
- Install ReShade
- Download and install ReShade for your game (search online for the official ReShade tool, a popular post-processing/shader software).
- Important: Select all available effects during installation.
- Download and install ReShade for your game (search online for the official ReShade tool, a popular post-processing/shader software).
- Add Required Files
- Place the Glamayre_Fast_Effects.fx
file into the game’s ReShade Shaders folder (located in the game directory where ReShade is installed). - Extract the RemasterVisuals folder from the ZIP file to your PC (ideally in the game’s ReShade Presets folder for easy access).
- Place the Glamayre_Fast_Effects.fx
- Configure ReShade
- Launch the game. ReShade will display a welcome message with its main shortcut key (default: Home).
- Open the ReShade menu using the shortcut
- Go to the Add-ons tab and enable Generic Depth.
- Restart the game and open ReShade menu again. (if Generic Depth wasn't enabled by default.)
- click the Folder icon at the top, and navigate to the RemasterVisuals folder.
- Select a preset from the folder to test and choose your preferred style.
Additional Tips
- Sharpening: Set in-game TTA Sharpening to 0 — these presets include sharpening.(if you dont need the sharpening turn off the image_sharping effect or lower its strength)
- Custom Shortcuts: In ReShade’s Settings tab, assign shortcuts for navigating presets, enabling/disabling effects, or displaying FPS/Clock/CurrentPreset.
Compatibility
- These presets work well with some other games (e.g., GTA V). Adjust sharpening intensity or disable chromatic aberration if needed (Or if you wanna go more advanced, adjust its red value).
Feedback Welcome!
- If you have suggestions or enjoy a specific preset, I’d love to hear from you! :D
- And hay dont forget to endorse the mod if you liked it ;)


