


As I was making this mod last year, I realized that you can actually do your model edits on a modern, up to date version of Blender, then just export that as an DAE/FBX file and import it to 2.79 of Blender. Also some of the links in the Tomb Forum thread no longer work, so in this thread are the ones that do work.
Note that this will only cover the import and export aspects of modding, so you need to already have the basics of actually adjusting the textures and models.
You can find more details in the original forum thread.
Note that you can also replace world props with this method, not just character models, ie. for backporting similar Rise or Shadow of the Tomb Raider assets or making new ones yourself. Just make sure you follow the same principals as modding an animated character and make sure you apply the same vertex groups where it makes sense, as I'm pretty sure that some of them are the attachment points for particles or animations.
As far as I'm aware, these mod tools do NOT work with the Definitive Edition. On PC Microsoft marketplace or the PS4/Xbone versions.
Requirements:
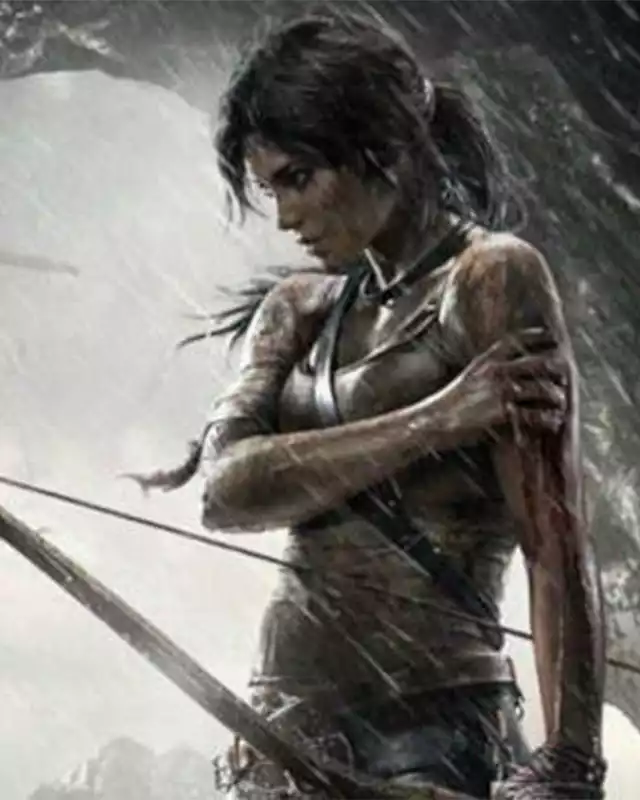
Tomb Raider (2013). I don't think either the console or the PC Microsoft store versions of the 2014 Definitive Edition can be modded at all. Also, I'm not 100% if these work with any other version of the game except one that is on Steam.
Blender (for mod tools, you need v2.79. For the model replacement, you can just use any Blender version, but as mentioned, you need to export it to FBX or DAE format so that you can open the edit in 2.79. I'm not 100% sure if you can just import a 4.2 save in 2.79 and Blender doesn't crash)
I'm going to also assume you have a basic understanding on using Blender and editing 3D Models with weight painting.
Gibbed Tiger unpacker "tombraider9-r117_b74.rar" (Originally it was in Xentax, but the site along with all non-preserved links were put down. Thankfully I had saved the unpacker and saved it to ResHax.)
Ekey's TR9 DRM unpacker (Same link as above).
Tiger and DRM unpackers can be placed in any folder. You can always place them in a sub-folder under the TR2013 directory.
Gh0stBlade's TR8 CDRM.exe cdrm compress/decompressor (unzip it and copy "Release TR8 PC-W\CDRM.exe" to TR2013 directory)
aman11 mod tools (make sure you download the mod tools' latest versions to add pretty critical bug fixes from the Tomb Raider forum thread)
Place all except the Blender addon in the actual TR2013 directory since I'm not 100% if they require the original game files to be present.
Blender addon you install like you do any other Blender addon.
Paint.net, GIMP, Photoshop or any software capable of editing images and saving them as the required .DDS format.
How to mod:
Unpack files:
1. Unpack patch.000.tiger. Drag and drop patch.000.tiger to Gibbed.TombRaider9.Unpack.exe. You will get a new folder called patch.000_unpack. The mod tools only work with files in that archive. You can name the main folder containing all the models with whatever that makes finding it easier.
2. If we are modding Lara Croft, you need to look for files with the name "lara". They may be labeled as "cine" or "v1, v2, v3, etc." If you are making a total conversion mod, then you should update all cine and v1-5 Lara models. Not sure if "laracroft_clean" is even used as v1 as I recall is the exact same model. "lara_fullblood" Is the model used in the flesh pits in the Monastery caverns, but for some reason the mod tool is just unable to use the proper textures even if you correctly replace them (because the game probably uses the textures from some of the other tiger archives.) Only three DLC outfits can be replaced in the game, as the unpacker probably never was updated to include the missing outfits
3. Open the DRM unpacker and set the game directory path to it. Then go to File>Open DRM and extract the model you need. It will extract it to the same directory where the unpacker lies. For this instance, we replace v1_lara
4. Finally, make a backup of patch000.tiger, in case anything is messed up with the modded archive. I also suggest making separate backups of each modded version which has confirmed working models, so if you replaced model 1, model 2 and model 3, but mess up something with model 4 or 5, you actually know for sure that it was either of the last two. Label the "checkpoint" folders with something you can identify a year later.
Textures:
1. Go to the textures folder within v1_lara. You will find different texture files with different Section labels. DO NOT rename at least the original file names as you will need these to port to the game, since you need to do the actual texture parsing manually later. If you want, you can always clone the textures to another model and then rename them to something that resembles what they'd actually be called to make texture editing easier. Also, you should install a .DDS previewer to get a sense what you are going to replace.
2. Open the texture in your preferred image editor that supports DDS format. Paint.net, GIMP (I recall) and Photoshop support it. This tutorial does not cover image editing basics so I'm assuming you already got that covered or you're just replacing the textures from some other game, as I have.
3. Save the texture in DDS format, under DXT1 compression (DXT5 if it has an alpha translucency channel) and generate mipmaps enabled. Name it the same as the original, but you can add x or some custom identifier to avoid conflicts with the original file name.
4. Now to inject the textures to the game. Move the new mesh file you have next to the other model tools. Then Open PowerShell or Windows Command
Prompt and type the following commands
cd <directory of the game>
tr9texpatch.cmd . v2_lara.drm 432 "Section 432x.dds" (replace the names with the ones you want).
If you can open the texture in Noesis without it looking like MissingNo. from Pokémon, it works in the game. And if you don't automatically crash upon loading a save file or it doesn't look pixelated or really messy, it works properly. If you haven't actually imported the model which the textures belong to, then you will see your custom textures over Lara's original model. This means you injected the texture properly to the game.
Model:
Note that you cannot edit the model after it has been injected into the game, so keep the Blender scenes and the patch000.tiger backup in a safe place.
1. If you have the mod tools in Blender 2.79 correctly installed, continue importing the TR9 mesh to Blender. It's located within RenderMesh folder. Once it is imported, it should have both the model in multiple pieces and the main armature. After this is done, save the scene in case you need it later and if you want to edit it in later Blender versions. You don't need to save it as fbx yet if editing in later versions, just open the .79 scene in Blender 4.2 for example, but don't replace or delete the .79 scene.
Important note that the meshes cannot contain more than TR9 mesh can not uses more than 42 weight painted vertex groups (bones), or else the game will either crash or result in a black screen when loading a save with the modded model. To make sure you only have what you need, use this Blender script:
import bpy
from bpy.types import Operator

# Loop over all selected objects
for ob in bpy.context.selected_objects:
 # Check if the object is a mesh
 if ob.type == 'MESH':
  ob.update_from_editmode()

  vgroup_used = {i: False for i, k in enumerate(ob.vertex_groups)}

  for v in ob.data.vertices:
for g in v.groups:
 if g.weight > 0.0:
  vgroup_used[g.group] = True

  for i, used in sorted(vgroup_used.items(), reverse=True):
if not used:
 ob.vertex_groups.remove(ob.vertex_groups)
It will automatically delete all unweighted vertex groups from the selected objects, which means if you used the weight painting transfer function, it will leave all except the used groups in place.
Since you likely cannot have a highly detailed face model with just 42 vertex groups, you need to split it into pieces. Shape of the pieces doesn't matter, but make sure you don't go over the amount that the original face model mesh piece had that you are replacing.
Also, make sure you name the mesh pieces with the same name as the original, but add lowercase x as the first character so that the game knows what it will replace. I found that it doesn't matter if you leave some mesh pieces unedited, as they will be invisible in the game anyway. Just make sure the replacements you are adding will have 42 weight painted vertex groups and has "xMesh...." as their names.
2. For the sake of just making the I/O parts of the tutorial, I'm going to assume you have a model properly aligned and weight painted over the original Lara model or whatever you are replacing. If you are editing the model in later Blender versions, you need to export it as FBX or DAE format, then import that back to the original 2.79 scene you had saved earlier.
3. Now in 2.79, we need to prep the original Lara models that are replaced so that they are hidden in the game. As noted in the TR forum thread, meshes that contain no faces are not rendered in the game. There doesn't appear to a conventional way of hiding meshes within the game engine, so this is a crude workaround.
So, with the original Lara mesh selected, go to the Edit mode and press "A" to select all vertices, then "X" to delete desired parts. Choose "Only Faces" and hit enter. Only the wireframe of vertices is left in place. Do so with all of the meshes you want to replace, so if you are replacing the entire model, you need to do so with all of the original meshes. If you are just replacing parts of the model, like I have done so with just the head, do so only with the head meshes. Make sure you didn't accidentally delete the faces from the meshes that are replacing the original meshes.
4. Check that the replacements have proper names, then go to the Object mode and selected the replacement(s) and the original objects that are replaced that no longer have faces. Then in the n-tab, export the objects and select the original model file. It will export a new file called "Section XXX_new.mesh." This is your new modded model.
5. Now to inject the model to the game. Move the new mesh file you have next to the other model tools. Then Open PowerShell or Windows Command Prompt and type the following commands
cd <directory of the game>
dir "full name of the new mesh file, with the file type included". [i](I'm writing this from memory, so I'm pretty sure this will display the file size, that is important. Mark it down, though I'm pretty sure you can just copy and paste it to the command required later)
cdrm "new mesh file name" (This command compresses the mesh file)
tr9tigetadd.exe . v2_lara.drm 567 "Section 567_new.mesh=1650520" (just make sure you replace the name parts with what you actually need. The 567 is the section number of the model and it is the exact same as in the file. 1650520 is the file size.)
6. Launch the game where the model has been replaced and see if it actually injected correctly. The game will crash or give a black screen if it doesn't actually properly work, usually it's because you either messed up the mesh file names within Blender, a mesh has more than 42 weighted vertex groups or you messed up something with the commands above. Also, make sure you actually imported the latest versions of the mod tools or else the normals of your model don't import properly or with the DLC outfits, your game will crash no matter what.
Notifications
4 comments
Highly suggested to use this guide instead, if you want to get into TR2013 modding: Tomb Raider 2013 - Model Modification