


0 of 0


About this mod
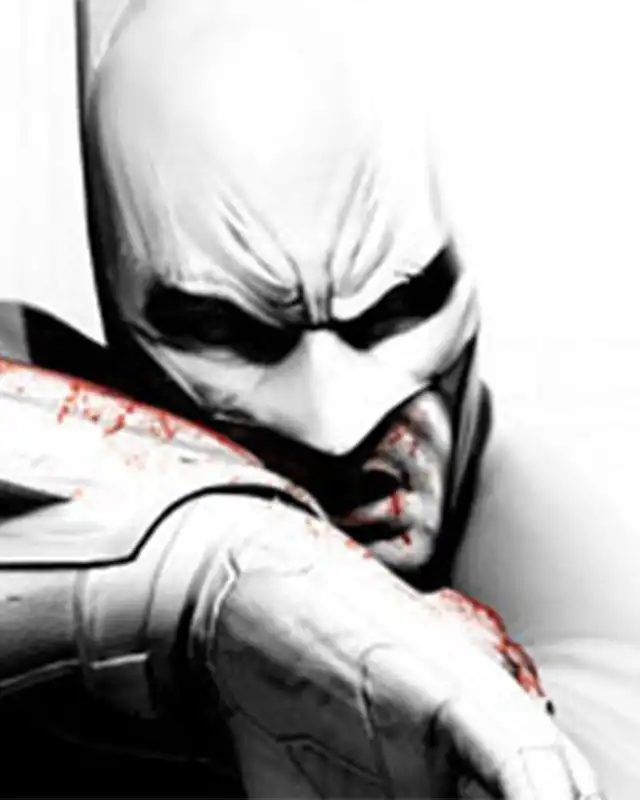
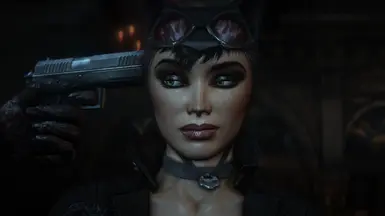
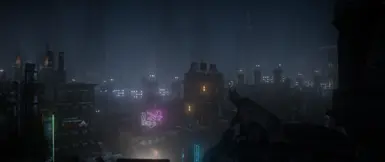
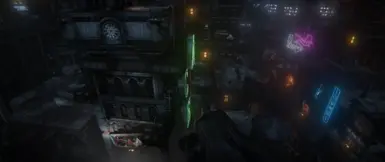
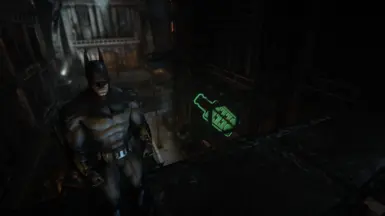
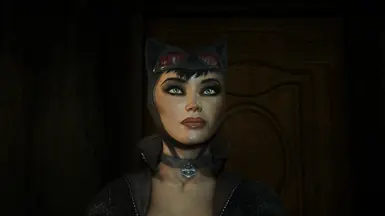
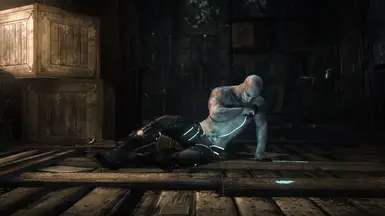
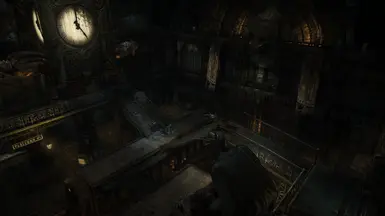
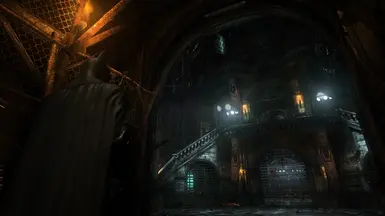
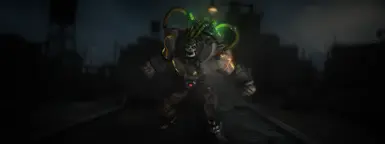
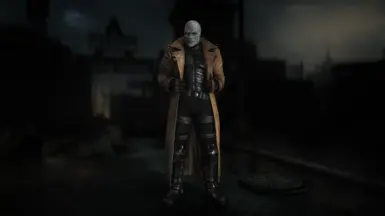
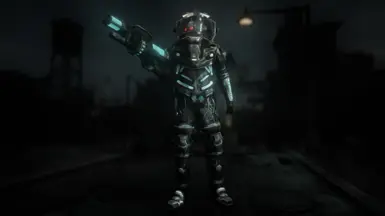
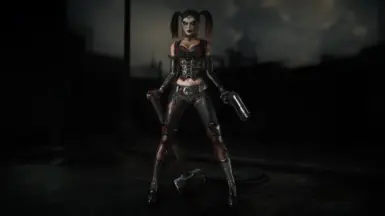
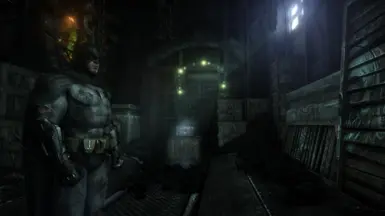
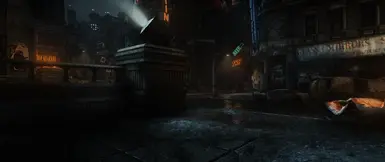
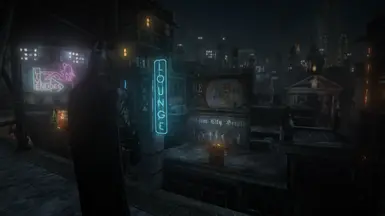
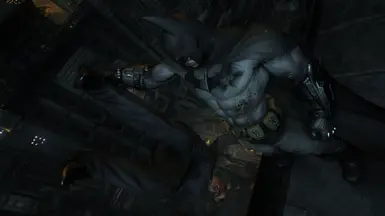
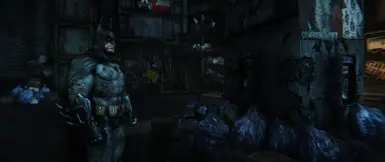
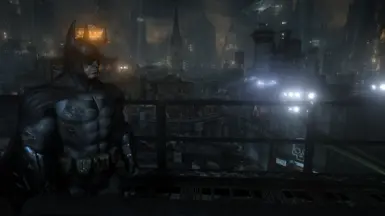
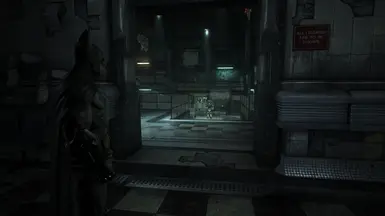
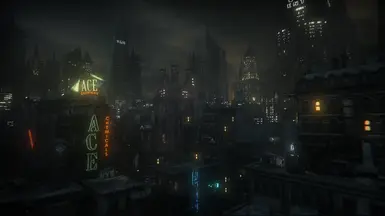
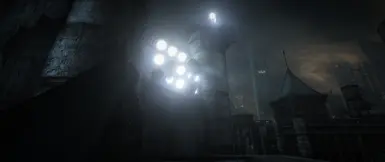
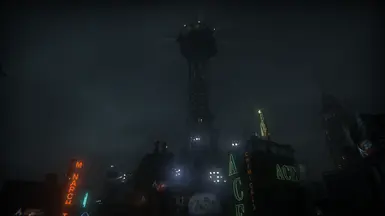
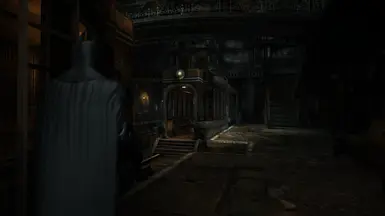
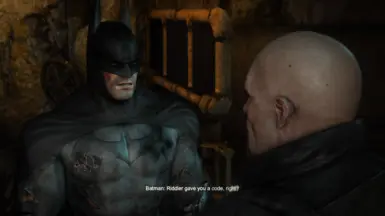
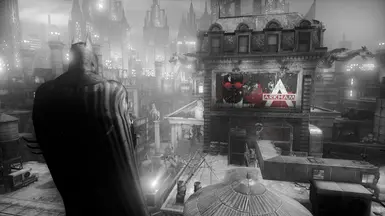
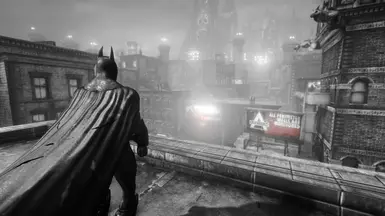
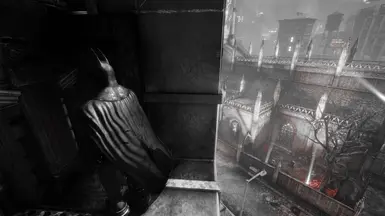
Remastered Graphics mod. Revamped Lighting, Colour Grading, Post Processing & more. Includes Cover Art Style Preset.
- Requirements
- Permissions and credits
- Donations
"Nice of you to say, but you of all people should know... there's plenty wrong with me!"
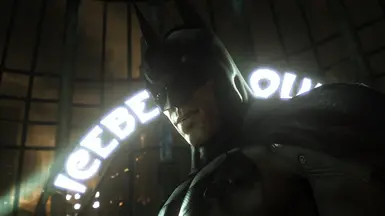
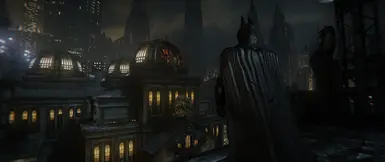
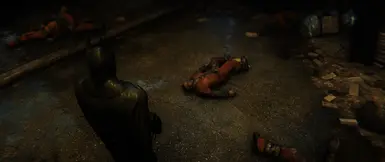
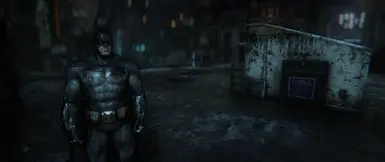
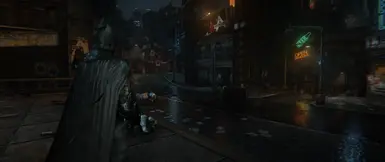
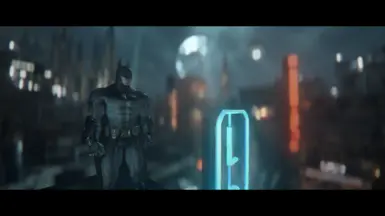
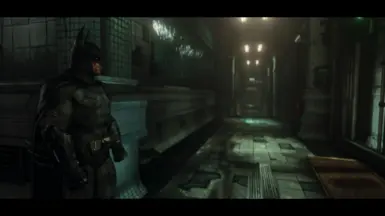
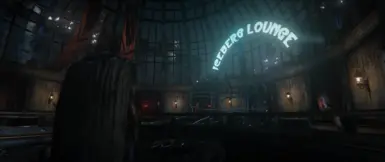
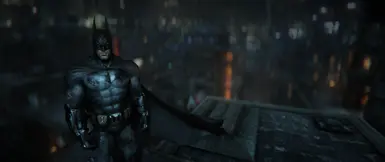
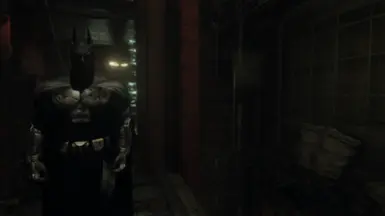
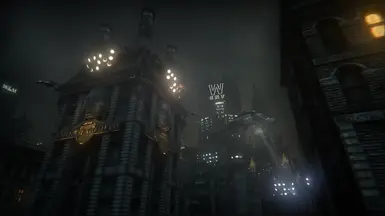
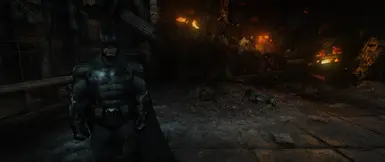
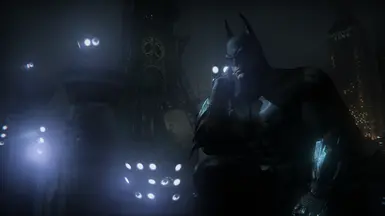
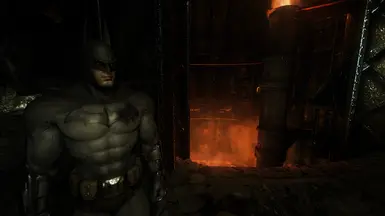
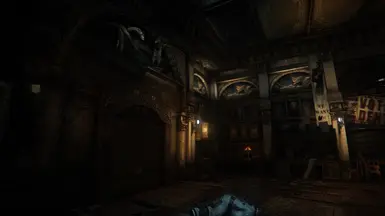
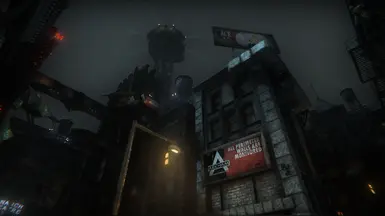
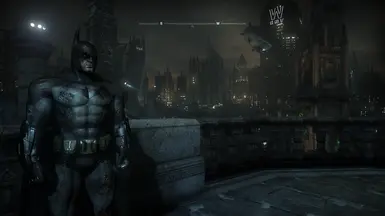
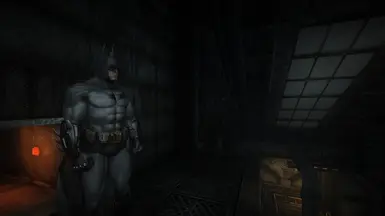
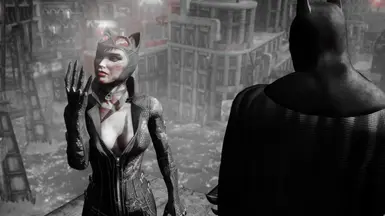
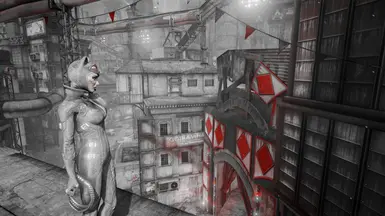
Arkham City Reimagined
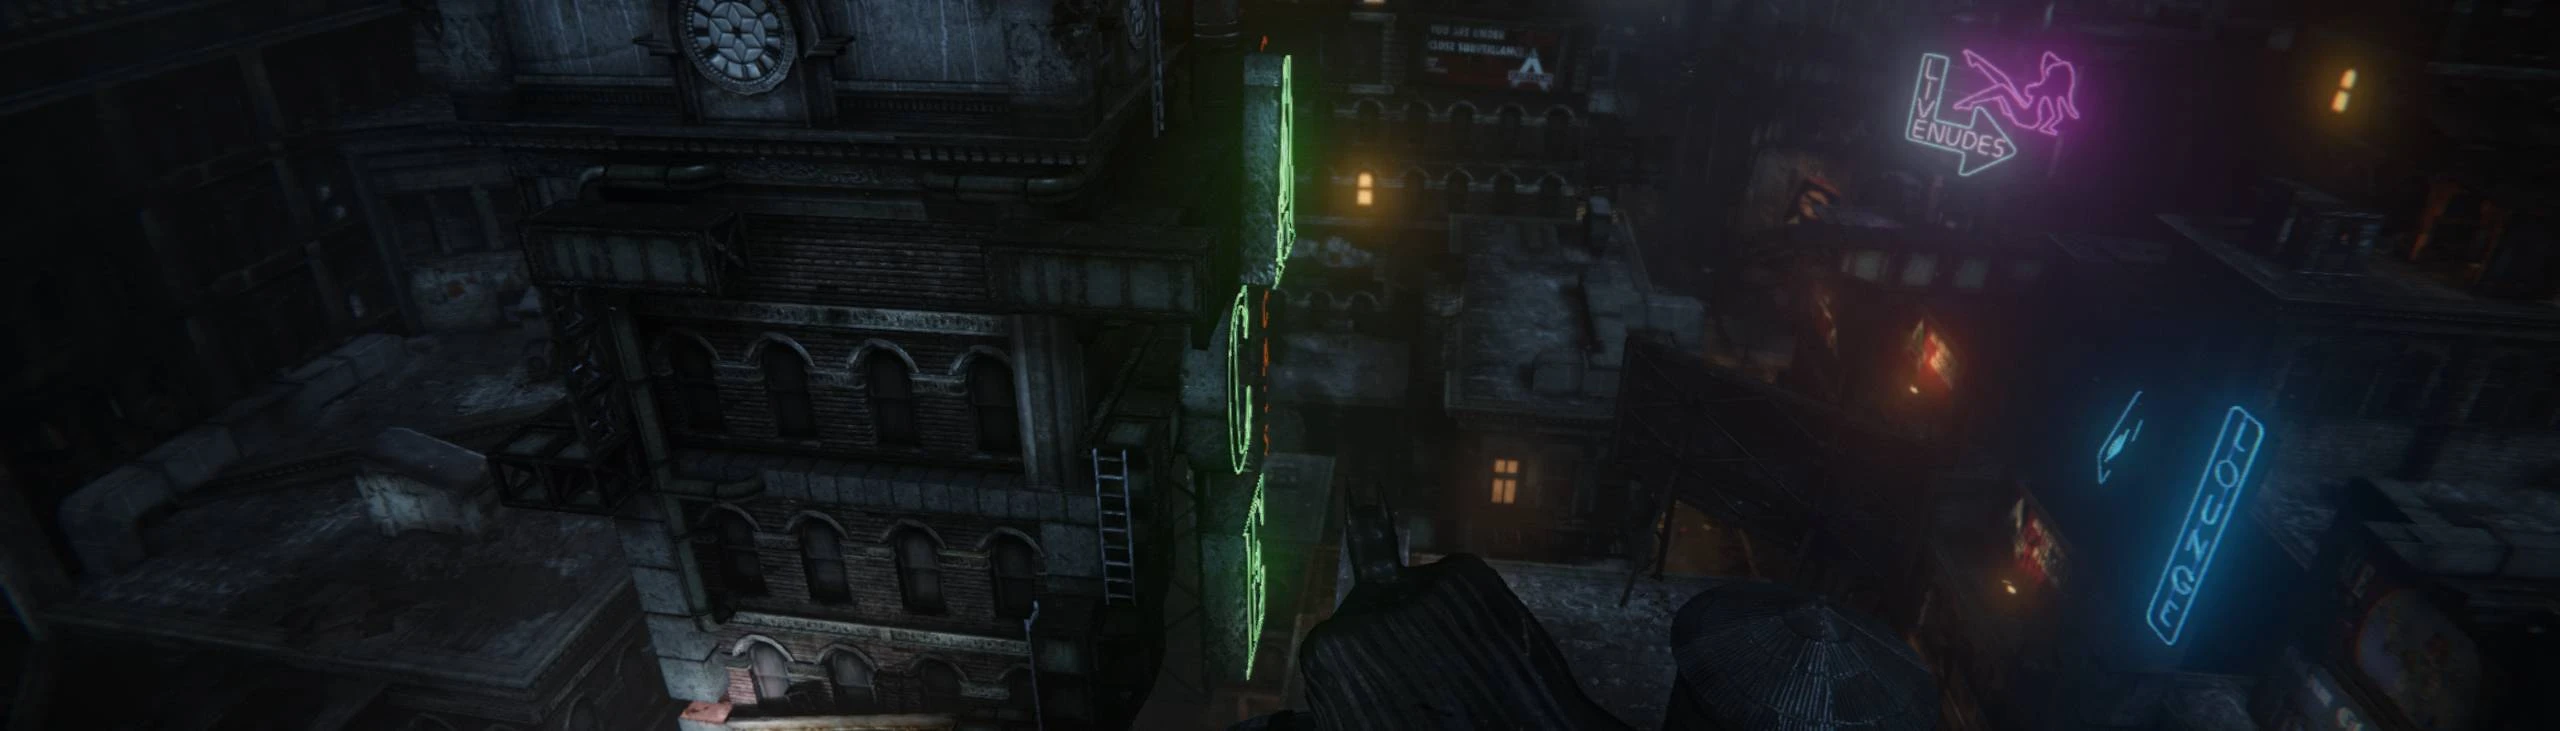
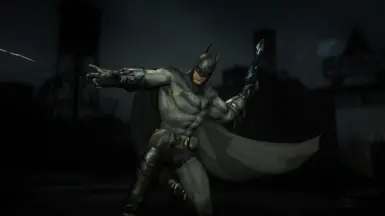
Graphical Revamp of Batman: Arkham City
Lighting + Colour Grading + Post-Processing
Lighting + Colour Grading + Post-Processing
Contents
- Introduction
- List of features
- Tutorial
- Troubleshooting
- Recommended mods
- Special thanks
Introduction
ReShade is a post-processing injector that enhances graphics and adds various effects to your games. ReShade supports all of Direct3D 9, Direct3D 10, Direct3D 11, Direct3D 12, OpenGL and Vulkan. A computer with Windows 7 SP1, 8.1 or 10 and .NET Framework 4.5 or higher installed is required.
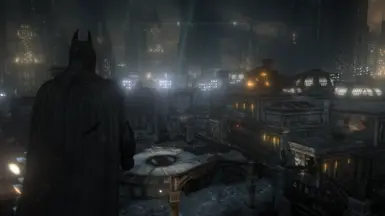
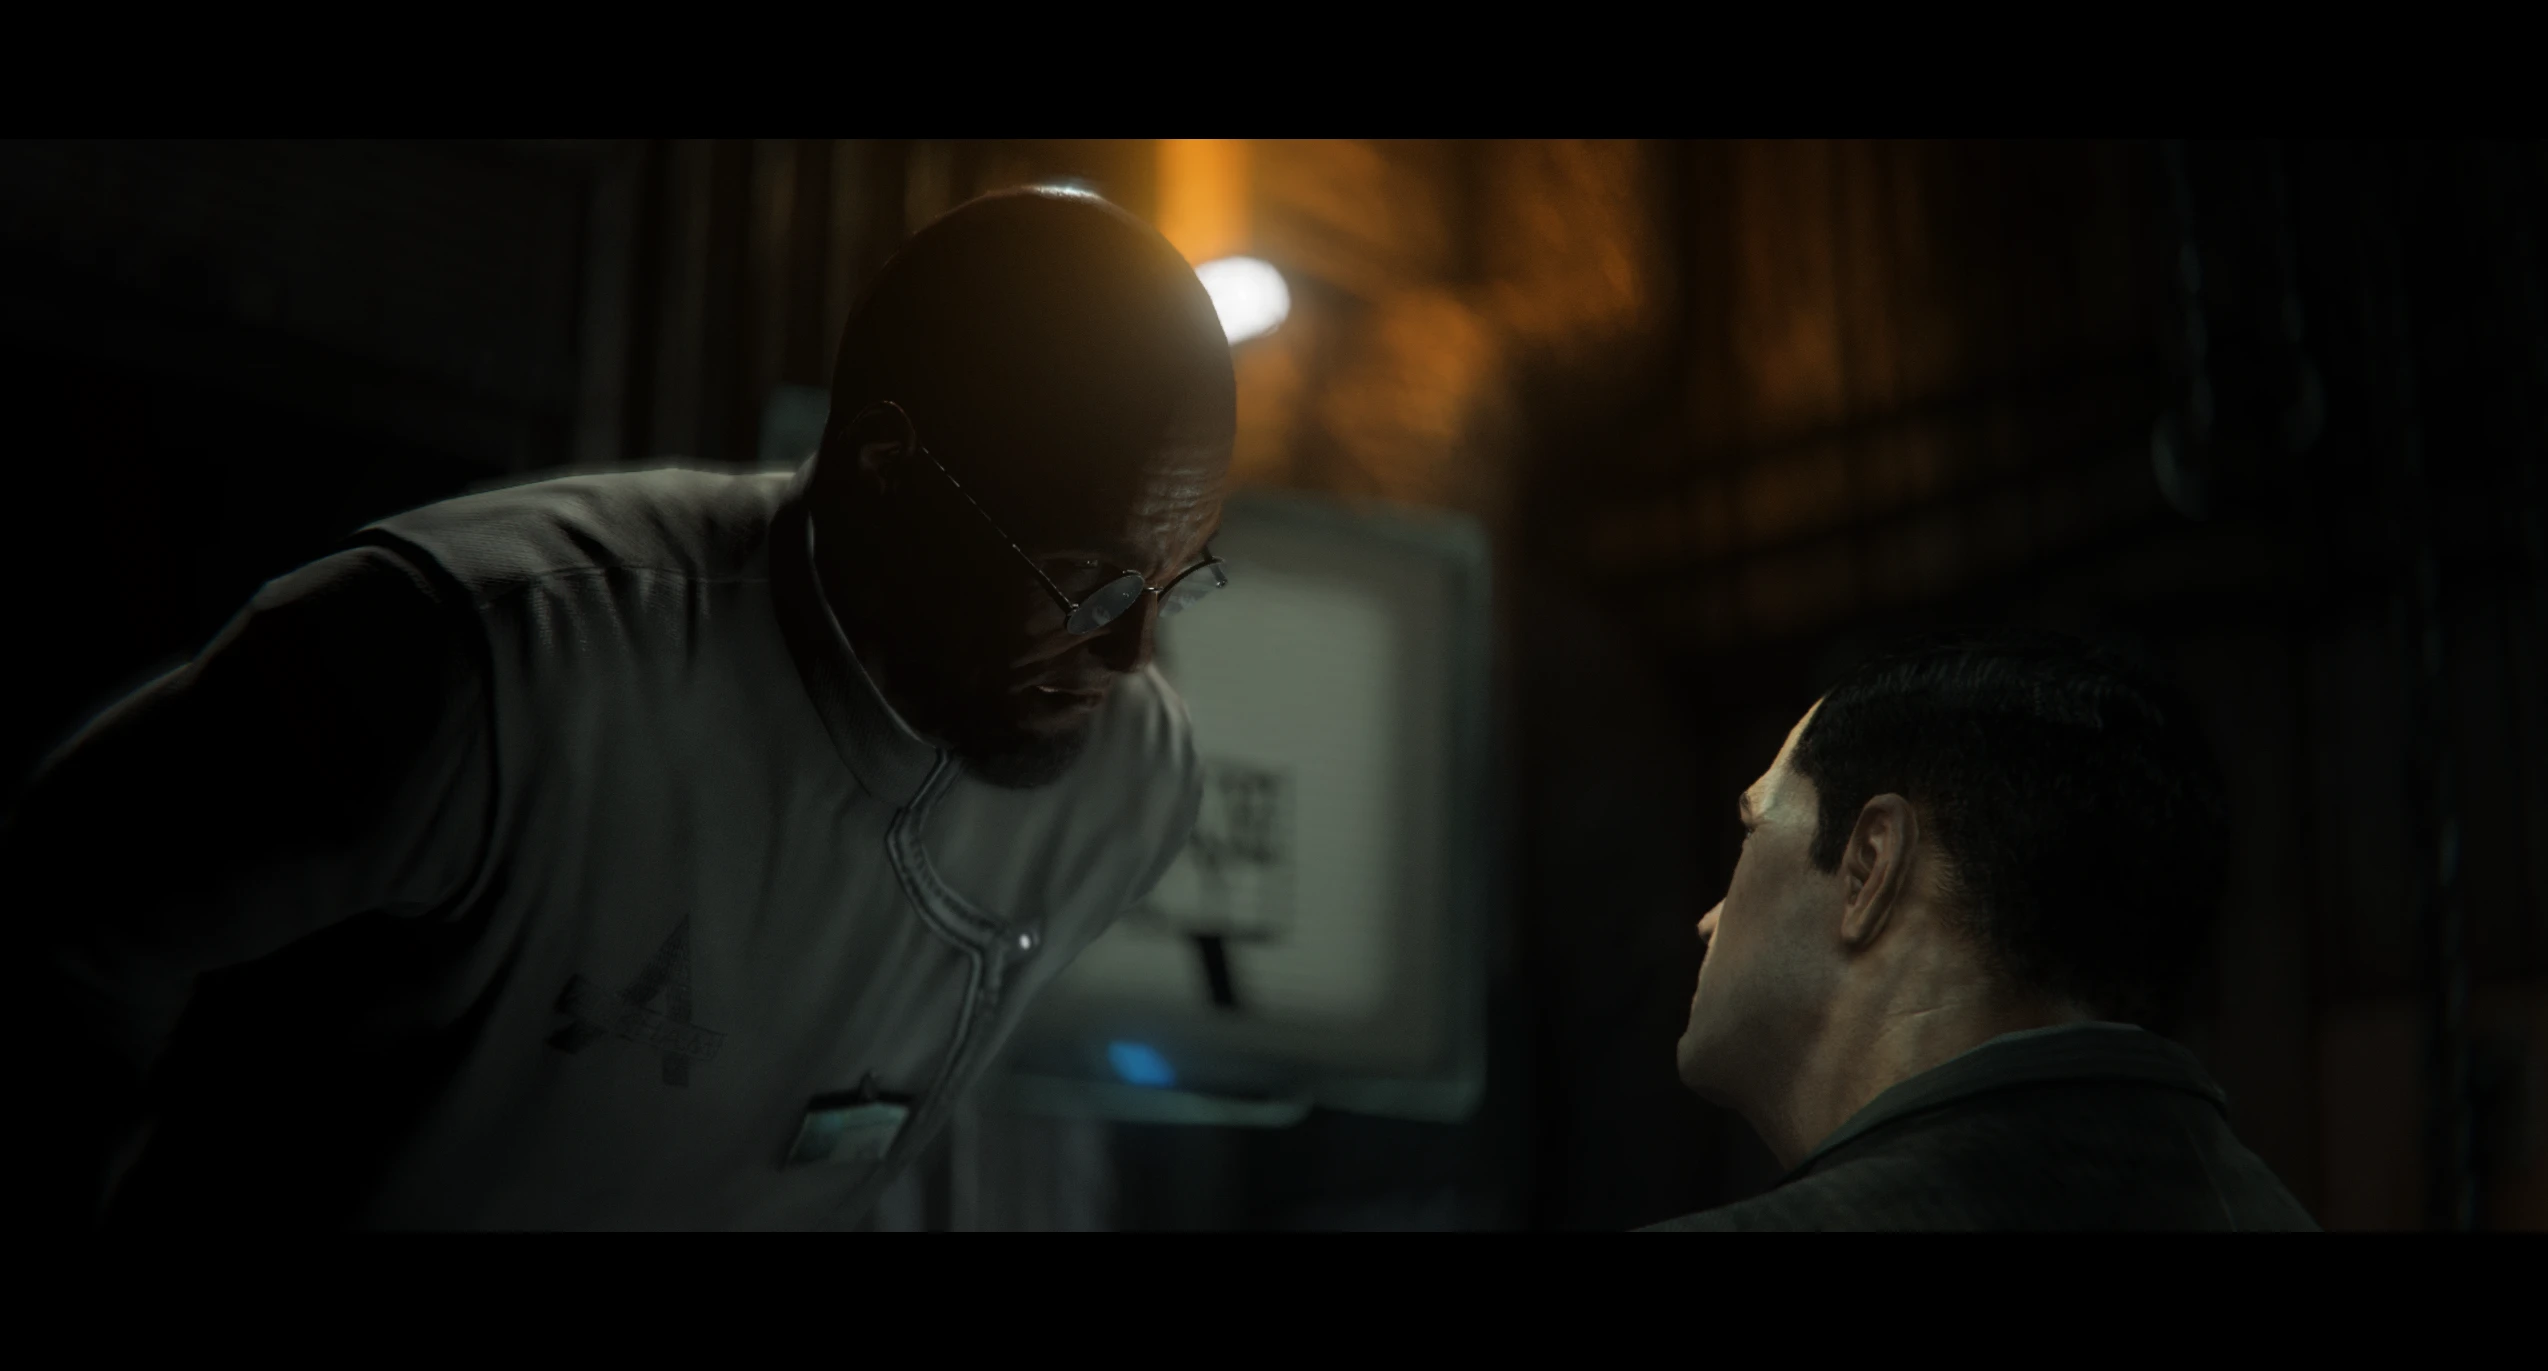
This preset attempts to upgrade the visuals of Arkham City, taking inspiration from many Batman films as well as graphically high quality games such as Red Dead Redemption 2 and The Last of Us Part 1.
Please note: ReShade presets may or may not significantly impact your game's performance.
List of features
- Anti-aliasing
- Global illumination
- Ambient occlusion
- Volumetric lighting
- Bloom
- Vignette
- Chromatic aberration
- Improved colour grading
- Light adaptation
- Debanding
- Depth of field
- Lens distortion
- Film grain
Tutorial
Make sure to carefully follow the tutorial step-by-step.
Prerequisites:
You must set up the following before in order to install and use the mod properly. Make sure to do this correctly before asking for help.
- ReShade Installer: Download and install the latest version of the ReShade framework from the official ReShade website (https://reshade.me/). Follow the installation instructions provided on the website. IMPORTANT: download and install the version with FULL ADDON SUPPPORT.
- Advanced Launcher: It is highly recommended to download and install Batman Arkham City - Advanced Launcher as it'll make the process much easier. If not, for the instructions on configuring game file values, please follow the adequate help link.
- Disabling Anti-Aliasing: The ReShade depth buffer allows advanced effects such as RTGI and fog, but cannot be accessed if the in game anti-aliasing is enabled.
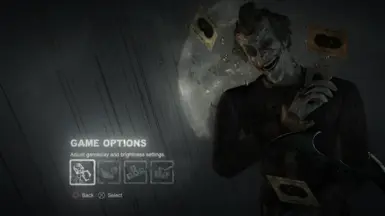
- Disabling the Vanilla Colour Grading: The vanilla colour grading and other post processing effects have aged quite a bit. Disabling the Depth Of Field option in the Advanced Launcher will allow for many of the outdated effects to be removed and updated ones to replace them.
Alternatively, you can follow this video: MISC; Batman; Arkham City; Return To Arkham Style Colours - YouTube
Installation:
- Download the Preset: Locate the "Files" tab and download it to your computer.
- Locate Game Directory: Open the file explorer and navigate to the directory where your game's executable file is located. This is typically where the game is installed (e.g., C:\Program Files\GameName).
- Install Preset File: Drag the downloaded .ini preset file and drop it into the game directory.
- Install ReShade: Locate the ReShade installer executable file you downloaded (e.g., ReShade_Setup_X.Y.Z.exe). Run this installer.
- Select Game: When prompted, pick the .exe file of the game you want to install ReShade to.
Depending on your system, you might see some games listed already. Sometimes games don't appear on the list, so then you can click on the Browse button and select the game executable file (e.g., GameName.exe) from the game directory.
Next, choose the appropriate rendering API (usually DirectX) based on the game's settings. - Install Preset: After selecting the rendering API, the installer will ask you to select a preset file to install all used effects. Make sure you choose the correct preset file. Then click next until you get the successful install screen.
- Locate Preset Folder: Once the installation is complete, navigate back to the game directory and drag and drop the extra files into the folder. The preset will not work if you don't copy over remaining files.
- Launch the Game: Start your game. The ReShade indicator should appear in the top left corner of the screen when the game launches. The preset's effects will load automatically.
- Select the correct Depth Buffer: This part is very important! As stated above, if the correct depth buffer isn't selected, the effects will not work properly. Go into the addons tab at the top of the menu. Then click on the buffer in the list that shows the correct depth.
In case of any flickering, try playing around with some of the depth buffer options checkbox.
If you get a back screen, try setting RESHADE_DEPTH_INPUT_IS_REVERSED to 1 in the Edit Preprocessor settings.
For more info, visit the links down in the Troubleshooting section.
Congratulations! You've successfully installed this mod. Enjoy the enhanced visuals and effects.
If you tried and enjoyed it, please consider Endorsing, as it can help others find this mod.
The ability to endorse a file is only made available 15 minutes after initially downloading the file.
If you tried and enjoyed it, please consider Endorsing, as it can help others find this mod.
The ability to endorse a file is only made available 15 minutes after initially downloading the file.
Troubleshooting
Here are links to guides that will help you out in case you run into any issues.
- 01 Introduction to ReShade - MARTY'S MODS (martysmods.com)
- 02 Setting-Up ingame - ReShade UI - MARTY'S MODS (martysmods.com)
- 03 Depth Buffer: Advanced 3D Rendering in Games & Graphics (martysmods.com)
- 04 Preset Installation - MARTY'S MODS (martysmods.com)
- ReShade 101 - YouTube
- How To fix most of your problems with ReShade - YouTube
- Introducing: Easy Troubleshooting - ReShade Forum
- How to Fix a Misaligned Depth Buffer on ReShade - YouTube
Recommended mods
Highly recommend to use these mods along with this one to get the best possible experience.
- Batman Arkham City - Advanced Launcher
- Arkham City Redux
- DualShock (PlayStation) Button Icons for Batman Arkham City
Special thanks
- ReShade Discord
- MartysMods Discord
- MartysMods.com
- Digital Dreams Discord
- Arkham Modding Facility Discord
- Arkham Revival Project Discord
- Aslume (r/BatmanArkham)
- Degenerate Jay - YouTube
- TreyM
- AlucardDH's Discord Server