could u make another version mate..Like in ur second version it's grey colored..resembling the classic suit.but his head and the top part is still black..could u make it grey too..
Damn..this quite look like the classic suit in the grey version..one more thing mate..could u replace the black outline inside the lens to red.and make the outlines a bit darker like the belt and armbands..i'm greatful for this mate.well if u are a fan of assassins creed and want something created in their any mod just send a pm..
I'm sorry but I don't know how to make such complicated color changes and I don't know how to create models for new costumes, I only know how to modify texture colors with Photoshop, simple and easy things.
First of all the first thing is to have the permission of the original author of the MOD in case you want to share it later.
Then you open the .smpcmod file with winrar and from the ModFiles folder extract the files you are going to modify. In this case two texture packs (1_85B16008151C979D/16_85B16008151C979D) and (1_856BDE9DBADB10C2/16_856BDE9DBADB10C2) to extract the PNG from them, you must rename them and add at the end .texture and _hd.texture. Example: 1_85B16008151C979D = Base.texture. 16_85B16008151C979D = Base_hd.texture 1_856BDE9DBADB10C2 = Layer.texture 16_856BDE9DBADB10C2 = Layer_hd.texture Now you can drag the first Base.texture and Layer.texture files to SpiderTex.exe and extract the PNG. From here what you do is a matter of practice and Photoshop, in this case the first layer is the base of the textures and the second is the gloss (be careful with this because the less transparency the layer has the brighter the textures will become). When you have saved the color changes you want in PNG drag them to SpiderTex.exe and it will create two custom textures. Example: Base.custom.texture Base_hd.custom.texture Change the names back to the original ones (1_85B16008151C979D/16_85B16008151C979D) and with winrar open the original .smpcmod file and drag them into the ModFiles folder, confirm the change and you can test it with SMPCTool.exe.
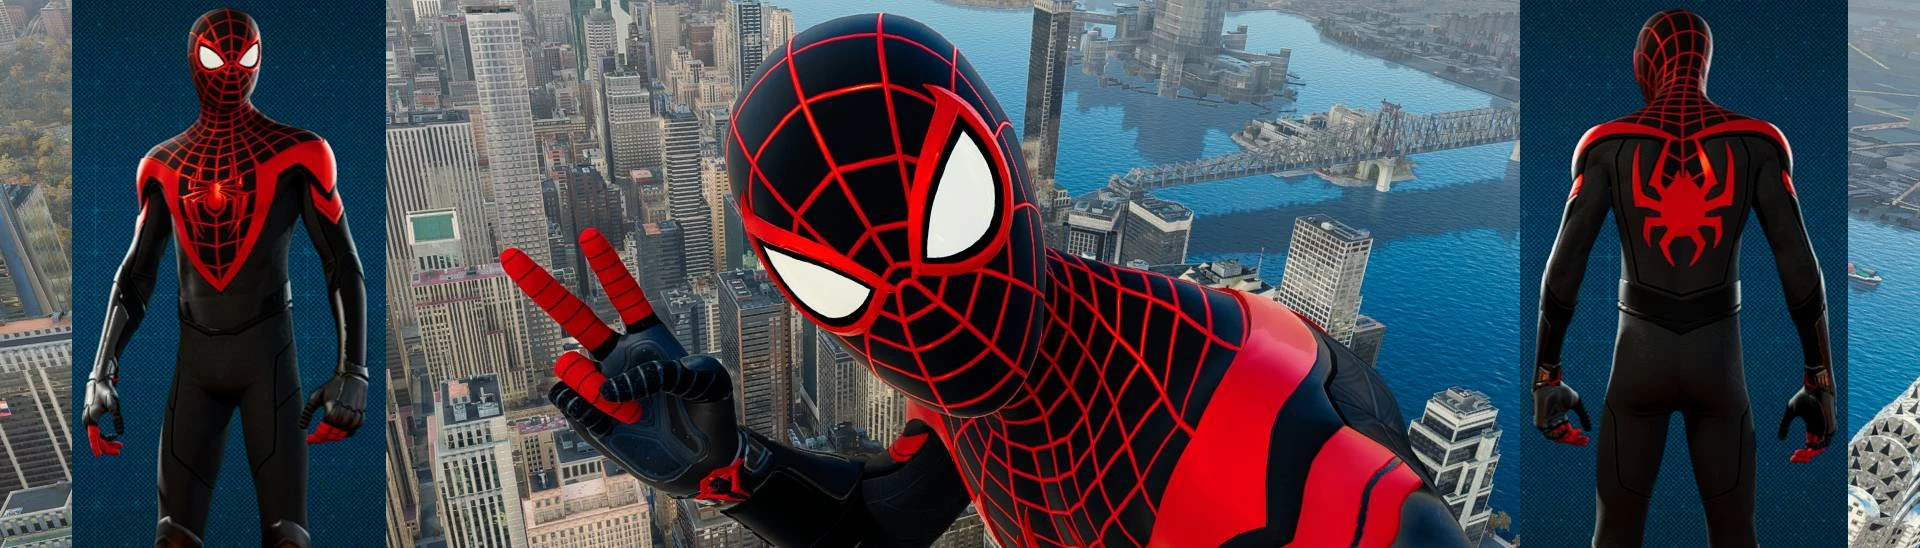
Example you take the two sets of PNG textures and convert them to black and white textures and the result is this:


20 comments
https://www.xtrafond...-arana-8740.jpg
Then you open the .smpcmod file with winrar and from the ModFiles folder extract the files you are going to modify.
In this case two texture packs (1_85B16008151C979D/16_85B16008151C979D) and (1_856BDE9DBADB10C2/16_856BDE9DBADB10C2) to extract the PNG from them, you must rename them and add at the end .texture and _hd.texture.
Example:
1_85B16008151C979D = Base.texture.
16_85B16008151C979D = Base_hd.texture
1_856BDE9DBADB10C2 = Layer.texture
16_856BDE9DBADB10C2 = Layer_hd.texture
Now you can drag the first Base.texture and Layer.texture files to SpiderTex.exe and extract the PNG.
From here what you do is a matter of practice and Photoshop, in this case the first layer is the base of the textures and the second is the gloss (be careful with this because the less transparency the layer has the brighter the textures will become).
When you have saved the color changes you want in PNG drag them to SpiderTex.exe and it will create two custom textures.
Example:
Base.custom.texture
Base_hd.custom.texture
Change the names back to the original ones (1_85B16008151C979D/16_85B16008151C979D) and with winrar open the original .smpcmod file and drag them into the ModFiles folder, confirm the change and you can test it with SMPCTool.exe.
Example you take the two sets of PNG textures and convert them to black and white textures and the result is this:
doesn 't look like