Documentation
Readme
View as plain text
Update 3
Sped up animation playback by Changing the “Playback” > “Sync” To “Frame dropping” this should speed up slow animation playback a bit, it has no effect on exported animation speed
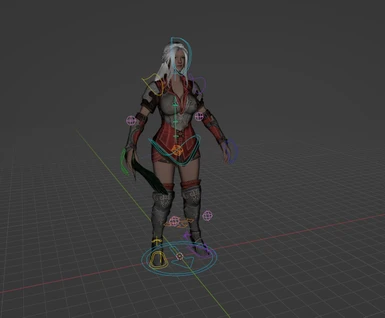
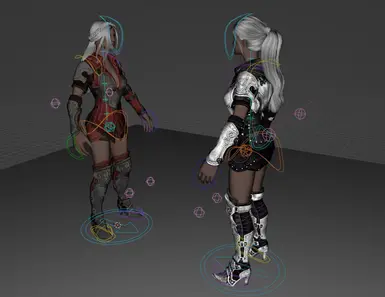
Added a 3rd person Paired rig (1st person paired rig to come later on)
Thanks to PhiloSocio, he fixed weapon Positions in 3rd person
Added a Scaler bone to 3rd person rigs, Skyrim doesn’t support scaling, but this allows you to visualise different actor scales if need be
These rigs are built with JG's Hkx exporter in mind(https://github.com/jgernandt/blender-hkx)
I've included the compiled exe and some vanilla skeletons so you don't need to compile it yourself but you need to install the Blender plugin
Install the io_hkx_animation.zip inside the blender plugin folder into blender
To do this, In Blender Go to Edit >> Preferences >> Add-ons
in the Top Right click install and locate io_hkx_animation.zip
Blender should display that plugin in your plugins list now, make sure it's ticked then
Set the Convertor location to the folder where "blender-hkx.exe" Is located
Set the Temporary folder to any location, I use the same folder as the one the Converter is in
Default skeleton, set this to just the skeleton.hkx, this is not the XP32 skeleton, but the default vanilla skeleton
Close the Preferences window and now in your import and export menus you have "Havok Animation (.hkx)"
These Rig are for XP32 Skeleton, though it works with the Vanilla skeleton
Not a requirement but if you use my Skeleton Addition(https://www.nexusmods.com/skyrimspecialedition/mods/83136) you can animate the boob and butt bones, while I didn't make controllers, Dick, Anus and Vagina bones can be animated too(when exporting just make sure you export with the XP skeleton)
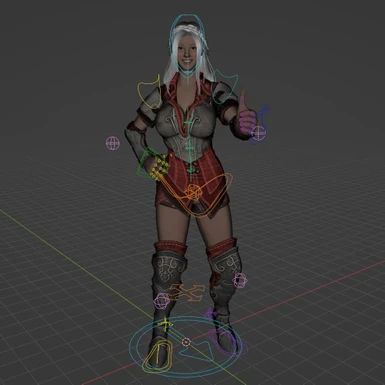
The deform rig will follow whatever action you have on the control rig, so you can use the NLA editor for layers, or if you switch the action on the control rig, the deform rig will follow it
Make sure you have "Control Rig Root Selected"
There's "Rig Tools" in the item tab of the tool shelf(press N if nothing is on the right of the view port)
These options are specific to this rig as long as you're in Pose mode
"Get Time" prints the current time of the animation in the Python console(bottom of the screen) Handy for behaviour stuff
"Switch Rigs" is used for exporting, it switches from the control rig to the deform rig so you can export
"Weight" is just a visual thing if you want to make the character have big boobs, has no effect on the animation
"Hide IK/FK Bones" This is handy if you want to work in either IK or FK and have the FK or IK (respectively) be visible as well
If you select a limb you get addition options
"IK-FK(Limb)" switches the limb from FK to IK mode, if you don't know what that means I'd suggest looking it up
"FK>IK Limb" Snaps the FK to the IK bones of the current Limb
"IK>FK Limb" Snaps the IK to the FK bones of the current Limb
If you've switched rigs and have the deform rig selected you have a new button
"Export Markers" it exports the pose markers on the deform rig into a file called markers.txt it'll be created in the same folder that the current scene exists in
Then you have basic layer visibility, to make working on the rig easier
Annotations
If you want to add annotations(animation events) you need to switch rigs and then add the markers to the deform rig
Make sure the deform rig is selected(Automatically selected by clicking the "Switch Rigs" button)
Scrub the timeline to where you want an annotation
hover your cursor over the timeline and press M on your keyboard
Move your cursor to the newly made marker and press F2 to rename it
Exporting
As these rigs use JG's hkx exporter, exporting the rig is done via the file menu, but you need to select the deform rig
--------------------------------------------------------------------------------------------------
For the Single person rigs:
Clicking the "Switch Rigs" button will switch rigs from the control rig to the deform rig and will allow you to quickly export it
Once you have clicked "Switch Rigs" press A then go to File > Export > "Havok Animation (.hkx)"
Change "Length scale" from 10 to 1, you need to do this every time you open the file
The Primary skeleton should be set to the XP skeleton(3rd person) or just skeleton(1st person) this is defined in your HKX exporter plugin settings
(You can change this by selecting the rig and then in the Armature Data (bottom right of Blender) change the HKX export settings there
Frame interval is just how many frames you want to export, it defaults to your Timeline length
Format is weather you want to export for SE or LE
--------------------------------------------------------------------------------------------------
For the Paired rigs:
Due to both rigs being selected, clicking the Switch Rigs button does make things a bit awkward, Blender's mode stays in "Pose Mode" for the rig that you clicked the button on, selecting the other rig will switch Blender's mode to "Object Mode" the Rig tools only appears in "Pose Mode", so you'll have to switch back
Ctrl + Tab can both quickly switch these modes, but if it doesn't try just Tab or In the top left of Blender you can change the mode up there
Avoid going into "Edit Mode" for these rigs as that mode is editing the skeleton not animating
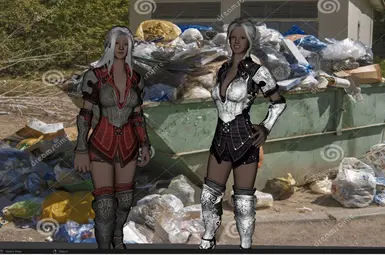
Click the “Switch Rigs” button on both rigs, doesn’t matter which one you do first, select The Victim Rig first (Girl with the Purple/White top) then select the Attacker Rig,
Switch to Pose mode then press A then go to File > Export > "Havok Animation (.hkx)"
Change "Length scale" from 10 to 1, you need to do this every time you open the file
The Primary(Attacker) skeleton should be set to the XP skeleton(3rd person)
The Secondary(Victim) skeleton should also be set to the XP skeleton(3rd person)
Frame interval is just how many frames you want to export, it defaults to your Timeline length
Format is weather you want to export for SE or LE
--------------------------------------------------------------------------------------------------
Pick you path then click export,
Any annotations on the deform rig are exported Blender has a limited character support for marker names so you may need HKanno if you do Precision events
I've included some bat files to quickly extract annotations from an animation and to inject them into animations via hkanno
The names are self explanatory just drag your animations onto them
Be sure to add your annotations to the generated txt file as that is used for injecting the annotations back into the animation
Importing Anims onto the Rig
Both rigs can have LE HKX animations imported onto them, You can import by selecting the control rig, going File >> Import >> "Havok Animation (.hkx)"
make sure "Length Scale" is set to 1 and your skeleton is the XP skeleton
If importing paired anims, Select Both rigs before importing, and both skeletons are the XP skeleton
If you wanted to edit the anim you imported, because I'm doing 2 way retargeting with one rig you need to unhide the import bones layer in Blenders far right pane then you'd animate those controllers
Select the rig >> click the little green dancing man in the right hand pane and click the eye next to "Import Bones" once unhidden you'll see little pale purple ball controllers, not every bone has an import bone(as they are import bones themselves)
The weapon bone in first person does not get imported, I can't figure out why but the whole import thing is jank as anything so I just scraped importing it
When using the rig there's a few things that can help with it
You can select groups of bones easy, like the Spine, Head, Arms, Legs, Fingers etc press Ctrl + G > Layer(in pre Blender v4)/Collection(Blender 4)
With the first person rig you can press Ctrl + G > Group(in pre Blender v4)/Colour(Blender 4) to select all of that one finger's bones
The Move Correct Layer, allows you to move the rig without moving the root, handy if you're making actual movement anims and need to re centre the rig
There's a "Sneak Height Ref", you can snap the camera in 3rd person to that, to get the correct sneak camera height
You will need to unhide and make it selectable in the outliner on the right
With the first person rig there's a similar thing but you need to snap both the Move Correct and Camera down to their respective sneak bones
The IK hands and Feet have Advanced pivots so you can rotate the limbs based on these pivots
Each limb has parent switching too, so you can have the IK bones follow the the main rig, or special world space targets that you can reposition if need be
There's some included finger poses so you can easily set some common poses
With the first person rig pressing 0 on the Numpad will put the camera into a first person perspective, while not 1 to 1 with the game, it's very close
The 3rd person rig has tail and skirt controllers if you want to animate them
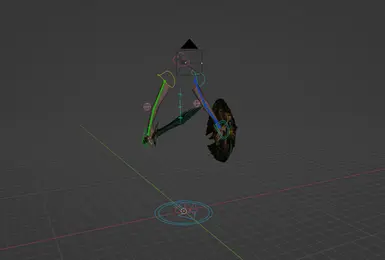
Both rigs have weapon and shield models you can toggle them on and off via the Weapons collection, expand it in the Outliner then toggle what you want on and off
They also can be drawn or sheathed by adjusting each weapons constraint, This does not affect the animation
